
The Single-Photo Pipeline: Generating High-Fidelity AI Product Videos Without Geometry Drift
Standard image-to-video tools frequently warp and melt rigid product geometry. Discover how to isolate assets, project camera paths, and maintain absolute brand fidelity using a professional, geometry-first pipeline.
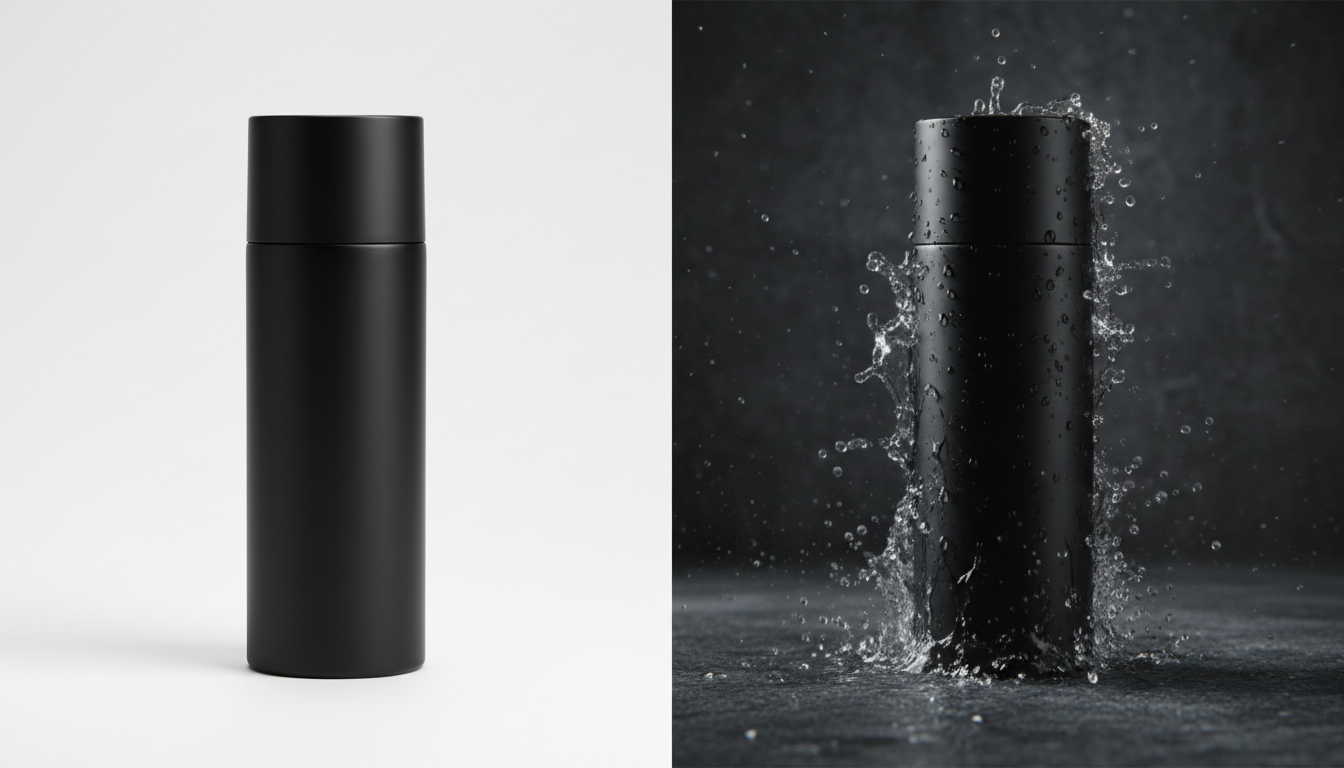
In commercial video production, turning a single high-resolution product photograph into a dynamic, cinematic video is the ultimate efficiency goal. However, standard image-to-video (I2V) generators frequently fail at this task, treating rigid, branded objects like fluid, shape-shifting entities that warp, melt, and lose structural integrity the moment the virtual camera starts to move.
To solve this, professional video producers are moving away from naive "one-click" generation. At Montagea, we advocate for a geometry-first philosophy: treating the single photo as a physical asset with fixed dimensions, while forcing the AI to focus its generative power on the camera path and the surrounding environment. This article outlines the exact multi-stage workflow required to preserve your brand assets while executing premium, dynamic product shots.
The Single-Photo Dilemma: Why Standard Image-to-Video Fails Product Brands
Most AI video diffusion models are trained to prioritize fluid motion and visual continuity over mathematical rigidity. When you upload a static photo of a perfume bottle, a smartphone, or a luxury watch and prompt the engine for a camera movement, the model does not understand that the object is solid glass, metal, or plastic. Instead, it treats the pixels as a malleable field, causing subtle but catastrophic distortions.
This is where creative hallucination clashes with commercial fidelity. In a narrative film, a slight shift in the texture of a background tree or the fold of a character's shirt is acceptable—and often desirable—to simulate life. In product advertising, however, a 2% skew in a brand logo, a wobbly cylinder edge, or a melting cap instantly ruins the commercial value of the asset. The product must remain mathematically perfect, while only the camera, lighting, and environment change.
To overcome this limitation, we must separate the product asset from the background and camera layers. By isolating the product and treating it as a rigid, non-negotiable geometric anchor, we can use generative AI to build the world around it rather than attempting to generate the product itself from scratch in every single frame.
The Three-Stage Pipeline for Single-Photo Video Generation
To achieve commercial-grade output, we break the generation process into three distinct stages. This systematic approach ensures that the product's structural integrity remains untouched while unlocking the creative freedom of AI-generated environments.
Stage 1: Asset Isolation and Depth Mapping
The first step is to isolate the product from its original background using high-precision segmentation tools like Segment Anything (SAM). Once the product is separated, we generate a clean backplate using generative inpainting to fill the void left behind. Next, we generate a high-fidelity depth map of the isolated product. This depth map acts as a 3D proxy, instructing the AI engine on the physical boundaries and spatial volume of the object. For detailed insights on this foundational step, learn how to apply a geometry-first pipeline to physical products.
Stage 2: Camera Path Projection
Instead of letting the AI guess how the camera should move, we explicitly define the camera path. Using control signals or specialized motion vectors, we project a virtual camera path (such as a dolly, pan, or orbit) around our isolated product layer. This prevents the AI from distorting the product because the movement is tied to the camera coordinates rather than the object's internal pixels.
Stage 3: Temporal Refinement
Once the motion is generated, the final stage is to blend the separated layers back together using a low-denoising pass. This step is critical because it forces the AI to calculate realistic contact shadows, surface reflections, and environmental light wraps where the product meets the newly generated background, creating a unified and cohesive shot.
Structured Pipeline vs. Direct Image-to-Video
The table below highlights the differences between relying on a basic, one-click image-to-video tool versus employing our structured pipeline.
| Metric | Direct Image-to-Video | Structured Pipeline (Montagea Method) |
|---|---|---|
| Product Geometry Preservation | Low (Frequent warping and melting) | High (Strictly preserved via depth mapping) |
| Logo and Text Fidelity | Poor (Characters distort during motion) | Perfect (Isolated and re-projected) |
| Camera Path Control | Unpredictable/Random | Precise (Defined dolly, pan, or orbit) |
| Rendering Success Rate | Low (Requires dozens of generations) | High (First-pass success due to constraints) |
Controlling the Camera: Executing Orbits and Parallax Without Distortion
To create a compelling product commercial, you need dynamic camera movement. The most common commercial camera moves are orbits, dollys, and parallax pans. Executing these without warping the product requires strict adherence to spatial layer separation.
When prompting camera movements, avoid prompts that describe the product moving (e.g., "bottle rotating"). Instead, prompt the camera's physical motion relative to a static asset (e.g., "cinematic camera orbit, 360-degree slow rotation, product remains stationary, dynamic background parallax"). For advanced techniques on executing clean, circular paths around your subject, refer to our guide on prompting cinematic 360-degree orbit shots.
To sell the illusion of three-dimensional depth, we employ the Split-Plane Protocol for cinematic parallax. By separating the foreground product layer from the midground and background, we can move the background at a slightly faster relative speed than the foreground. This mimics the natural optical behavior of physical lenses, making the generated scene feel incredibly realistic without subjecting the product itself to destructive AI distortion.
Environmental Cohesion: Placing the Product in Dynamic Light and Spaces
Once you have isolated your product and defined your camera path, the next challenge is environmental cohesion. A floating product cutout pasted onto a moving background will look flat and amateurish. The product must interact realistically with its synthetic surroundings.
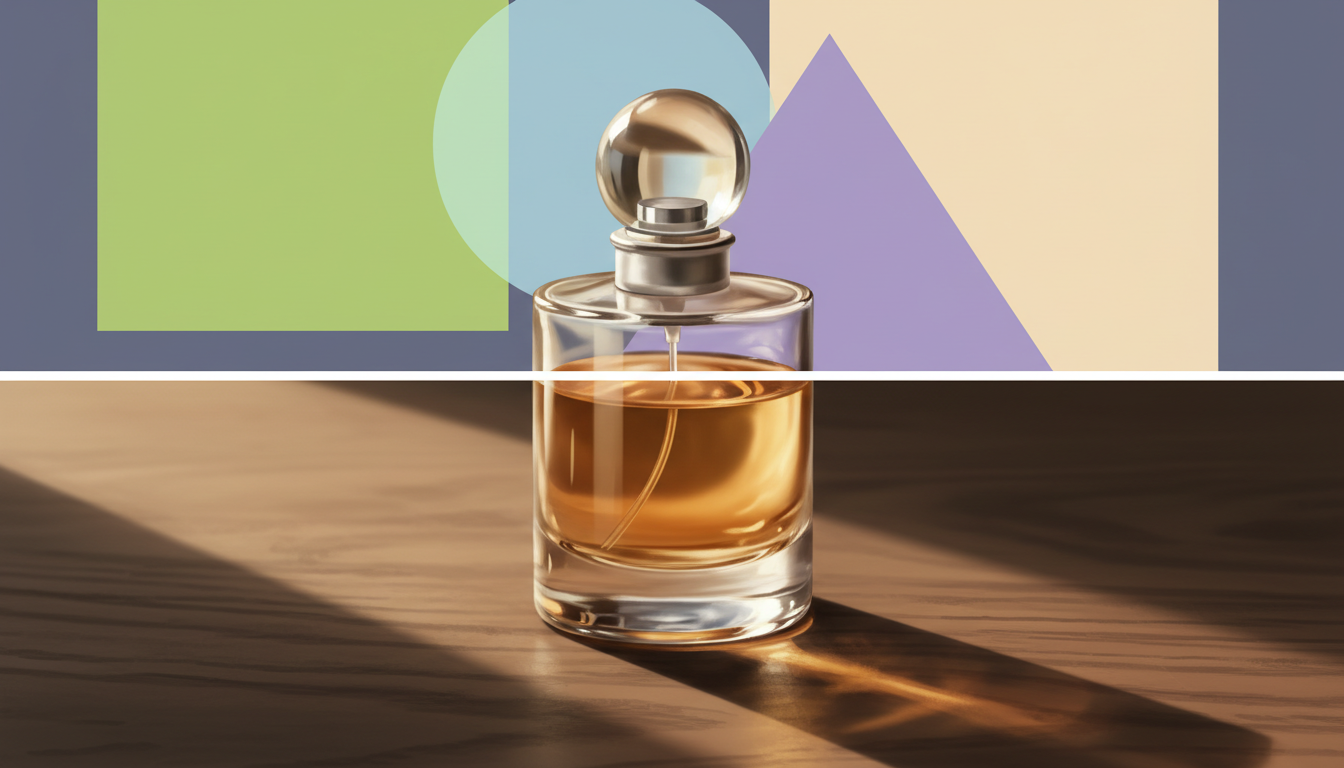
To achieve this, we implement the Environmental Cohesion Protocol. This involves analyzing the original product photograph's lighting—identifying key light directions, color temperature (such as warm tungsten or cool daylight), and shadow falloff—and matching those parameters in the AI background prompt. If your original photo has a harsh key light coming from the top-right, your generated background must feature a light source that corresponds perfectly with that angle.
Furthermore, materials like glass, chrome, and polished plastic require realistic reflections. During the final temporal refinement pass, we use a low-denoising img2img step to allow the environment's colors to subtly bleed into the reflective surfaces of the product. Finally, adding dynamic environmental elements—such as floating dust motes, realistic lens flares, or soft smoke—helps blend the digital seams and sells the organic realism of the shot.
Choosing Your Engine: The Multi-Model Shot List for Product Video
There is no single AI video model that excels at every type of product shot. A high-end commercial is composed of different camera angles, pacing, and visual styles. To build a cohesive 15-second spot, you must adopt a multi-model shot list approach, assigning specific engines to the tasks they perform best.
For example, high-detail macro close-ups that focus on material textures require an engine that excels at static spatial resolution with minimal, slow-dolly motion. Conversely, wide shots featuring complex physics—such as water splashes, condensation ripples, or moving smoke—require engines optimized for highly fluid, high-motion generation.
By segmenting your commercial into a structured shot list, you can generate each clip using the optimal tool, then composite and color-grade them in a traditional editor. This hybrid workflow combines the speed of AI with the surgical precision of professional post-production, ensuring your product remains the uncompromised hero of the frame.
How do I prevent my product logo from warping in AI video?
To prevent logo warping, do not use direct image-to-video generation on the entire image. Instead, isolate the product and its logo onto a separate layer using segmentation tools. Keep this layer rigid and project the camera movement around it, or re-composite the high-resolution logo back onto the generated video during post-production using a tracking mask.
What is the best AI video generator for turning a photo into a video?
There is no single "best" generator. For high-fidelity, static, or slow-moving macro shots, engines like Midjourney combined with Stable Diffusion or specialized image-to-video tools work best. For highly dynamic environmental motion (like water splashes or smoke), high-motion engines are preferred. A hybrid, multi-model approach yields the best professional results.
Can I generate a 360-degree view of a product from only one image?
A true 360-degree rotation requires seeing the back of the product, which a single photo cannot provide. However, you can simulate a dramatic 180-degree or partial 360-degree orbit shot by keeping the product layer stationary while rotating the background and lighting, creating a highly convincing cinematic illusion of a full rotation.
How do I keep lighting consistent when changing the background of a product photo?
To maintain lighting consistency, analyze the light direction, color temperature, and shadow softness of your original product photo. When prompting the AI for a new background, explicitly specify these lighting parameters. Finally, use a low-denoising temporal pass to blend the product's edge reflections with the new background colors.



