
The Geometry of the Loop: How to Prompt and Keyframe Infinite AI Video Cycles
A truly seamless loop isn't just a post-production trick—it requires a deliberate, generative strategy. Learn how to design, prompt, and keyframe native AI video loops that cycle infinitely with perfect temporal, lighting, and spatial continuity.
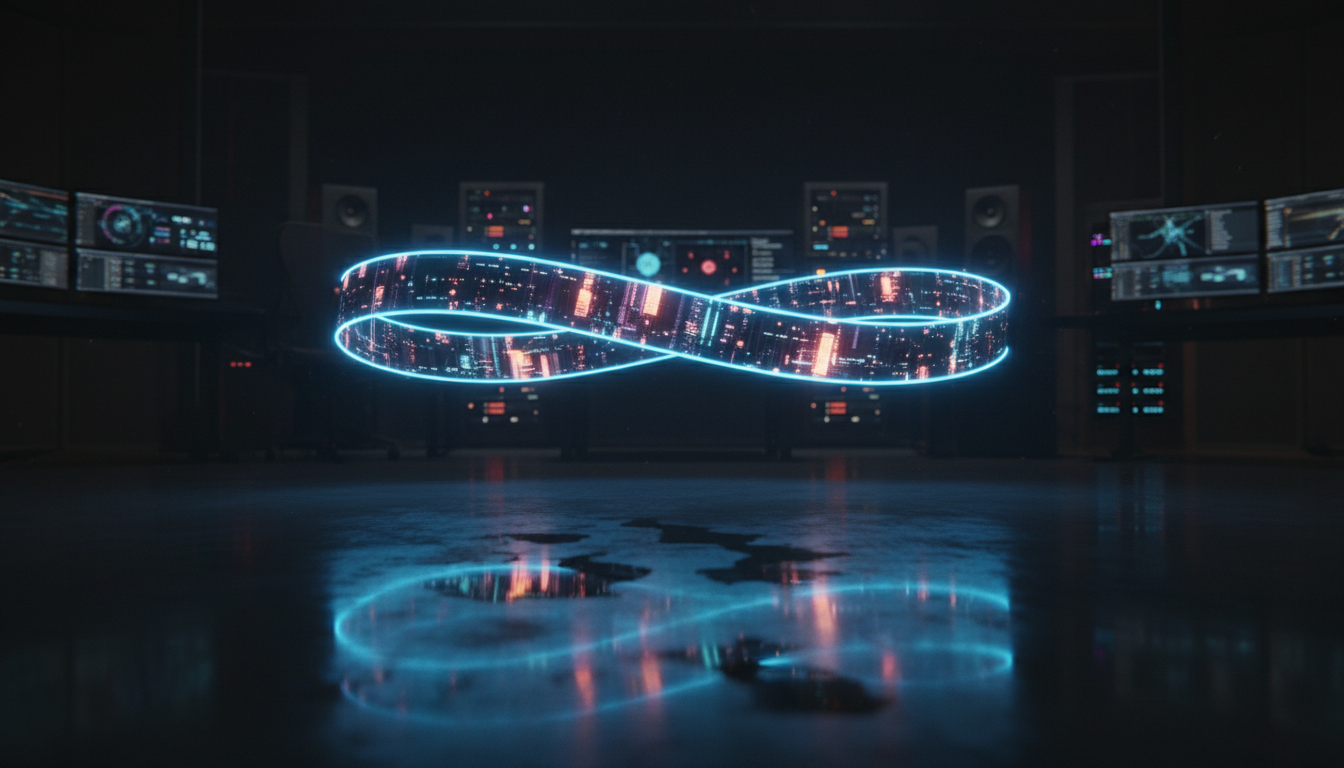
In traditional motion design, creating a seamless loop is a straightforward exercise in keyframing parameters or applying a linear crossfade in a non-linear editor (NLE). In the world of generative AI video, however, achieving an infinite cycle is notoriously difficult. Because neural networks generate frames sequentially based on probabilistic paths, they naturally drift over time, shifting lighting, mutating geometry, and introducing chaotic motion that shatters the loop at the seam.
Creating a truly seamless generative loop requires moving beyond lazy post-production band-aids. By combining strategic prompting with precise keyframing techniques, creators can guide the underlying AI models to calculate mathematical closure naturally. At Montagea, we look at this challenge not as a limitation to be patched in post, but as an architectural problem to be solved directly within the latent space of the generator.
The Anatomy of a Perfect Generative Loop
To understand why generative loops fail, one must look at how traditional editors attempt to fix them. In a standard NLE, the typical solution is to cut a clip, overlap the head and tail, and apply an opacity crossfade. While this works for simple ambient backgrounds, it introduces severe visual artifacts when applied to complex generative footage. The crossfade causes "ghosting" and "double-exposure" artifacts where objects exist in two places at once, breaking the physical reality of the scene. If a character is moving or camera depth shifts, the crossfade exposes the structural drift immediately.
A native generative loop, by contrast, maintains physical and temporal integrity. To achieve this, your generation must satisfy three core pillars:
- Spatial Alignment: Every object, foreground element, and background asset must occupy the exact same pixel coordinates at Frame 1 as they do at the final frame.
- Lighting Continuity: Volumetric light, shadow angles, and specular reflections must match perfectly. A sudden shift in light direction or intensity at the loop point is a glaring giveaway.
- Motion Vector Matching: The velocity and direction of moving elements must flow continuously. If an object is moving right at 5 pixels per frame at the end of the clip, it must enter the beginning of the clip moving right at that exact same velocity.
At Montagea, we advocate for treating AI models not as black-box slot machines, but as dynamic camera systems that can be guided toward mathematical closure. By establishing strict constraints on the model's starting and ending parameters, we can force the neural network to calculate a path of motion that naturally curves back into itself.
The First-and-Last-Frame Workflow: Forcing Temporal Closure
The most powerful technique for generating a native AI loop is the first-and-last-frame workflow. In standard image-to-video generation, you provide a single source image that serves as Frame 1, and the model predicts the subsequent frames. However, advanced video generation platforms now allow you to upload both a starting image (Frame 1) and an ending image (Frame X), forcing the model to interpolate the motion between them.
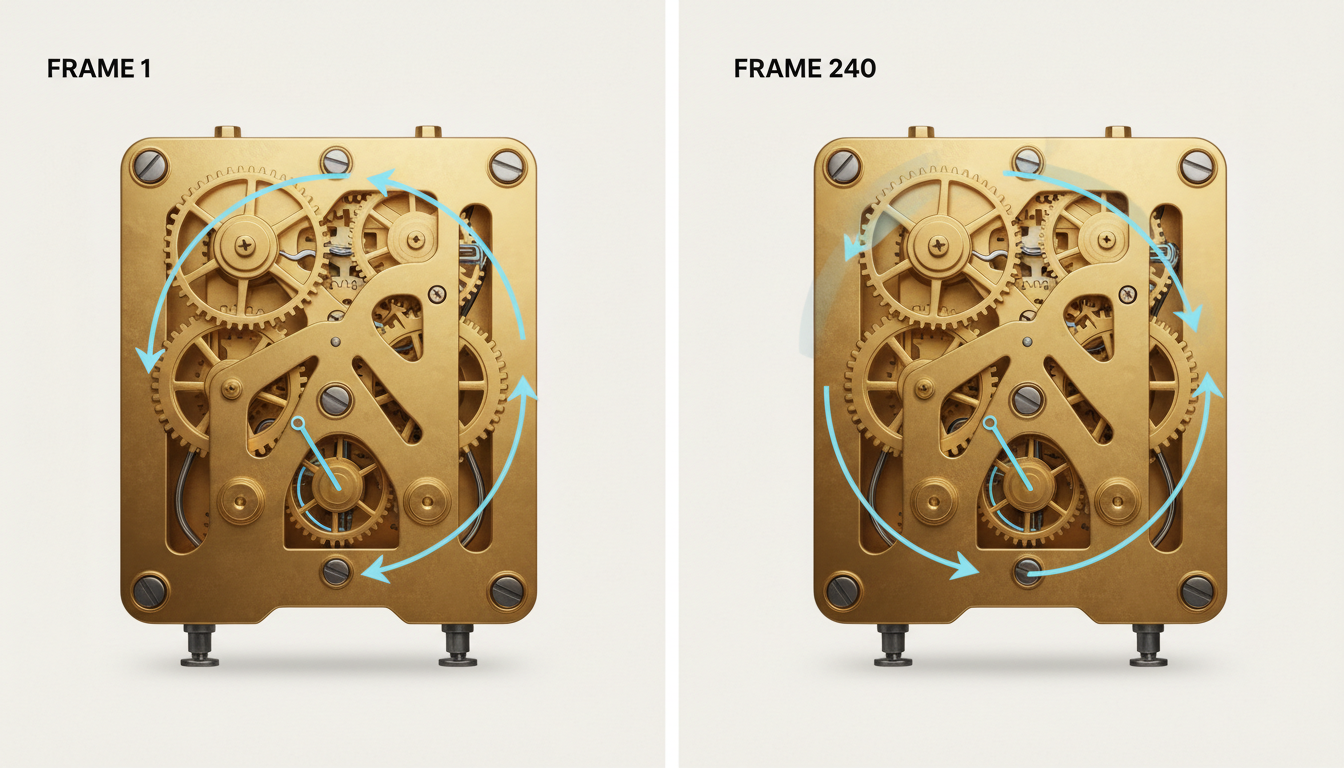
By feeding the exact same reference image as both the start frame and the end frame of your generation, you force the latent space to calculate a path that returns precisely to its origin. The AI cannot drift endlessly; it is mathematically anchored at both ends. The model must figure out a logical sequence of motion that begins at Image A, progresses through a series of transformations, and resolves cleanly back into Image A.
To master the precise technical execution of this technique, creators can leverage the Kling first and last frame workflow to force perfect visual alignment. When executing this workflow, the duration of the generation is critical. If the generation is too short (e.g., 2 seconds), the motion may look rushed or unnatural as the model scrambles to return to the starting frame. If the generation is too long (e.g., 10 seconds or more), the model may struggle to hold the structural integrity of the scene, leading to severe morphing mid-clip before it snaps back to the final frame. Aim for a sweet spot of 4 to 6 seconds for mechanical or physical loops.
Prompting for Cyclical Physics and Motion
While keyframing the first and last frames provides the structural boundaries, your text prompt dictates the nature of the motion within those boundaries. If you prompt for chaotic, linear, or unpredictable actions, the model will struggle to reconcile the middle frames with the identical start and end frames, resulting in awkward stalls or sudden reverse-motion artifacts.
To achieve a smooth cycle, you must prompt for high-probability looping motifs—actions that are naturally repetitive, orbital, or symmetrical. Excellent candidates include orbital camera sweeps, fluid dynamics (such as swirling smoke or flowing water), mechanical rotations, and rhythmic pulses.
When drafting your prompts, use specific modifiers that signal cyclical physics to the model. Avoid vague terms like "looping" on their own, as they can sometimes confuse the model into generating literal signs or repetitive patterns within a single frame. Instead, use precise physical descriptions:
- "Continuous 360-degree orbital camera rotation around the central subject, maintaining steady velocity."
- "Symmetrical kinetic motion of brass gears turning in a steady, rhythmic mechanical cycle."
- "Water flowing smoothly down a stone fountain, consistent fluid dynamics, loopable motion path."
- "A steady, rhythmic pulse of neon light illuminating the futuristic cityscape at regular intervals."
This ensures your loop remains dynamic and organic, helping you actively fix frozen and stagnant motion that often plagues automated video generations. Conversely, avoid prompting for complex human actions, sudden explosions, or random environmental changes. If you prompt for a character to take a drink from a cup, the model will struggle to return the arm to the exact starting position without looking unnatural or reversed.
Designing Orbitals and Mechanical Cycles
Mechanical loops are the easiest to execute because their physical paths are mathematically predictable. If you are generating a close-up of a clockwork mechanism, the gears have a fixed axis of rotation. The AI model can easily calculate the rotational vectors needed to bridge the start and end frames. When working with organic elements like fire or water, focus your prompt on localized, micro-motions rather than sweeping macro-changes. For example, instead of prompting a "raging forest fire," prompt a "glowing campfire with gently rising embers and steady flickering light." The smaller the scale of motion, the easier it is for the model to maintain spatial alignment.
The Post-Production Polish: Blending and Match Cutting
Even with a perfect first-and-last-frame generation, you may occasionally notice a slight visual "pop" or micro-morph at the seam where the clip restarts. This is because the AI model, while returning to the correct visual structure, might have slightly different motion vectors or noise patterns in the frames immediately preceding and following the cut. To achieve absolute perfection, you can apply a professional post-production technique known as the "Split, Swap, and Blend" workflow.
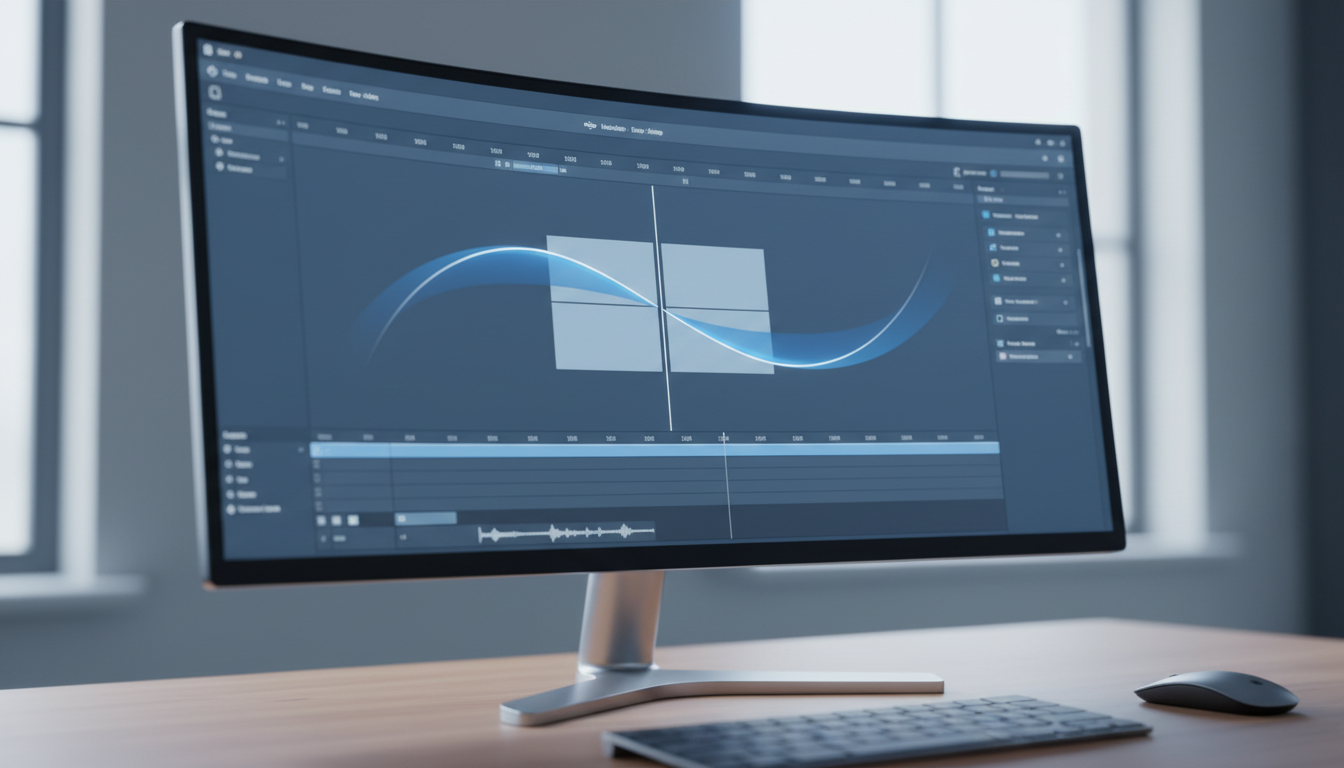
First, import your generated clip into your NLE of choice. Cut the clip exactly in half. Take the second half of the clip and move it to the beginning of your timeline, and move the first half to the end. Because the middle cut of your original generation was generated sequentially by the AI, it is already 100% seamless and continuous. That seamless cut is now your new start and end point on the timeline.
The original start and end frames of your generation—where the minor micro-morph or vector misalignment might exist—are now sitting next to each other in the exact middle of your timeline. To blend them, apply a highly targeted, feathered transition (such as a 5-to-10 frame cross-dissolve or a localized morph cut) over this new center cut. Because the visual structure of these two frames is already nearly identical due to your keyframing, the transition will be completely invisible to the naked eye.
Understanding the geometry of match cuts is essential for aligning motion vectors so that the viewer's eye never registers the moment the clip restarts. If you have a moving camera, ensure that the camera's speed and focal depth remain consistent across the seam. To ensure your loop is truly flawless, run through this post-production checklist before exporting:
| Check Area | Potential Issue | Diagnostic Action |
|---|---|---|
| Luminescent Drift | The overall brightness or color grade shifts subtly over the duration of the clip. | Apply a color stabilizer or match the exposure of the first and last frames using a lumetri color curve. |
| Edge Warping | The extreme edges of the frame warp or stretch as the model attempts to reconcile the loop. | Apply a subtle 2% to 5% digital scale (zoom) in post-production to crop out edge artifacts. |
| Micro-Jitter | High-frequency noise or rapid pixel shaking occurs right at the transition point. | Apply a temporal denoiser or a subtle motion blur effect to the transition frames to smooth out high-frequency discrepancies. |
Troubleshooting Loop Glitches: Morphing, Drift, and Stutter
When generating complex scenes, you will occasionally encounter "drift"—a phenomenon where the background elements, secondary characters, or props slowly mutate over the course of the clip, even if the camera movement is perfectly circular. For instance, a window in the background might slowly turn into a bookshelf, or a character's clothing might change color. This happens because the model loses track of its spatial memory over long generation sequences.
To combat drift, you must maintain strict control over the visual assets in your scene. Ensuring high fidelity across the generation requires mastering the physics of prop continuity in AI video production. By keeping your props, background details, and structural elements highly defined in your initial prompt, you prevent the model from generating random details mid-loop. Furthermore, if your loop features human faces, you must implement techniques for stopping face morphing in AI video production, as even a minor 1% shift in facial structure will destroy the illusion of continuity.
If your loop continues to stutter, use the diagnostic matrix below to quickly identify the root cause and apply the correct solution:
- Symptom: The video pauses or freezes right before the loop point.
Solution: Your prompt contains too many conflicting motion commands. Simplify the prompt, lower the motion intensity setting in your generator, or reduce the duration of the clip. - Symptom: The camera "rubber-bands" (moves forward, then backward) instead of moving in a continuous loop.
Solution: The model is struggling with the first-and-last-frame interpolation. Ensure you are prompting for explicit unidirectional movement (e.g., "continuous forward camera push" rather than "camera movement"). - Symptom: Objects morph into entirely different shapes in the middle of the clip.
Solution: The seed is too chaotic. Lower the generation's "creativity" or "motion" slider, or use a more detailed reference image to lock down the geometry.
By treating loop generation as a science of physical constraints rather than a game of chance, you can produce stunning, high-fidelity infinite assets that look completely native. Whether you are designing ambient backdrops for virtual production, looping motion graphics, or mesmerizing cinematic sequences, mastering the geometry of the loop unlocks a new level of professional polish in your AI filmmaking toolkit.
Why does my AI video loop jump or stutter at the seam?
A jump or stutter at the seam usually occurs because of a mismatch in motion vectors or spatial alignment between the final frame and the first frame. Even if the visual elements look identical, if their velocity or direction of movement doesn't match perfectly, the viewer's eye will register a sudden stop-and-start. To fix this, use the "Split, Swap, and Blend" technique in post-production to place the seam in the middle of your timeline and apply a feathered transition.
How do I make a video loop seamlessly in Runway Gen-3?
To create a seamless loop in Runway Gen-3, utilize the advanced camera control features to set a highly predictable, linear path (such as a slow zoom or panning motion). Combine this with a detailed prompt specifying cyclical motion. While Runway Gen-3 does not currently feature a native "first and last frame" input, you can generate a steady clip, export it, and use the split-and-swap editing technique in post-production to achieve a perfect loop.
What are the best prompts for generating seamless looping motion?
The best prompts focus on predictable, continuous physical forces. Use phrases like "continuous 360-degree orbital rotation," "steady rhythmic pulse," "symmetrical kinetic motion," or "smooth fluid dynamics." Avoid prompting for chaotic, unpredictable actions like explosions, complex human dialogue, or sudden jumps, as these cannot easily resolve back to their starting point.
Can I use Midjourney to help create a seamless AI video loop?
Yes. You can use Midjourney to generate a highly detailed, symmetrical, or loop-friendly starting image. Once you have the perfect base image, import it into an image-to-video generator (like Kling or Runway) as your reference frame. If the video model supports first-and-last-frame keyframing, use that exact same Midjourney image for both slots to force temporal closure.



