
Beyond the Zoom Out: Prompting Cinematic Pull-Back Reveals in AI Video
Stop relying on basic zoom out prompts that warp your characters. Learn how to structure precise spatial prompts and utilize native camera controls to execute flawless cinematic pull-back reveals.
Executing a flawless camera retreat is one of the most reliable indicators of professional-grade cinematography. In traditional filmmaking, a physical dolly-out or a crane pull-back does not merely shrink the subject; it dynamically shifts perspective, alters parallax, and slowly introduces new, contextually rich environmental elements to redefine the scene. It is a narrative tool used to evoke isolation, reveal a hidden threat, or establish the grand scale of a setting.
In the realm of AI filmmaking, however, executing this classic camera move is notoriously difficult. Most creators default to typing simple prompt tags like "zoom out" or "camera pulls back," only to watch their generations collapse into warped faces, sliding geometry, or completely different characters. At Montagea, we treat camera movement as a precise interaction between spatial geometry and temporal consistency. To achieve true cinematic control, you must move beyond generic motion terms and master the mechanics of spatial prompting.
The Anatomy of a Cinematic Pull-Back (Why AI Struggles with Camera Retreats)
To write prompts that guide AI video models predictably, you must first understand why they fail during camera retreats. In traditional physical production, a lens zoom and a physical camera pull-back (dolly out) are fundamentally different. A digital or optical zoom simply crops and magnifies the center of the frame, maintaining flat spatial relationships. A physical pull-back changes the camera's position in 3D space, causing foreground objects to move past the lens faster than background elements—a phenomenon known as parallax.
AI diffusion models do not naturally understand 3D physical space; they predict sequences of 2D pixels based on patterns learned from training data. When you prompt a camera to retreat, the AI faces a severe computational challenge: it must generate entirely new, contextually accurate visual data at the expanding margins of the frame, while simultaneously shrinking and compressing the resolution of the central subject.
This dual requirement is why basic "zoom out" prompts fail. As the central subject occupies fewer pixels, the model loses the semantic weight of that subject. To the AI, a face that was once 1000 pixels wide is now only 50 pixels wide. Lacking specific instructions on how to handle this transition, the model begins to morph the character's features, introduce camera drift, or fabricate random objects to fill the newly created peripheral space. To prevent this, you must explicitly guide the model through the transition using structured spatial anchors.
The Three-Step Prompting Framework for Controlled Reveals
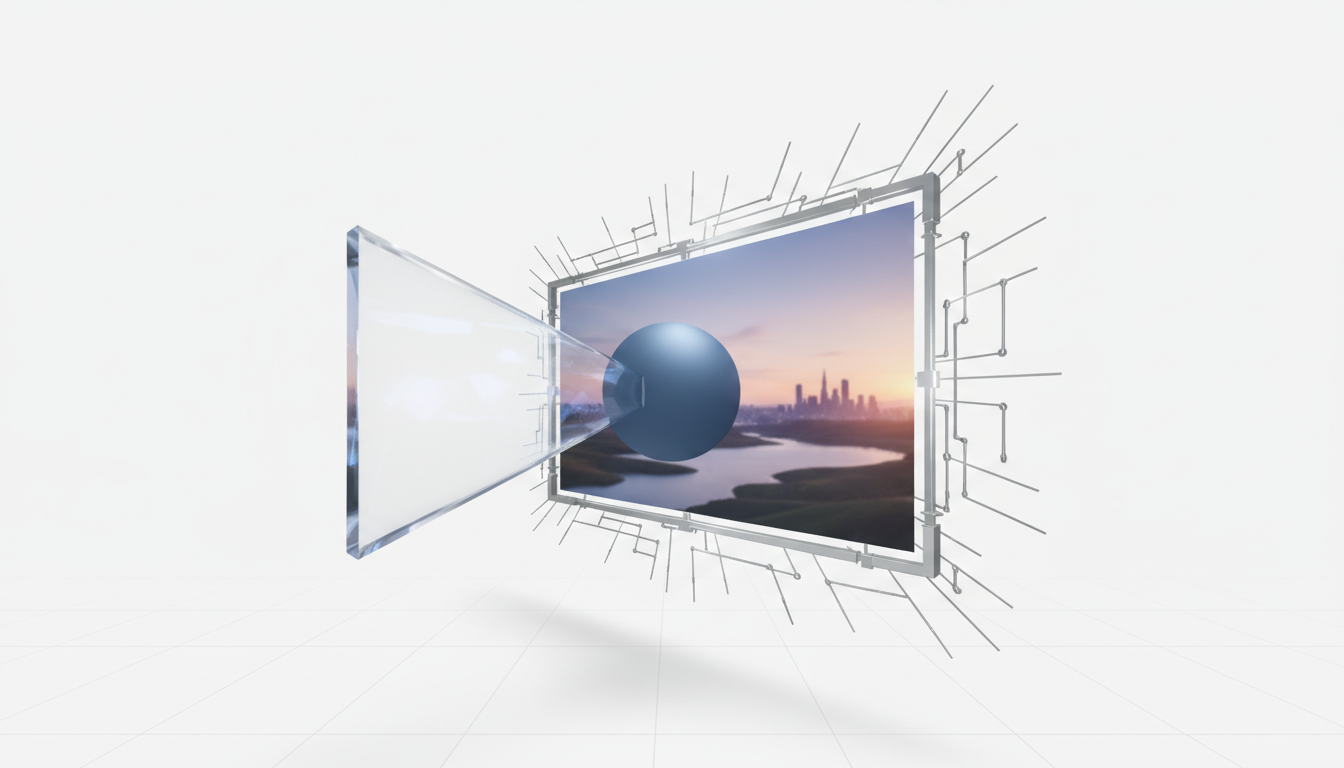
To overcome the limitations of standard text-to-video generators, Montagea has developed a reliable syntax called the Anchor-Vector-Horizon (AVH) prompting framework. By breaking your prompt into these three distinct spatial components, you give the AI generator a clear mathematical blueprint for both the camera's movement and the environment it is about to reveal.
Step 1: The Anchor
The Anchor defines your starting composition in hyper-specific detail. This is the close-up or medium shot that initiates the video generation. By locking down the precise visual characteristics of your subject first, you prevent the AI from generating a generic or muddy starting frame. When establishing this starting composition, referring to our comprehensive guide on mastering the eyeline match to explain how establishing a solid anchor point helps preserve spatial continuity and natural eyeline matches in subsequent shots is highly beneficial for maintaining visual coherence.
Step 2: The Vector
The Vector specifies the physical mechanics of the camera's movement. Avoid using the word "zoom" entirely, as it triggers flat scaling. Instead, use physical, cinematic motion descriptors. Phrases like "continuous slow dolly back," "receding camera axis," or "smooth crane pull-back" signal to the model that you expect a change in perspective and parallax rather than a simple digital crop change.
Step 3: The Horizon
The Horizon describes the wider environment that will gradually fill the frame as the camera retreats. If you do not specify what lies outside the initial close-up, the AI will hallucinate backgrounds, often resulting in messy transitions or repeating patterns. Explicitly detail the geometry, lighting, and scale of the surrounding environment that is waiting to be revealed.
Here is an example of how to assemble these three components into a single, cohesive prompt:
[Anchor:] A tight close-up of a weathered stone key resting inside a dusty wooden keyhole. [Vector:] The camera executes a smooth, continuous dolly back along the Z-axis, expanding the field of view. [Horizon:] Slowly revealing a massive, arched stone library door surrounded by towering, ivy-covered bookshelves under dim candlelight.
Maintaining Character and Asset Consistency During Scale Shifts
The most common casualty of a camera retreat is character consistency. As the camera pulls away and the character occupies a smaller portion of the frame, "scale-induced morphing" often occurs. A character's facial structure might shift, or their wardrobe may completely change style or color mid-generation.
To combat this, you must apply specialized workflows designed to lock down assets across different scales. To ensure your characters remain recognizable from the first frame to the last, refer to our comprehensive guide on cracking the scale barrier to maintain character consistency across close-ups and wide shots. This spatial continuity workflow ensures that the physical dimensions and features of your subject remain mathematically logical as the camera retreats.
Additionally, keeping clothing details stable is critical to preventing distracting visual pops during a reveal. You can maintain a seamless look by keeping clothing details stable by applying specialized AI wardrobe consistency workflows. When using these workflows, pair your AVH text prompt with a seed lock (if your platform supports it) or use a high-resolution character reference image as an input guide. This forces the generator to reference the same design coordinates even as the pixel density of the character decreases.
Platform-Specific Controls: Camera Motion Vectors vs. Text Prompts
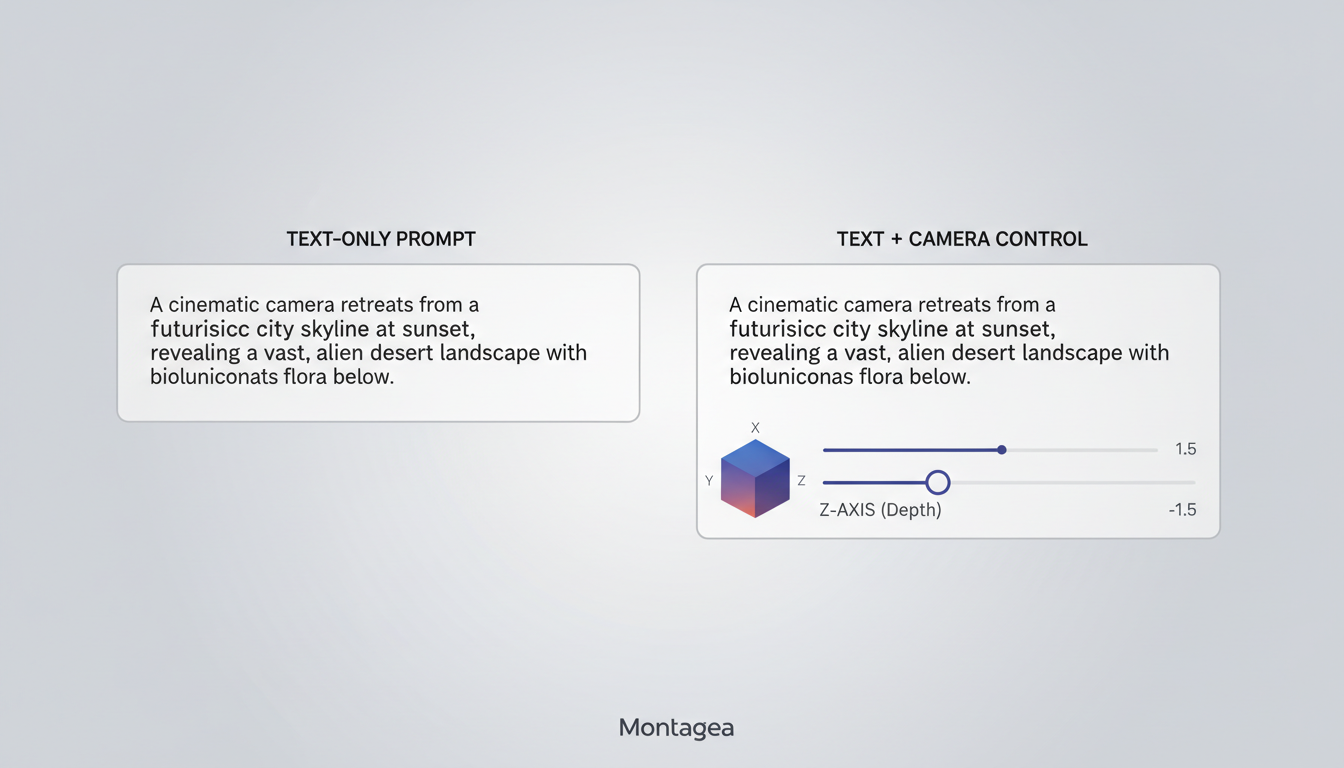
While a well-structured text prompt is the foundation of a great pull-back, combining your text with native user interface (UI) camera controls yields the highest success rates. Different AI video platforms interpret motion prompts with varying degrees of accuracy. The table below outlines how the leading generators handle camera retreats and provides recommendations for each.
| Platform | Motion Fidelity | Native Camera UI Control | Pull-Back Success Rate | Recommended Workflow |
|---|---|---|---|---|
| Runway Gen-3 Alpha | Excellent | Advanced (Directional Camera Controls) | High | Combine AVH prompt with negative Z-axis camera motion slider (-3 to -5). |
| Luma Dream Machine | Very Good | Camera Path Presets | Medium-High | Use First/Last Frame image prompts to bookend the motion, paired with descriptive text. |
| Kling AI | Good | Basic Slider Controls | Medium | Use the negative Zoom/Distance slider to force camera retreat, keeping prompt descriptions simple. |
To maximize predictability, use a First-Frame and Last-Frame composition workflow. Instead of relying solely on a text prompt to guide the entire generation, generate or paint two distinct images: one extreme close-up (the Anchor) and one wide shot (the Horizon). Upload the close-up as the first frame and the wide shot as the last frame. This forces the AI generator to interpolate the camera retreat cleanly between two defined compositions, eliminating the risk of unexpected camera drift or random background generation.
Troubleshooting Common Pull-Back Artifacts
Even with precise prompting, complex camera movements can introduce artifacts. Here is how to identify and resolve the three most common issues encountered during AI camera retreats:
- Prompt Bleeding: This occurs when elements of your "Horizon" description start appearing in the initial "Anchor" close-up too early. For example, if you prompt a reveal of a forest, leaves might start growing out of your subject's face in the opening frames. To fix this, use structural weight tags or order your prompt strictly chronologically, placing the close-up details at the very beginning and using transition phrases like "gradually revealing over time."
- The Hallway Effect: Sometimes, the camera will appear to travel down an endless, repeating corridor of geometry instead of opening up into a wide space. This happens because the AI gets stuck in a loop of outpainting similar patterns. To break this loop, introduce distinct lateral elements in your Horizon description (e.g., "opening up into a wide, open-air meadow with a clear blue sky") to force the model to change its geometric trajectory.
- Camera Drift: If your camera begins to tilt or pan wildly during the pull-back, your motion vectors are too vague. Ensure you specify a single, clean axis of movement. Specify "perfectly straight camera retreat along the center line" to lock down the horizontal and vertical axes.
Finally, it is crucial to distinguish a standard cinematic pull-back from more complex, dynamic camera maneuvers. If you are looking for a highly stylized, disorienting perspective shift rather than a clean reveal, you will need a different prompting strategy. Contrast the simple camera retreat with the advanced setup required for simulating cinematic dolly zooms in AI video, which requires simultaneous lens zooming and physical camera movement in opposite directions.
By mastering the Anchor-Vector-Horizon framework and leveraging native platform controls, you can consistently execute clean, professional pull-back reveals that elevate your AI-generated scenes from amateur clips to cohesive, cinematic visual stories.
Why does my AI video generator morph characters when I prompt a zoom out?
When an AI model executes a zoom out, the character occupies progressively fewer pixels in the frame. Because the model has less visual data to work with, it loses the semantic track of the character's features. Without specific anchor prompts and scale-consistency workflows, the AI will hallucinate new details, leading to morphing faces and changing wardrobe.
What is the best text prompt for a clean camera pull-back reveal?
The most effective prompts use the Anchor-Vector-Horizon framework. Start by describing the close-up subject in detail, specify a physical movement using terms like "continuous slow dolly back along the Z-axis," and finish with a detailed description of the wider environment that will be revealed as the camera retreats.
How do I use first and last frames to control a camera retreat in AI?
Generate or paint two separate images: a close-up of your starting subject (the first frame) and a wide shot of the final scene (the last frame). Upload both to an AI generator like Luma Dream Machine or Runway Gen-3, and use a motion prompt to instruct the AI to interpolate a smooth camera pull-back between the two compositions.
Can I use camera motion brushes to paint a pull-back direction?
Yes. While motion brushes are typically used for localized element movement (like flowing water or wind), some platforms allow you to paint the entire frame and direct it backward. However, for overall camera retreats, using the native Z-axis camera motion UI sliders (set to negative values) is far more precise than using brush strokes.



