
The Progressive Extension Protocol: How to Chain and Extend Cinematic Shots in Google Veo
Don't let the 5-second limit dictate your cinematic narrative. Learn how to systematically extend Google Veo generations into seamless, long-form sequences without losing visual fidelity or camera trajectory.
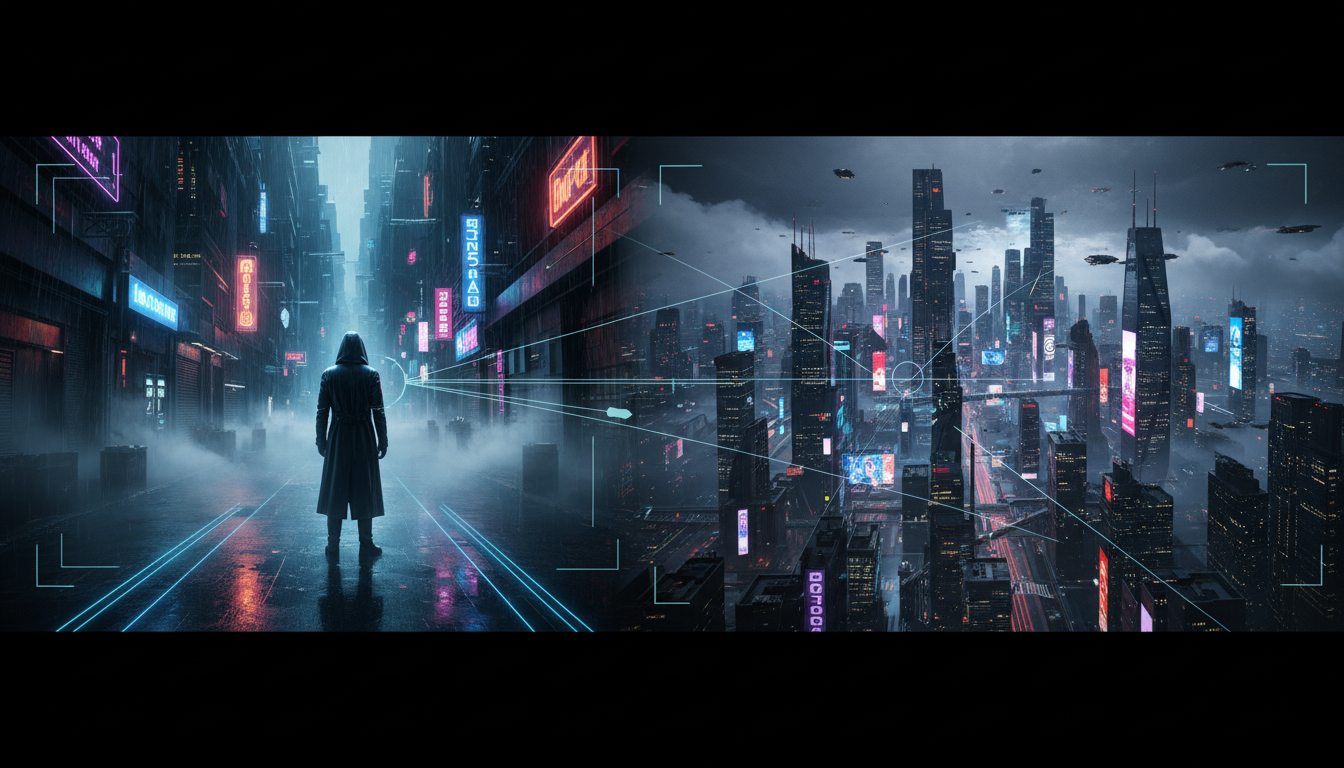
Standard AI video generation often feels like a series of disjointed, short-burst moments. While advanced models like Google Veo produce stunning initial outputs, filmmakers quickly hit a wall when trying to build sustained narrative sequences. The typical five-to-ten-second clip limit forces editors to rely on rapid cuts, disrupting the slow-burn pacing and deliberate camera movements that define high-end cinematic storytelling.
To break free from these constraints, we must treat video extension not as a random roll of the dice, but as a controlled, multi-stage camera move. At Montagea, our production team has developed the Progressive Extension Protocol—a systematic framework designed to modulate prompts, maintain spatial references, and extend Veo sequences beyond the 30-second mark while preserving absolute visual fidelity and motion continuity.
The Anatomy of Temporal Decay in AI Video Extension
To successfully extend a video clip, you must first understand why AI models naturally degrade over time. This phenomenon, known as "temporal decay," manifests as a compounding of visual errors, morphing artifacts, and resolution loss as a clip grows longer. The root cause lies in the limitations of the model's context window. When an AI engine generates a video, it looks back at the preceding frames to predict the next frame. As the sequence lengthens, the mathematical weight of the earliest frames diminishes, causing the model to "forget" the original spatial layout, lighting setup, and character geometry.
Google Veo handles temporal context by analyzing the final frames of a seed clip and using them as a latent reference for the next sequence. However, standard prompting fails after the first five-second boundary because the user often asks the model to generate too much new information at once. When the engine is forced to guess how to bridge a massive jump in action, it introduces micro-hallucinations—such as background bubbling or facial morphing—to fill the gaps.
To mitigate this, professional editors often contrast Veo's continuous generation mechanics with the precise control offered by Kling's first-and-last-frame workflow. While Kling allows you to anchor both ends of a sequence to force a specific trajectory, Veo's strength lies in its fluid, autoregressive extension capabilities. Mastering Veo requires you to guide this fluid generation frame-by-frame, ensuring the model never has to guess the visual state of the next second.
The Progressive Extension Protocol: Step-by-Step
The Progressive Extension Protocol is a structured, three-phase workflow designed to extend a shot incrementally while maintaining absolute control over the visual narrative. By treating each extension as a logical mathematical addition to the previous frame, you prevent the AI from drifting off-model.
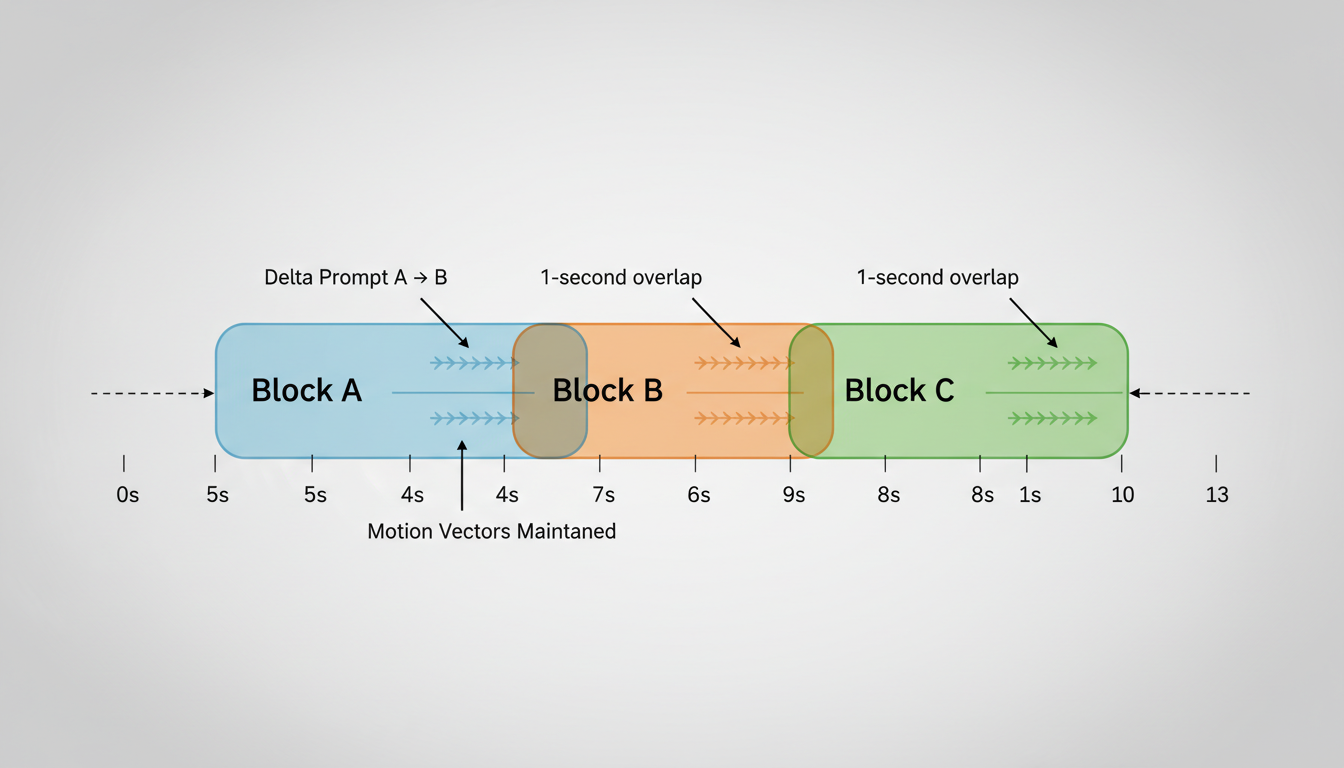
Executing the Three-Phase Protocol
Phase 1: Establishing the Anchor Clip
Every successful long-form sequence begins with a highly stable anchor clip. When generating your initial five-second shot in Google Veo, select a seed that exhibits minimal compression artifacts and a predictable, smooth camera trajectory. Avoid chaotic elements like heavy rain, smoke, or erratic crowds in the first pass, as these random noise patterns make it incredibly difficult for the engine to calculate clean transitions during the extension phase.
Phase 2: The Overlap and Prompt Modulation
When you initiate an extension, do not copy and paste your original prompt. Doing so confuses the engine, as it tries to pack the entire sequence's action into the new five-second block. Instead, write "delta prompts"—descriptions that only detail the incremental changes occurring in the extended timeline. For example, if your anchor prompt was:
"A detective walks down a rainy neon-lit alleyway, tracking shot."
Your delta prompt for the first extension should be:
"The detective stops under a flickering streetlamp, looking up at a building, camera slowly tilts up."
This tells the model to preserve the established alleyway environment while executing only the new action and camera movement.
Phase 3: Seed Management and Temporal Weighting
To ensure a seamless transition between the anchor clip and the extension, keep the original seed locked if the interface allows, or maintain a highly consistent noise profile. In Veo, adjusting the motion strength parameter is critical. For extensions, lower the motion strength slightly (e.g., from 7 to 5) to give the model more stability as it transitions across the stitch point. This prevents the sudden jump in speed or physics that often ruins extended shots.
At Montagea, our editorial team uses this protocol to maintain character consistency across complex narrative arcs without relying on heavy post-production paint-outs. By feeding the engine precise delta prompts that respect the spatial layout of the previous frame, we keep the underlying geometry stable, saving hours of manual rotoscoping and face-fix passes in traditional editing suites.
Managing Camera Motion and Parallax Across Extensions
One of the most difficult challenges in long-form AI filmmaking is camera drift. When extending a clip, the virtual camera has a tendency to stop, reverse direction, or spin wildly. This happens because the model loses track of the physical momentum established in the anchor clip. To maintain consistent camera trajectories—such as pans, dollys, and cranes—you must use explicit directional prompting vectors in your delta prompts.
If your anchor clip features a slow pan to the right, your extension prompt must explicitly state: "continuing the slow pan to the right at the same speed, revealing...". This instructs the model's latent motion vectors to maintain their current direction rather than resetting the camera to a static position.
Additionally, as the camera moves, the spatial relationship between the foreground and background must remain physically plausible. To achieve this, you can apply the Split-Plane Protocol to maintain realistic background parallax. By defining distinct depth layers in your prompt—such as specifying that the foreground elements move quickly while distant background buildings shift slowly—you prevent the entire frame from moving as a flat, two-dimensional card. This preservation of physical depth is what separates amateur AI generations from true cinematic footage.
Troubleshooting Veo Extension Artifacts
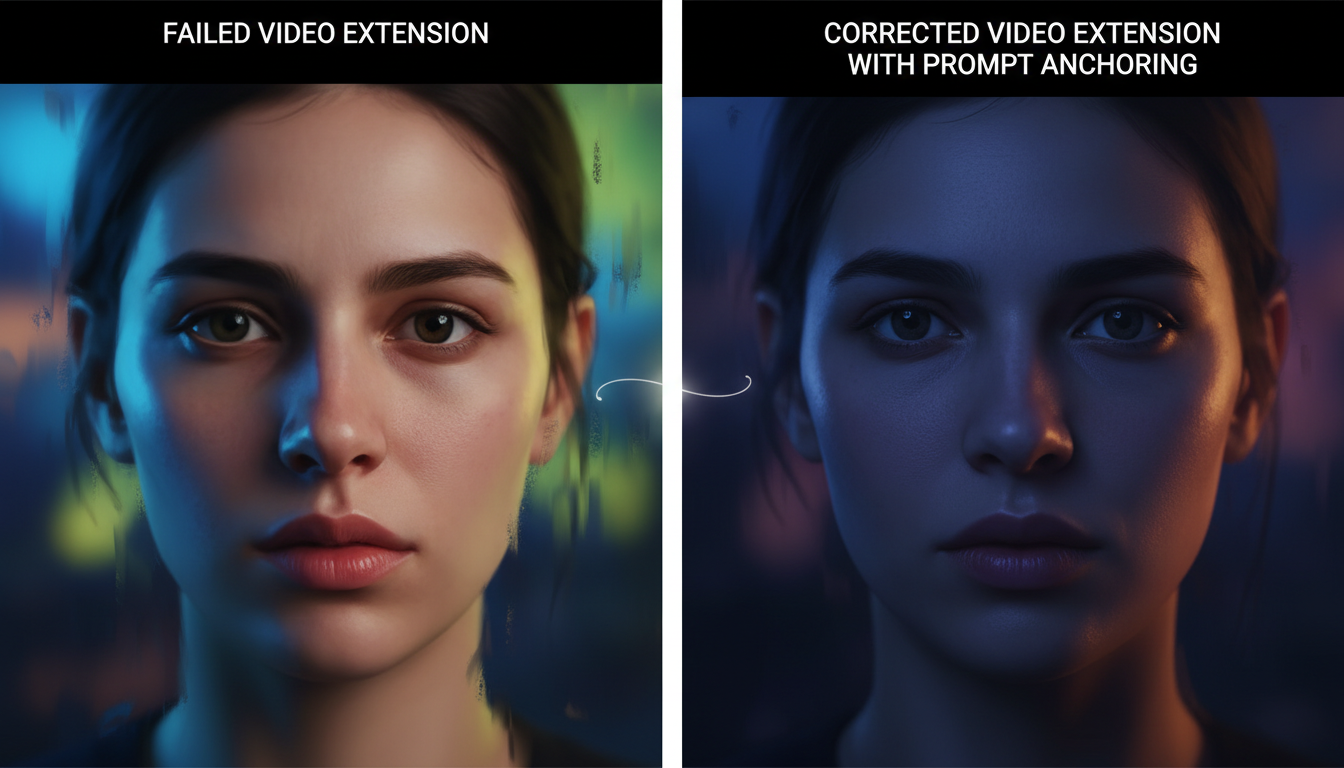
Even with a strict protocol, AI video engines can exhibit unexpected behaviors. When an extension begins to fail, you need a diagnostic framework to identify whether the sequence is salvageable or if you need to roll back to a previous keyframe. The table below outlines the most common extension failures, their root causes, and how to fix them.
| Failure State | Root Cause | Actionable Fix |
|---|---|---|
| Background Bubbling | The engine is trying to generate new details in empty spaces but lacks clear spatial instructions. | Simplify the background description in your delta prompt. Use terms like "static, out-of-focus background" to lock the geometry. |
| Facial Morphing | The context window has shifted, and the model has lost the mathematical coordinates of the character's face. | Lower the motion strength of the extension. If the morphing persists, use an image-to-video reference of the character's face to re-anchor the generation. |
| Lighting Shifts | The model has introduced a new light source or changed the color temperature to match a new prompt keyword. | Explicitly state the lighting conditions in every delta prompt (e.g., "maintaining the dim, blue neon lighting from the left"). |
| Camera Freeze | The engine has run out of motion vectors and has defaulted to a static image. | Increase the motion strength slightly and add active verbs to your delta prompt (e.g., "sweeping crane shot down"). |
If you encounter severe facial morphing or lighting shifts that occur in the very first second of an extension, do not attempt to extend the clip further. This indicates a fundamental prompt conflict. Your best course of action is to roll back to the anchor clip, adjust your delta prompt to be more conservative, and re-generate the extension. Continuing to extend a corrupted clip will only compound the errors, leading to a complete breakdown of the visual structure.
Integrating Veo Extensions into a Multi-Model Production Pipeline
While Google Veo is incredibly powerful, relying on a single AI model for an entire sequence is a bottleneck. True production efficiency comes from knowing how to integrate Veo's extension capabilities into a broader, hybrid pipeline. Instead of forcing Veo to handle tasks it isn't optimized for, focus on designing a highly efficient multi-model shot list. This approach assigns specific tasks to the engines best suited for them—using Veo for complex, continuous camera moves, while using other specialized models for rapid character performance or static background generation.
In pre-production, you can streamline this process by bridging the gap using a structured storyboard-to-motion pipeline. By generating highly detailed, compositionally stable reference images first, you give Veo a perfect blueprint to animate. This prevents the "dead-end frame" issue, where an image cannot be cleanly extended because its composition lacks depth or clear directional vectors.
Once you have successfully chained your extended sequences in Veo, the final step is post-production. Export your extended clips in a high-bitrate, uncompressed format (such as ProRes 422 HQ) and bring them into your non-linear editor (NLE). To blend the micro-transitions between extended clips, apply a subtle, uniform film grain pass across the entire timeline. This grain acts as a visual glue, masking minor compression artifacts and lighting shifts, resulting in a cohesive, cinematic sequence that feels like it was shot on a single roll of physical film.
How do I prevent my characters from changing appearance when extending a video in Google Veo?
To maintain character consistency, use "delta prompts" that focus only on the new action rather than re-describing the character. Additionally, keep your motion strength moderate (between 4 and 6) and ensure the lighting and camera descriptions remain identical to the anchor clip. If the character's face begins to drift, you can use a high-quality reference image of the character to re-anchor the visual details in the extension settings.
What is the maximum length I can extend a single video clip in Veo before quality degrades?
While you can theoretically extend clips indefinitely, visual quality and temporal consistency generally begin to degrade after 25 to 30 seconds (or 5 to 6 consecutive extensions). By applying the Progressive Extension Protocol, you can push this limit further, but we recommend planning natural narrative cuts every 20-30 seconds to refresh the model's context window and maintain maximum visual fidelity.
Should I change the prompt completely when extending a shot, or keep it the same?
Neither. You should use a delta prompt, which is an incremental modification of your original prompt. Keep the environmental and lighting descriptions the same to preserve continuity, but change the action and camera movement descriptions to reflect the progression of the shot. Completely changing the prompt will cause a jarring visual jump, while keeping it exactly the same will cause the action to loop or freeze.
How does Veo's video extension handle fast camera movements like whip pans or rapid tracking shots?
Fast camera movements are highly prone to motion blur and geometric distortion during extensions. If you need a fast camera movement, it is best to generate it as a self-contained shot rather than an extension. For extensions, stick to slow, controlled camera trajectories (like slow dollies, pans, or cranes) to allow the model to accurately calculate and preserve spatial depth and background parallax.



