
The Storyboard-to-Motion Pipeline: Bridging Static Panels and Temporal AI Video Continuity
Moving from static storyboards to fluid AI video often results in temporal drift and structural distortion. Discover a professional, step-by-step pipeline to translate sketches, blockouts, and concept art into high-fidelity cinematic motion.
Standardizing the jump from static storyboard panels to fluid AI-generated video remains one of the most frustrating bottlenecks in modern AI filmmaking. While image-to-video (I2V) engines promise instant animation, simply uploading a concept sketch or 3D blockout often yields chaotic camera swings, morphing geometry, and a complete loss of the original director's intent.
To bridge this gap, professional pipelines must treat static panels not as loose inspiration, but as strict spatial and compositional maps. At Montagea, we advocate for a structured translation layer—a systematic approach that combines precise image preparation, structured metadata, and advanced motion control to convert static storyboards into frame-perfect cinematic sequences.
The Fidelity Gap in Storyboard-to-Video Pipelines
The primary point of failure in standard image-to-video workflows is the loss of spatial intent. When an AI video generator processes a static image, it lacks the context of what lies beyond the frame, how objects relate in three-dimensional space, and how light should realistically interact with moving surfaces. The result is "temporal drift"—a phenomenon where details warp, backgrounds shift independently of the camera, and characters slowly morph into entirely different people over the course of a four-second clip.
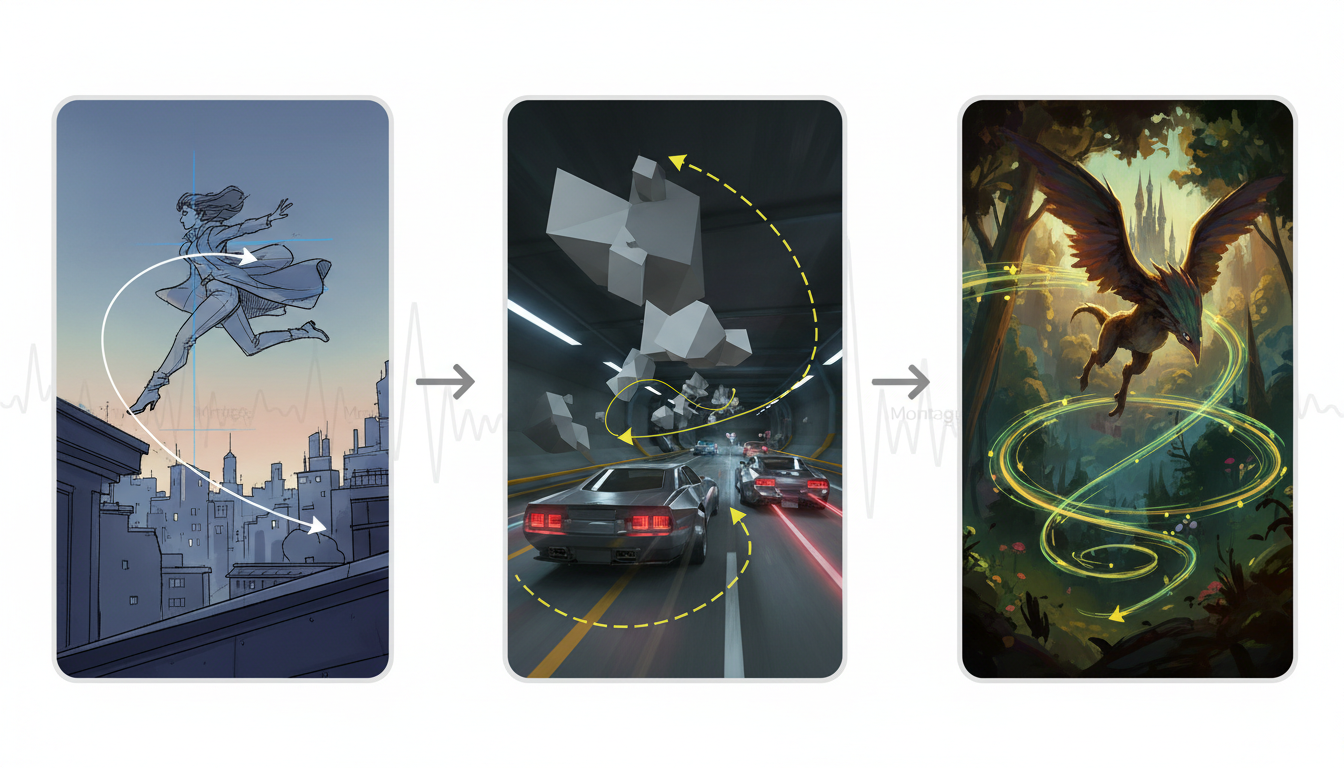
Traditional storyboarding relies heavily on shorthand symbols: arrows indicating camera pans, forced perspective lines, and rough blocking to denote character placement. AI models cannot inherently read these graphic design conventions. Instead of translating a drawn arrow into a camera pan, an I2V engine might physically animate a black arrow floating through the scene. Resolving this requires treating your storyboards as structural blueprints, stripping away non-diegetic symbols, and replacing them with explicit instructions that the AI can interpret mathematically.
Phase 1: Preparing Storyboard Panels for AI Interpretation
Before introducing a storyboard panel to an AI video generator, the asset must undergo a preparation phase to ensure structural readability. If you feed a low-resolution, sketch-heavy panel directly into an I2V engine, the model will struggle to differentiate between a character's arm and the background line work, leading to severe edge warping and visual noise.
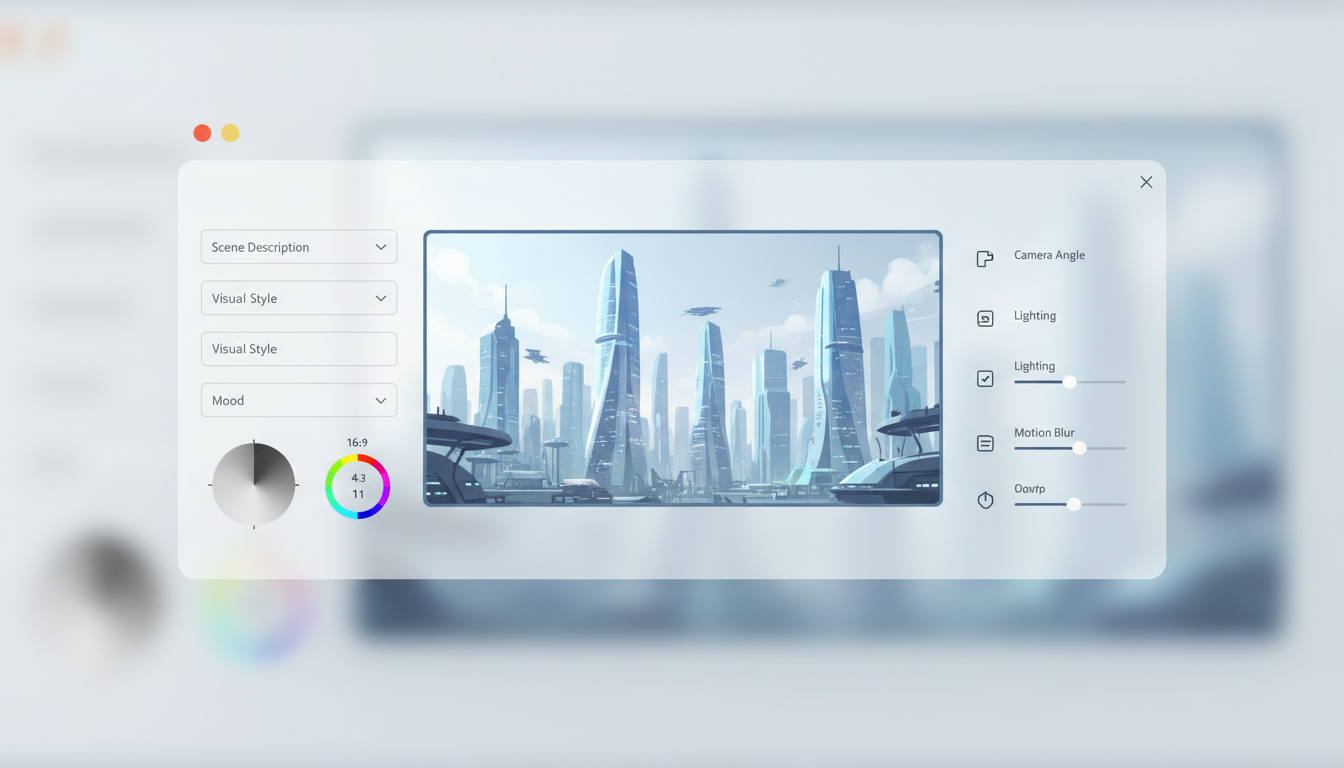
First, standardize your aspect ratios. If your production pipeline is targeting a 16:9 cinematic output, every single storyboard panel must be cropped and exported at exactly 16:9. For projects transitioning from widescreen to vertical formats, utilizing specific framing protocols ensures that the compositional weight of your shot remains centered and balanced without clipping critical action.
Second, categorize your storyboard assets by their visual fidelity:
- Rough Pencil Sketches: These require a preprocessing pass using edge-detection models (like Canny or Lineart ControlNets) to define boundaries before color and texture are generated.
- 3D Blockouts: Gray-box renders from software like Blender or Unreal Engine are ideal for AI pipelines. They provide perfect depth maps and surface normals, giving the generator a flawless understanding of three-dimensional space.
- High-Fidelity Concept Stills: These are color-graded and fully realized, allowing you to use them directly as style and structural references in the generation process.
Structuring the Scene Metadata
An image alone is rarely enough to guide an AI generator. To achieve predictable results, each panel must be paired with structured metadata that details technical camera specifications, environmental lighting, and narrative context. Utilizing a rigorous scene brief protocol ensures the AI understands the exact cinematic intent behind the storyboard panel, transforming a static reference image into a highly controlled, predictable starting frame.
Phase 2: Executing the Temporal Translation
Once your storyboard panel is prepared and paired with its metadata, the next step is executing the actual motion generation. The goal here is to introduce temporal dynamics—character movement, atmospheric effects, and camera travel—without destroying the underlying composition of your original panel.
To control camera motion, avoid generic prompts like "cinematic pan" or "cool camera movement." Instead, write explicit physical camera prompts that specify the axis of movement, speed, and lens characteristics. For example, use phrases like "Slow push-in on 50mm lens, maintaining focus on the subject in the center-third, subtle dust motes drifting in the background light." This tells the model exactly how to shift the perspective without introducing chaotic, randomized camera shakes.
Furthermore, locking down scene geometry requires utilizing depth-based control models. By feeding a depth map of your storyboard panel alongside the image itself, you instruct the AI generator to respect the physical boundaries of the set. The walls, floors, and heavy furniture remain anchored in space, while characters are free to move naturally within those boundaries.
For complex sequences where a shot must transition seamlessly from one specific storyboard panel to another, standard single-frame generation is insufficient. In these scenarios, filmmakers must master advanced keyframing techniques, such as utilizing Kling's first and last frame workflow to anchor the motion precisely between two distinct storyboard panels, ensuring the AI interpolates the action smoothly without drifting off-course.
The Storyboard-to-Motion Translation Matrix
To streamline your production, use the following matrix to match your storyboard input type with the correct AI generation parameters and workflow settings:
| Storyboard Input Type | Primary AI Control Method | Denoising / Motion Strength | Continuity Checklist Focus |
|---|---|---|---|
| Rough Line Sketches | ControlNet (Canny/Scribble) + Image Prompt | Denoising: 0.75 - 0.85 Motion Scale: Low (2-3) | Verify edge adherence; check for line flickering in background. |
| 3D Gray-Box Blockouts | ControlNet (Depth/Normal) + Text Prompt | Denoising: 0.90 - 0.95 Motion Scale: Medium (4-6) | Ensure background geometry does not warp during camera pans. |
| High-Fidelity Concept Art | Image-to-Video (I2V) + Direct Camera Prompts | Denoising: 0.35 - 0.50 Motion Scale: Medium-Low (3-4) | Monitor color drift and character face morphing across frames. |
Pre-Rendering Verification Checklist
Before committing computational resources to a full-resolution render, run your generated low-resolution previews through this verification checklist to ensure temporal continuity:
- Compositional Lock: Does the horizon line remain stable throughout the entire duration of the clip?
- Asset Scale: Do foreground objects maintain their relative size and proportion as the camera moves?
- Lighting Consistency: Does the primary light source remain fixed in its spatial position, casting realistic, moving shadows as characters traverse the frame?
- Motion Speed: Is the camera acceleration natural, avoiding sudden, jarring speed spikes at the beginning or end of the generation?
Maintaining Identity: Character and Asset Continuity Across Scenes
One of the steepest hurdles in animating a multi-shot storyboard sequence is maintaining visual consistency. A character cannot change their clothing, hair color, or facial structure between a medium shot and a close-up. If your storyboard features a specific product, that prop must remain instantly recognizable across every frame.
To solve character drift, you must decouple character generation from the motion generation phase. Instead of relying on the AI to generate a consistent face on the fly, filmmakers should employ highly detailed character reference sheets. By leveraging a comprehensive character turnaround blueprint, you can generate consistent reference angles of your actors beforehand, allowing you to map identical features onto your storyboarded action sequences with surgical precision.
For commercial video production, maintaining the integrity of graphic assets is equally critical. If your animated storyboard features a corporate logo or specific typography on a product package, standard video diffusion models will almost certainly distort the text into unreadable gibberish. To combat this, the Montagea team recommends implementing vector anchors to prevent distortion. This technique locks down the precise coordinates of graphic elements, ensuring brand assets remain perfectly legible and unwarped, even under aggressive camera motion.
Once individual shots are successfully generated and checked for continuity, they can be brought into a traditional non-linear editor (NLE). By pacing your generated clips against your original audio track or scratch dialogue, you can build out a highly polished, fully animated animatic that respects both your spatial vision and the temporal reality of professional filmmaking.
How do I convert a rough pencil storyboard sketch into a realistic AI video?
To convert a rough sketch, do not upload it directly to an I2V engine. Instead, use an image-to-image (I2I) workflow paired with a ControlNet model (such as Canny or Lineart). This locks the structural lines of your sketch. Combine this with a detailed text prompt describing the materials, lighting, and cinematic style you want, and set your denoising strength around 0.75 to allow the AI to generate realistic textures over your lines before applying camera motion.
What is the best AI video generator for maintaining storyboard composition?
Generators that support advanced control parameters, such as Runway Gen-3 (with camera control), Kling AI, or Stable Video Diffusion paired with ControlNet, are best. The key is using engines that allow you to feed both a starting image and a depth map or camera motion vector to restrict random generations and preserve your original composition.
How can I keep the same characters consistent across different storyboarded scenes?
Avoid generating characters dynamically within the scene. Instead, create a dedicated character reference sheet (turnaround) beforehand. Use LoRA models or face-swapping tools (like IP-Adapter or ReActor) to project the consistent face and clothing features onto the generated storyboard motion sequences during post-processing.
How do I control the speed and direction of camera movement when animating a storyboard panel?
Specify exact camera terminology in your text prompts (e.g., "slow dolly zoom," "pan right at 24fps," "35mm lens tracking shot"). Additionally, use the built-in camera motion brushes or directional vectors provided by platforms like Runway or Luma Dream Machine to visually map the speed and direction of the camera directly onto the canvas.



