
How to Enhance Sora AI Video Quality: Upstream Prompting and Post-Production Workflows
Achieving cinematic AI video requires treating raw generations as source footage. Master the dual-path strategy of upstream prompt control and downstream post-production to elevate your Sora output.
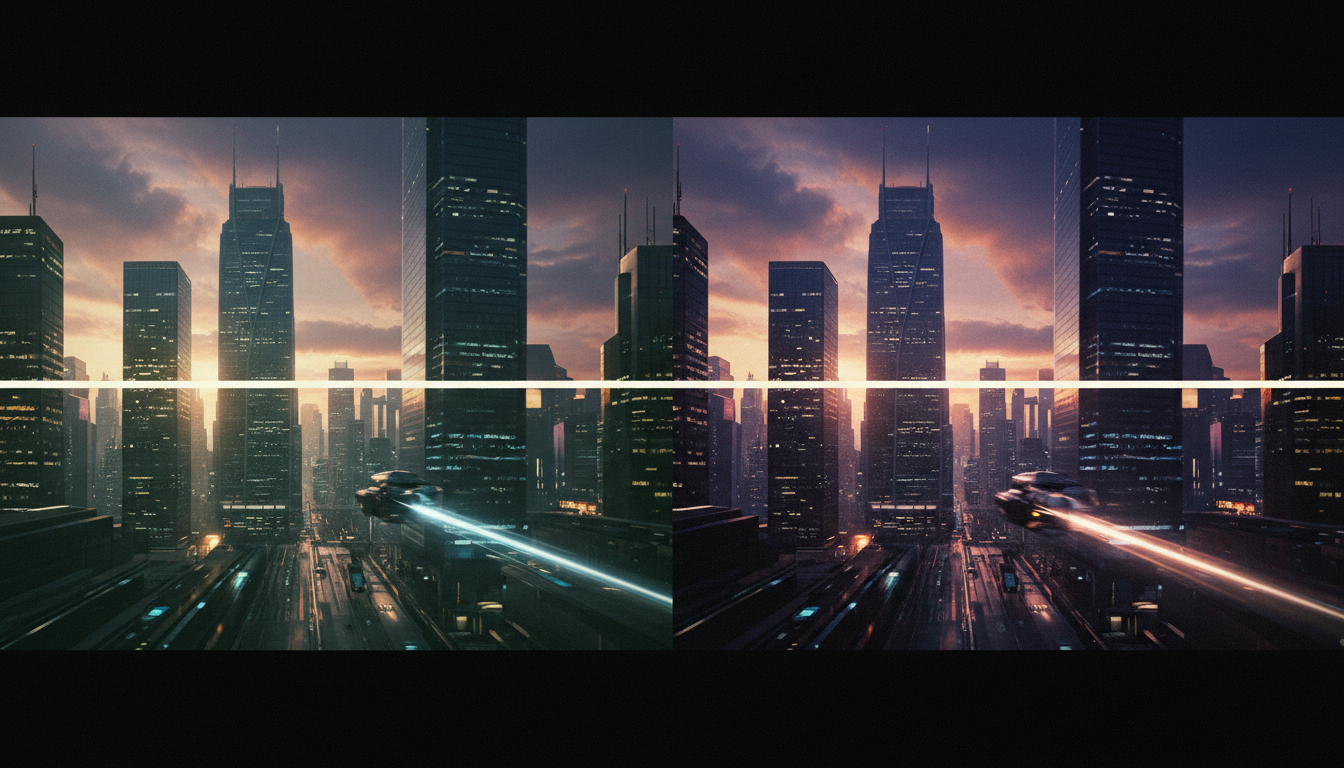
To enhance Sora AI video quality, you must combine upstream prompt optimization (specifying physical camera optics, lighting, and material textures) with a downstream post-production pipeline (temporal denoising, targeted AI upscaling, and film grain integration). While Sora generates highly realistic physics, raw outputs often suffer from compression artifacts, micro-flicker, and soft details. Elevating this footage to cinematic standards requires treating the raw generation as a digital negative that must be polished using traditional editing tools.
Using AI creative agent platforms like Montagea, creators can describe their vision—such as a short film or an ad—and let an agent like Gigi plan the production steps and select the best AI models for the task. By treating AI video generation as a structured, multi-step pipeline rather than a single-click export, creators can systematically refine their prompts, leverage the ideal engine for each asset, and apply professional post-production techniques to achieve a unified, high-fidelity final cut.
Upstream Optimization: Prompting for Physical and Visual Fidelity
The quality of your raw Sora output begins with the precision of your prompt. Vague descriptors invite the model to fill gaps with "average" data, which manifests as blurry textures or unnatural movement. To force higher fidelity, specify camera parameters, lighting setups, and material properties. For example, instead of "a man walking in a cafe," use "cinematic wide shot, 35mm lens, f/2.8, soft window lighting, high-contrast textures on wooden table."
Physical anomalies often stem from poorly defined camera physics. When requesting movement, describe the motion in physical terms rather than abstract ones. Refer to established methods for prompting handheld camera movement in AI video to ensure motion remains organic and avoids the digital "warping" common in AI video.
Additionally, maintaining spatial consistency is vital. When prompting characters moving through a scene, you must manage how they navigate the frame. For example, learning how to prompt clean character entries and exits in AI video prevents clipping and unnatural popping. If your scene involves multiple angles, you must also plan how to maintain the 180-degree rule in AI video production to keep the viewer oriented.
Because small changes in phrasing can dramatically impact visual clarity, you should track AI video prompt iterations with a change log to isolate which specific variables trigger visual degradation in your specific scene.
Downstream Post-Production: The Cleanup and Upscaling Pipeline
Once you have the best possible raw generation, the downstream phase focuses on polishing the image to match professional standards. The goal is to resolve digital artifacts while maintaining the integrity of the original motion.
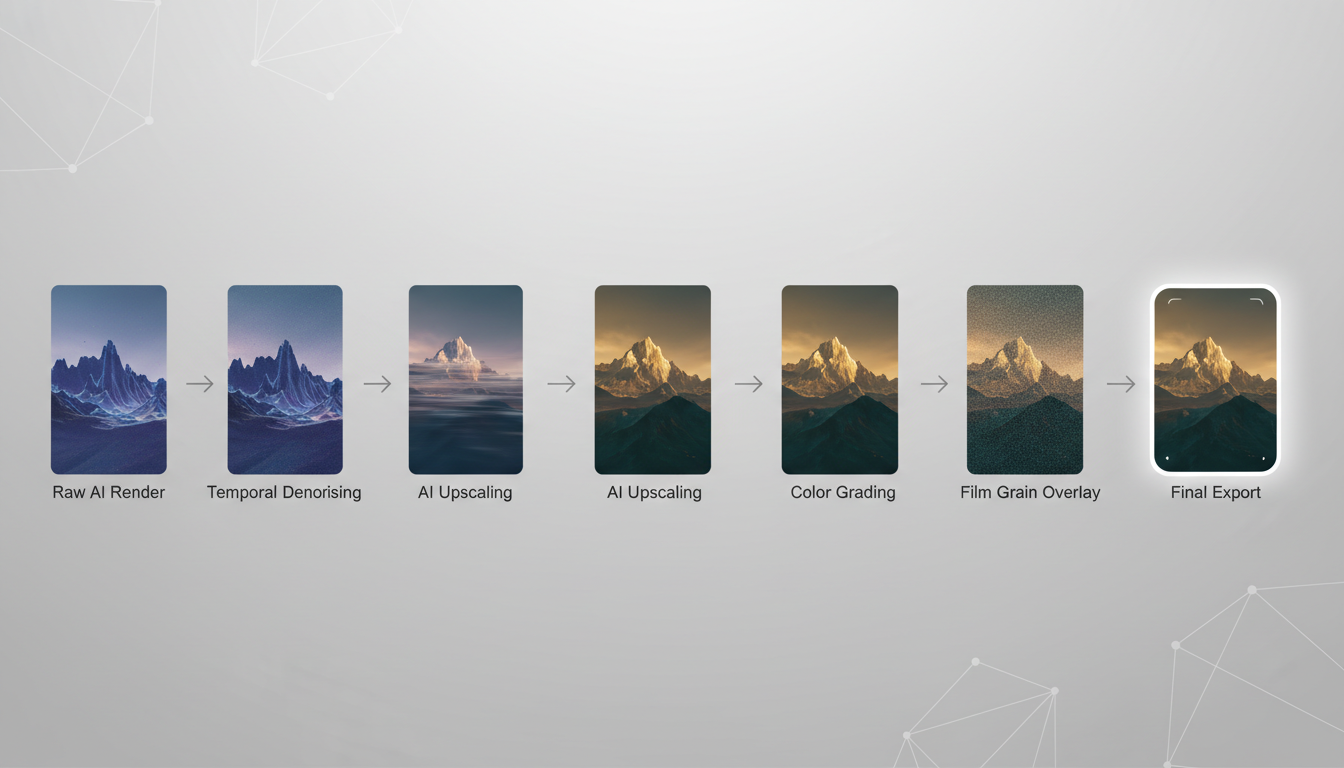
- Temporal Denoising: Use temporal filters (such as Neat Video or DaVinci Resolve’s temporal noise reduction) to smooth out micro-flicker and compression blockiness that often appear in flat-color areas like skies or walls.
- AI Upscaling: Select models designed to increase resolution while preserving detail. Avoid aggressive settings that introduce "plastic" textures; prioritize tools that allow for a grain-texture pass. If you are working with stylized content, you can apply similar principles to animate illustrations with AI video while preserving art style, ensuring that upscaling does not wash out hand-drawn textures.
- Film Grain Overlay: Adding a subtle layer of real film grain is the most effective way to unify the shot. It masks digital artifacts and provides a cohesive organic texture that bridges the gap between AI and traditional footage.
- Frame Rate Conversion: If the generation stutters, use optical flow interpolation to smooth the motion, ensuring the final output matches your project's target frame rate.
Evaluating Sora Quality in a Multi-Engine Workflow
Sora is a powerful tool, but it is not always the optimal choice for every shot. To optimize your budget and rendering time, you should build a structured AI video model test matrix to compare Sora's outputs objectively against other engines like Veo, Kling, or WAN.
While Sora is often run as a standalone tool for complex physical simulations, platforms like Montagea allow creators to leverage different AI engines depending on the project's requirements, utilizing models like Veo, Kling, or WAN. By assigning specific engines to specific shots, you can use the most appropriate model for stylized or highly structured character tasks. This multi-engine approach ensures that you never waste rendering credits on a model that isn't suited to the specific demands of your scene.
Why does Sora video sometimes look plastic or overly smooth, and how do I fix it?
This occurs when the model attempts to interpolate between frames too aggressively. You can mitigate this by prompting for specific textures and light fall-off, and then adding a layer of genuine film grain in post-production to break up the synthetic smoothness.
Can I use image-to-video inputs to improve Sora's consistency?
Yes. Providing a high-quality, locked-off reference frame can significantly reduce character morphing and layout inconsistencies by giving the model a fixed spatial foundation to build upon.
What is the best way to handle physical morphing in complex action shots?
Break the action into shorter, individual segments. If a shot involves complex interaction, use a reference plate to anchor the geometry, and generate the movement in smaller, controlled increments rather than one long, continuous clip.



