
The Beat-Sync Storyboard Protocol: Mapping AI Video Pipelines to Musical Tempo
Discover how to treat your audio track as a literal grid for visual generation. This guide details a frame-accurate workflow for translating musical tempo and frequency bands into highly coordinated AI video prompts.
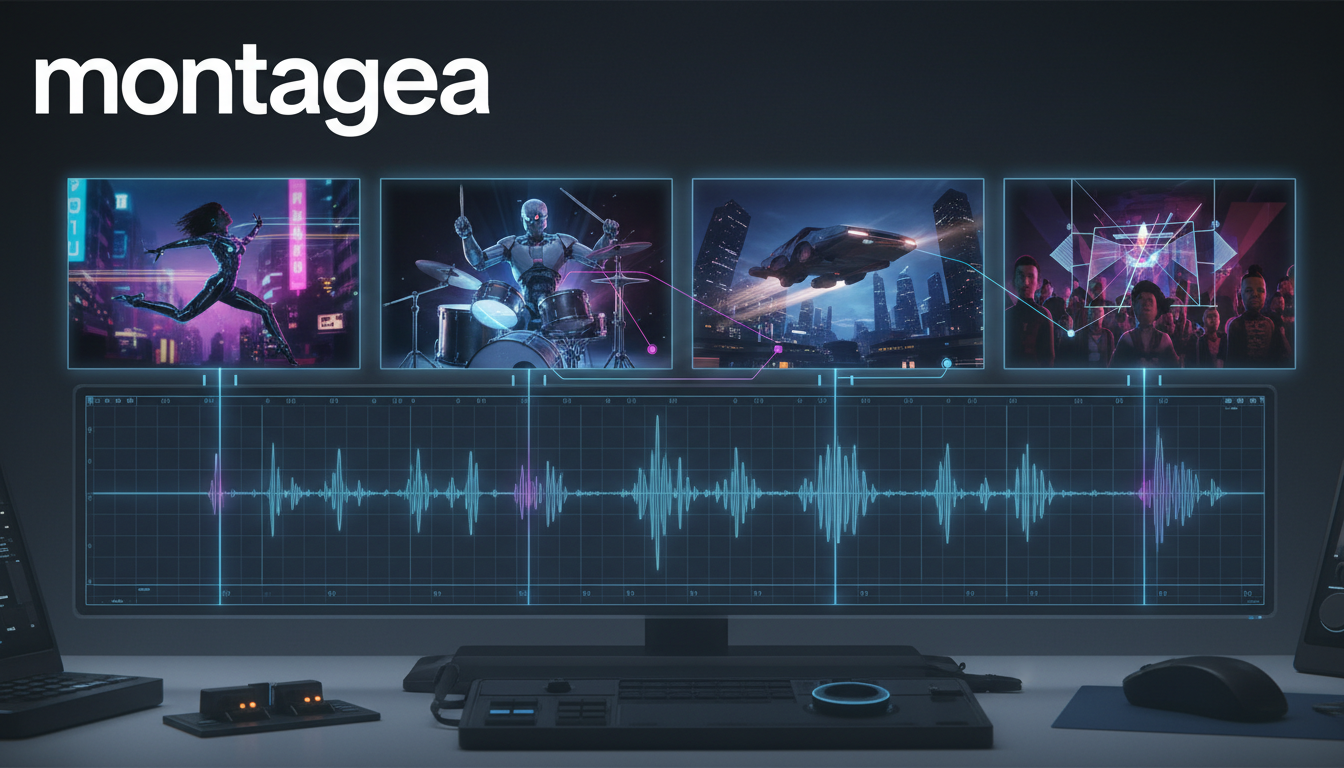
Traditional narrative filmmaking relies on chronological continuity, spatial logic, and character-driven cause and effect. Music videos, however, operate on an entirely different plane—one governed by rhythm, kinetic energy, and abstract transitions. When producing music videos with generative AI, creators often struggle with a lack of temporal control, resulting in visuals that feel disconnected from the underlying track. At Montagea, we believe that successful AI filmmaking in the music space requires treating the audio track as the literal grid for the visual pipeline.
This protocol shifts the focus from simple text prompts to a structured, beat-to-frame workflow. By establishing a frame-accurate translation map before generating a single frame, you can ensure your AI generations hit every drop, swell, and transition with mathematical precision. The following guide outlines a systematic, production-ready workflow for mapping AI video pipelines to musical tempo.
Beyond Narrative: Why Music Video Storyboarding Demands a Temporal Grid
Traditional narrative storyboards are fundamentally spatial; they map out camera angles, character placements, and blocking within a physical scene. However, this approach fails to capture the rapid editing, kinetic pacing, and rhythmic synesthesia that define modern music videos. In a music video, a cut or a camera movement is rarely dictated by narrative action; instead, it is triggered by a snare hit, a bass drop, or a shift in vocal texture. If you attempt to storyboard an AI music video using standard narrative panels, you will quickly find that the generated clips lack the necessary momentum to match the music.
To overcome this limitation, filmmakers must adopt the concept of "temporal mapping." This technique uses the music's waveform and Beats Per Minute (BPM) as the primary structural guide for prompt engineering and generation parameters. Instead of thinking in terms of scenes, you must think in terms of musical bars, beats, and frames. By aligning the temporal resolution of your AI model with the subdivision of the music, you can program visual changes to occur in perfect synchronization with the audio.
At Montagea, our approach to pre-production prioritizes aligning visual density—the complexity, speed, and frequency of generated motion—with sonic density. A sparse, ambient verse requires a completely different prompt structure and motion scale than a dense, chaotic chorus. By mapping these sonic zones to specific generative settings beforehand, you eliminate the trial-and-error that often plagues AI video pipelines, saving valuable generation credits and ensuring a cohesive final edit.
Phase 1: The Sonic-to-Visual Translation Map (BPM to Prompt Frequency)
The foundation of the Beat-Sync Storyboard Protocol is mathematical synchronization. To ensure your visuals align with the music, you must calculate the exact number of video frames that occur within a single beat. This calculation depends entirely on your project's frame rate (typically 24fps for a cinematic look or 30fps for digital video) and the song's BPM.
Use the following formula to calculate your frame-to-beat ratio:
Frames Per Beat (FPB) = (Frame Rate × 60) / BPM
For example, if you are editing a track at 120 BPM in a 24fps timeline, the calculation is: (24 × 60) / 120 = 12 frames per beat. If the track is 140 BPM at 30fps, the calculation is: (30 × 60) / 140 = 12.85 frames per beat (which you would round to 13 frames for practical editing, adjusting occasionally to prevent drift). This mathematical baseline tells you exactly how long each visual event should last to maintain a perfect rhythm.
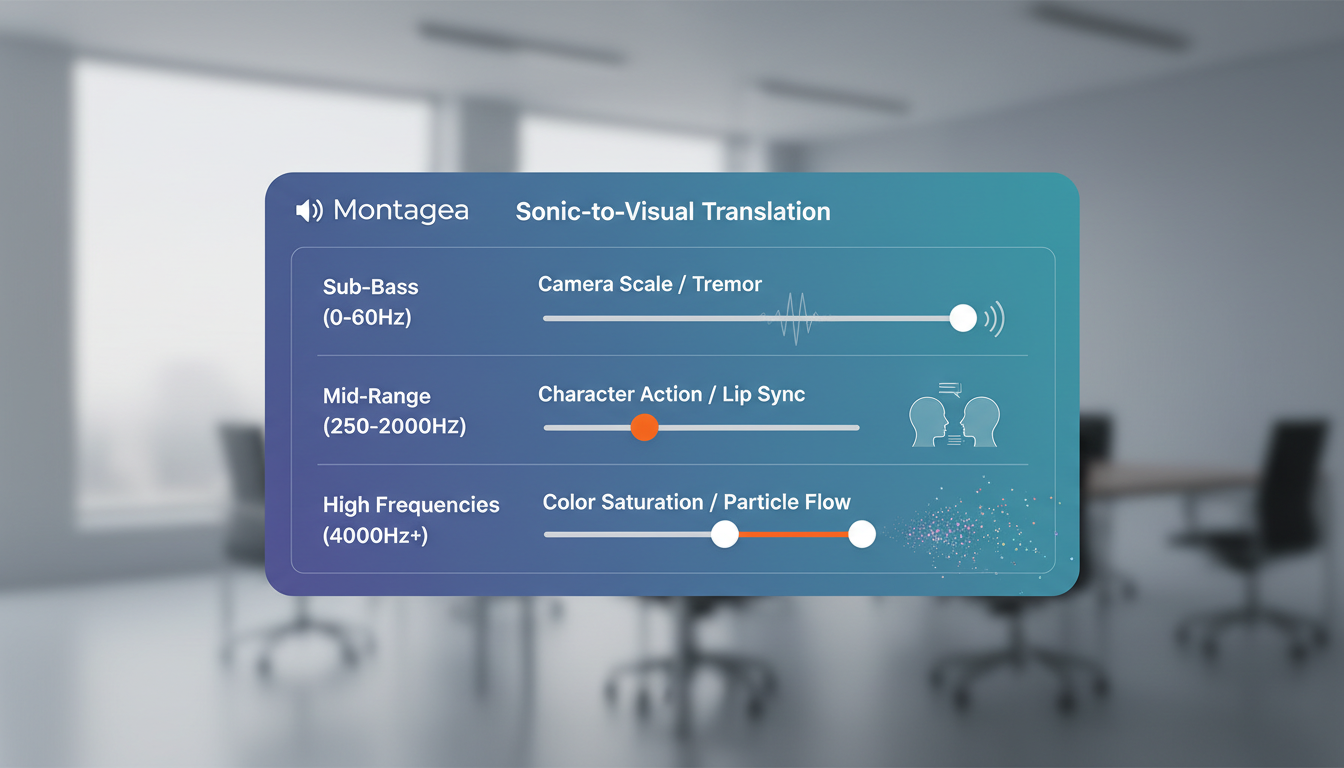
Once you have established your temporal grid, you can map specific audio frequency bands to visual attributes. This creates a systematic framework for prompt engineering, ensuring that different elements of the music naturally influence the visual style.
| Frequency Band | Musical Element | Visual Attribute | Prompt & Parameter Strategy |
|---|---|---|---|
| Sub-Bass & Kick (0–60 Hz) | Heavy beats, drops, sub-bass swells | Camera Scale & Tremor | Prompt sudden camera shakes, macro-zooms, or high motion values (e.g., motion = 80–100). |
| Mid-Range (250–2000 Hz) | Lead vocals, snare, main instruments | Character Action & Framing | Focus prompts on character performance, lip-sync, or structural transitions that match the vocal flow. |
| High Frequencies (4000+ Hz) | Hi-hats, synths, ambient textures | Color Saturation & Particle Flow | Introduce abstract elements, light trails, neon shifts, or rapid particle movement in the prompt text. |
Structuring Prompt Weights for Rhythmic Subdivisions
To translate these musical events into your AI generation pipeline, you must structure your text prompts to trigger visual changes on specific musical subdivisions, such as quarter notes or eighth notes. For a high-energy transition on a quarter note, your prompt should feature highly active verbs and dynamic lighting descriptors (e.g., "rapid strobe flash," "explosive particle burst"). For eighth-note subdivisions, use shorter, high-velocity descriptors like "flicker," "glitch," or "shatter." By aligning these linguistic triggers with the calculated frame offsets on your timeline, you can instruct the AI to generate motion that matches the micro-rhythms of the track.
Phase 2: Generating Kinetic Panels with Style Consistency
Before animating your video, you must establish a visual anchor through a set of static storyboard panels. The challenge in AI music video production is that abstract, high-energy sequences can easily cause the AI model to drift away from your core visual style. To prevent this, you must implement strict style-consistency techniques during the initial generation phase.
Start by locking your generation seeds and utilizing consistent style descriptors across all storyboard prompts. If your music video features a recurring artist or character, utilize maintaining consistent character design across stylized visual sequences to keep the subject's features recognizable, even when the background or lighting shifts dramatically. This involves using a combination of character reference sheets, consistent facial structure prompts, and targeted seed control to ensure the visual identity remains intact throughout the edit.
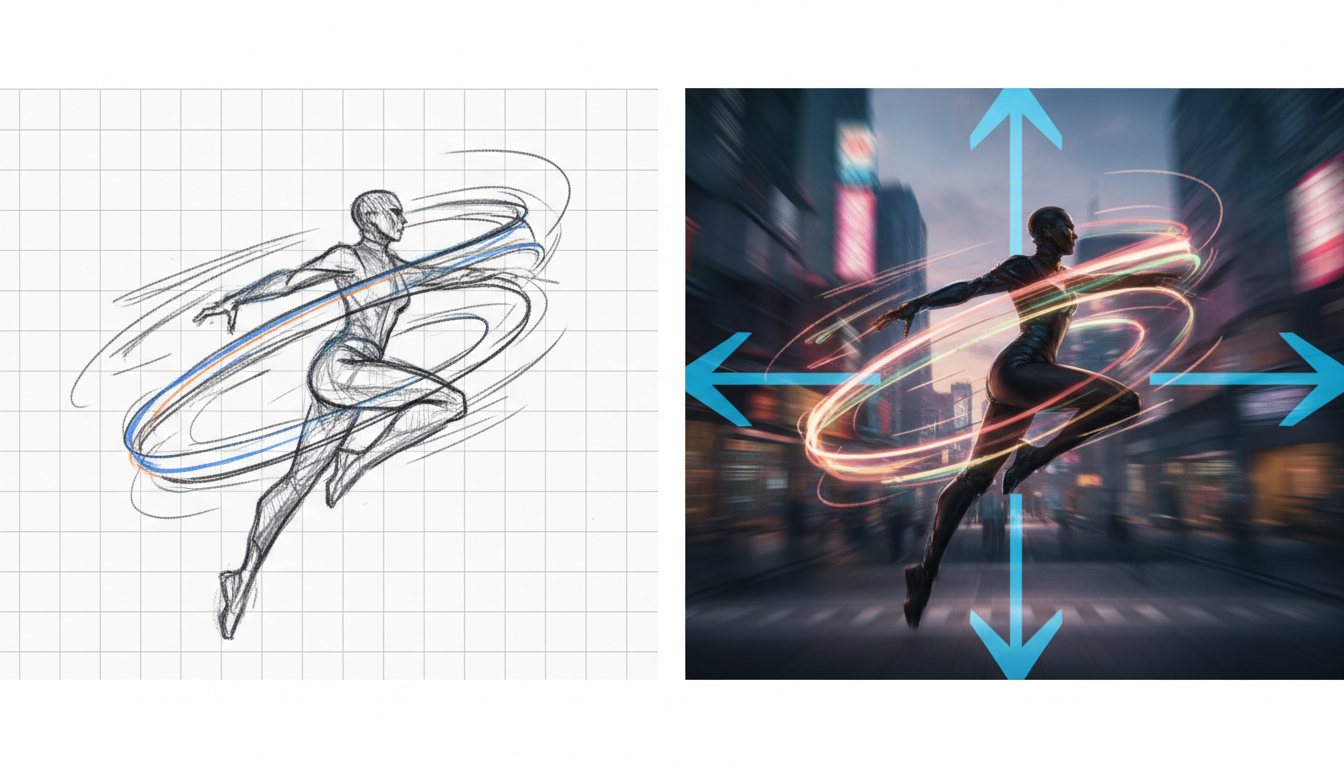
Even though these storyboard panels are static, they must imply kinetic energy. You can prepare these panels for the animation phase by prompting camera dynamics directly into the image generation step. Use kinetic whip pan prompting protocols to generate panels that already contain motion blur, directional lines, or extreme perspective shifts. Prompting words like "dynamic whip pan," "high-speed tracking shot," or "radial zoom blur" ensures that when the static panel is fed into an image-to-video model, the AI already understands the intended direction and velocity of the camera movement.
Phase 3: The Storyboard-to-Motion Pipeline (Animating the Drops)
With your beat-synced storyboard panels generated and organized on your NLE timeline, you are ready to transition from static frames to dynamic video clips. This phase utilizes image-to-video (I2V) models to bring your storyboard to life while strictly respecting the musical tempo. For a detailed breakdown of this transition, refer to our comprehensive guide on transitioning from static panels to continuous temporal motion.
The key to animating for music is motion threshold management. In standard narrative video, you might aim for a consistent, natural motion level. In a music video, you must actively manipulate the motion parameters to match the song's arrangement. During low-energy verses, set your AI model's motion slider to a low threshold (e.g., 20–40) to produce subtle, ambient camera drifts. When the song builds to a chorus or a drop, spike the motion threshold (e.g., 80–100) to force the model to generate high-velocity camera sweeps, rapid physics, and explosive visual changes.
Furthermore, hitting precise musical cue points requires absolute control over the boundaries of your clips. If a clip needs to start on a soft vocal cue and end exactly on a massive snare hit, you cannot rely on random generation. By utilizing precise control over the first and last frames of a sequence, you can anchor the beginning of your clip to one storyboard panel and the end of the clip to another. This ensures that the generated motion path is perfectly bounded, executing a flawless visual transition that lands exactly on the designated beat.
The AI Music Video Pre-Production Checklist
To avoid wasting generation credits on clips that do not fit your timeline, use this 5-step verification process to audit your project before starting your generation pipeline:
- Calculate and Lock the Temporal Grid: Identify the BPM of your track and calculate the exact Frames Per Beat (FPB) based on your target export frame rate (e.g., 24fps or 30fps).
- Map the Audio Waveform: Mark the exact frame numbers of key musical events (drops, verse transitions, drum fills) directly on your NLE timeline.
- Validate the Style Seed: Generate a small batch of style-consistent test images to ensure your character references and style prompt weights remain stable across different scene settings.
- Define Motion Thresholds: Assign specific motion scale values (low, medium, high) to each section of the song to guide your image-to-video generation settings.
- Plan First-and-Last Frame Anchors: Identify which transitions require precise frame-to-frame continuity and prepare the matching start and end storyboard panels.
By executing this checklist within your NLE alongside the Montagea workflow, you establish a bulletproof framework where every generated frame serves a rhythmic purpose, resulting in a professional, mathematically synchronized AI music video.
How do I sync AI-generated video clips to a specific song BPM?
To sync your clips, first calculate your Frames Per Beat (FPB) using the formula: FPB = (Frame Rate × 60) / BPM. Once you have this number, mark these frame intervals on your NLE timeline. When generating AI video, ensure your clip lengths match these frame intervals or their multiples, allowing you to cut precisely on the beat.
What is the best way to maintain visual style consistency across different scenes in an AI music video?
Maintain consistency by locking your generation seed, using highly specific style descriptors in your prompts, and utilizing character references. For projects featuring a recurring artist, techniques like the Character Anchor Protocol help keep facial structures and key design elements uniform across diverse generated environments.
How do I prevent AI video generators from creating chaotic, unusable motion during fast drum beats?
Instead of relying on the AI to interpret rapid audio directly, manage your motion thresholds manually. For fast drum beats, use specific camera motion prompts (like whip pans or quick zooms) paired with controlled motion scale values (around 70–80) rather than letting the model generate random high-frequency motion which often leads to visual distortion.
Can I use AI storyboarding to plan traditional live-action music video shoots?
Absolutely. AI storyboarding is an excellent way to pre-visualize complex lighting setups, camera angles, and transitions for live-action shoots. By planning your shots on a temporal grid during pre-production, you can give your crew and director of photography a highly accurate visual guide that matches the song's pacing before stepping onto the set.



