
The Character Anchor Protocol: Maintaining Cast Continuity in AI Video Pipelines
Relying on a single AI generator's character reference feature is a recipe for visual drift. Learn the professional, multi-engine pipeline to lock down facial structure, wardrobe, and physical geometry across different scenes, lighting conditions, and camera angles.
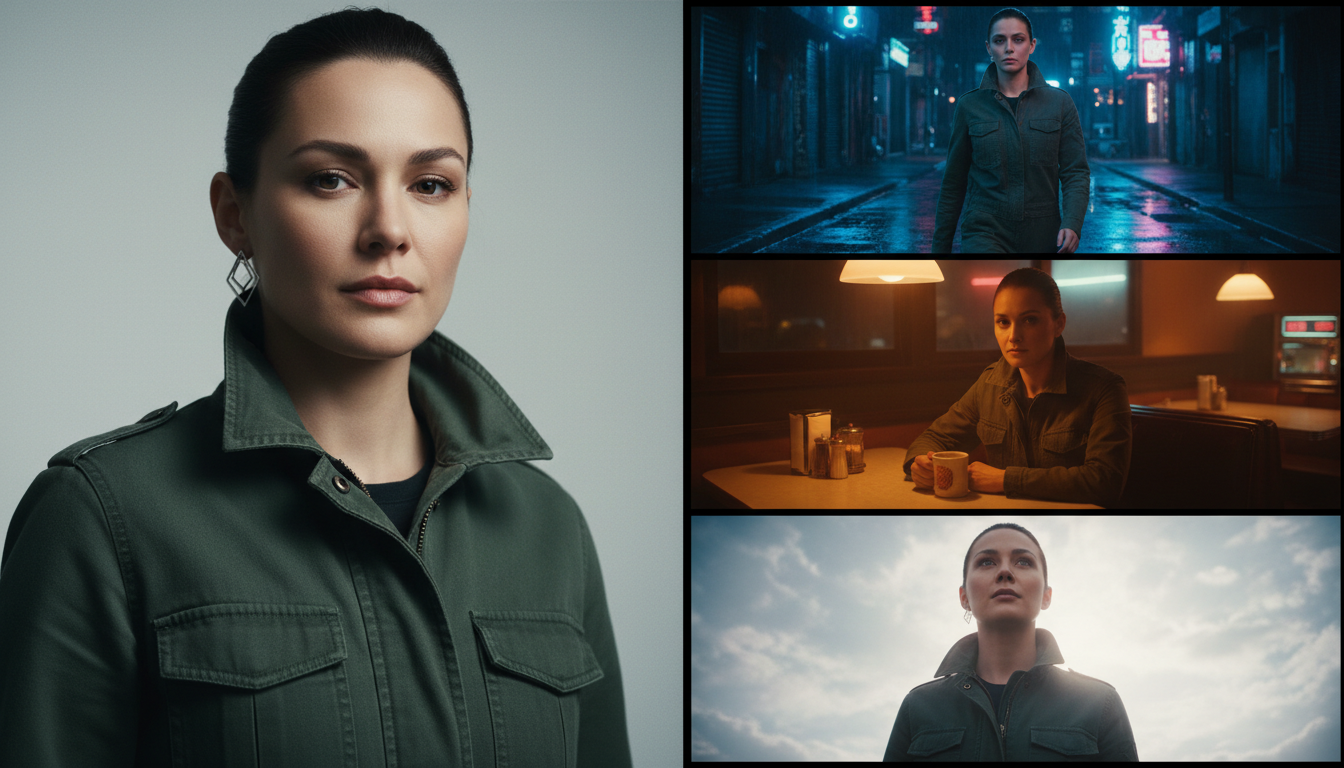
AI video generators are capable of producing breathtaking, cinematic single shots that rival Hollywood-grade cinematography. However, narrative filmmaking requires more than isolated visual masterpieces; it demands continuity. The moment a character shifts facial structure, changes clothes mid-scene, or alters their hair texture between camera setups, the illusion of reality is shattered, instantly pulling the audience out of the story.
To overcome this challenge, the team at Montagea has developed and refined the Character Anchor Protocol. This multi-engine pipeline treats AI-generated characters as persistent digital assets rather than random prompt outputs. By separating asset creation from motion generation and post-production refinement, you can maintain rigid visual continuity across different scenes, lighting conditions, and complex camera movements.
The Continuity Crisis in AI Filmmaking
Traditional text-to-video (T2V) generators struggle with continuity because they interpret prompts on a frame-by-frame and seed-by-seed basis. When you prompt a T2V model to render "a detective walking down a rainy street" followed by "a close-up of the detective looking up," the latent space of the neural network re-evaluates the entire prompt from scratch. This results in subtle but distracting changes: a slightly different jawline, an altered coat lapel, or a shift in hair color.
Relying solely on a single AI platform's built-in "character reference" feature is a recipe for amateurish drift. These tools are often black-box solutions that struggle to maintain consistency when subjected to dramatic lighting changes or extreme camera angles. A professional AI filmmaking workflow requires a structured pipeline that isolates character geometry from environmental lighting and motion physics.
At Montagea, we approach this challenge by treating characters with the same rigorous standards as real cast members. Instead of hoping for a lucky generation, we build a master character sheet, project that asset into motion engines, and use advanced post-production tools to lock down any remaining visual drift.
Step 1: Crafting the Master Character Sheet (The Anchor Asset)
The foundation of the Character Anchor Protocol is the Master Character Sheet. This is a single, high-fidelity image that serves as the visual source of truth for your character across the entire production. By generating this asset first, you establish a physical template that the video generator can reference directly.
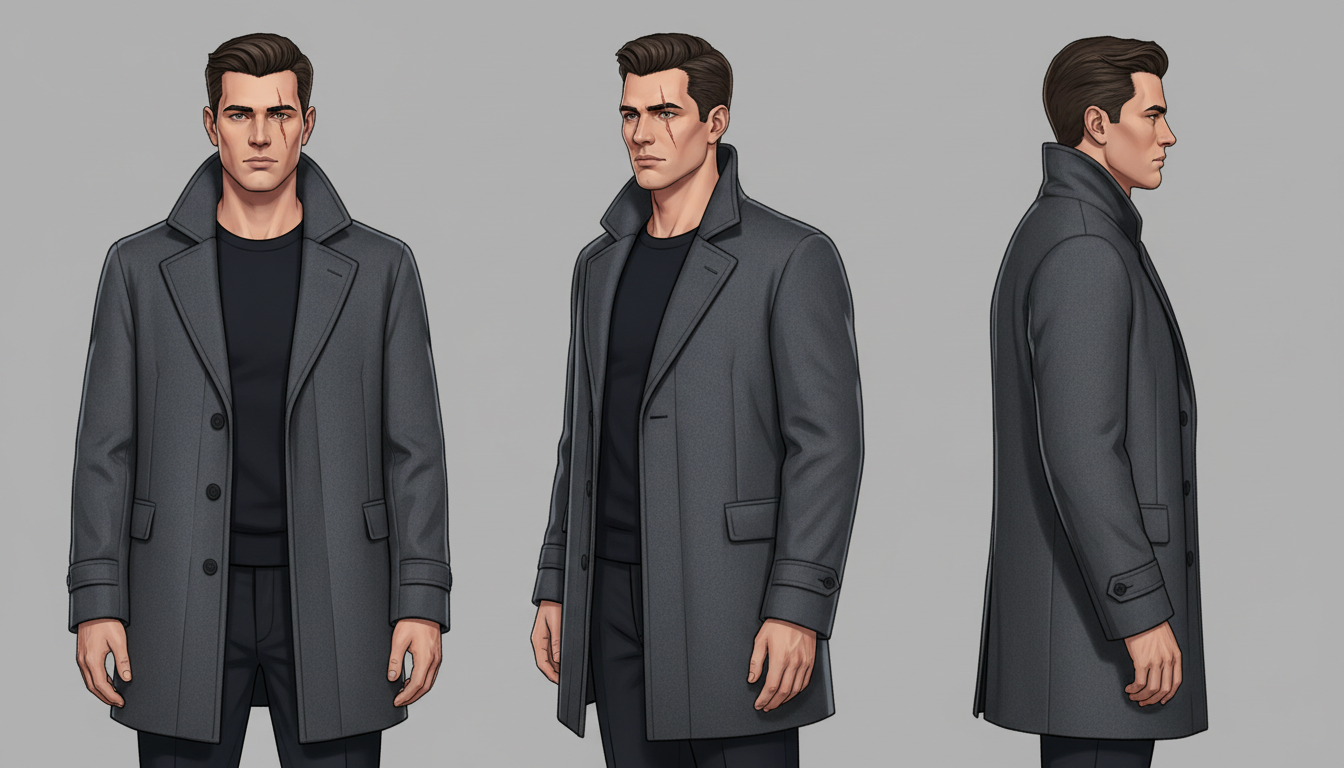
To build this asset, use a high-fidelity image generator like Midjourney or Stable Diffusion. Your goal is to create a clean, multi-angle turnaround sheet of your character against a neutral background. Use flat, studio lighting to ensure the model doesn't bake dramatic shadows or color grading into the character's base features.
Designing Unchanging Physical Markers
To help the AI's attention mechanisms track your character accurately across scenes, you must prompt specific, unchanging physical markers. These highly structured, asymmetrical details act as anchor points for the neural network. Excellent anchor markers include:
- A highly specific, structured haircut (e.g., an asymmetrical silver-streaked bob or a sharp undercut)
- A distinct piece of jewelry that remains constant (e.g., a geometric silver earring or a heavy brass signet ring)
- A precise facial feature (e.g., a thin scar crossing the left cheekbone or a prominent bridge on the nose)
- A unique, high-contrast wardrobe item (e.g., a charcoal utility jacket with distinct brass buckles)
Ensure that the character's expression on the master sheet is entirely neutral. Baking a smile, frown, or intense emotion into the base asset makes it incredibly difficult to animate different emotions later, as the video generator will constantly try to pull the face back to its original expressive state.
Step 2: The Image-to-Video (I2V) Translation Framework
Once you have a pristine Master Character Sheet, you must transition from Text-to-Video (T2V) to Image-to-Video (I2V). I2V is vastly superior for character preservation because it uses your master sheet as a physical anchor. Instead of hallucinating a face from text, the video generator is forced to animate the existing geometry of the source image.
To execute this successfully, crop your master character sheet to focus on the specific angle needed for your shot (e.g., the three-quarters view for a medium shot). When you input this image into your video generator, your text prompt must change dramatically. Do not re-describe the character's physical features in the text prompt; doing so will cause the model to fight the image input and introduce visual drift.
Instead, structure your I2V prompt to describe only the action, lighting, and camera movement. Let the source image handle the character's identity. For example, a successful prompt structure looks like this: "A medium close-up shot as the character turns their head to look at the camera, dramatic warm sunset lighting from the side, slow dolly-in, 35mm cinema lens."
To master the physical movement of your character during I2V generation, check out our guide on the Kinetic Translation Protocol for high-fidelity physics. This protocol will help you ensure that the character's hair, clothing, and body physics react naturally to the environment without warping the underlying facial structure.
Step 3: Comparing AI Video Engines for Character Preservation
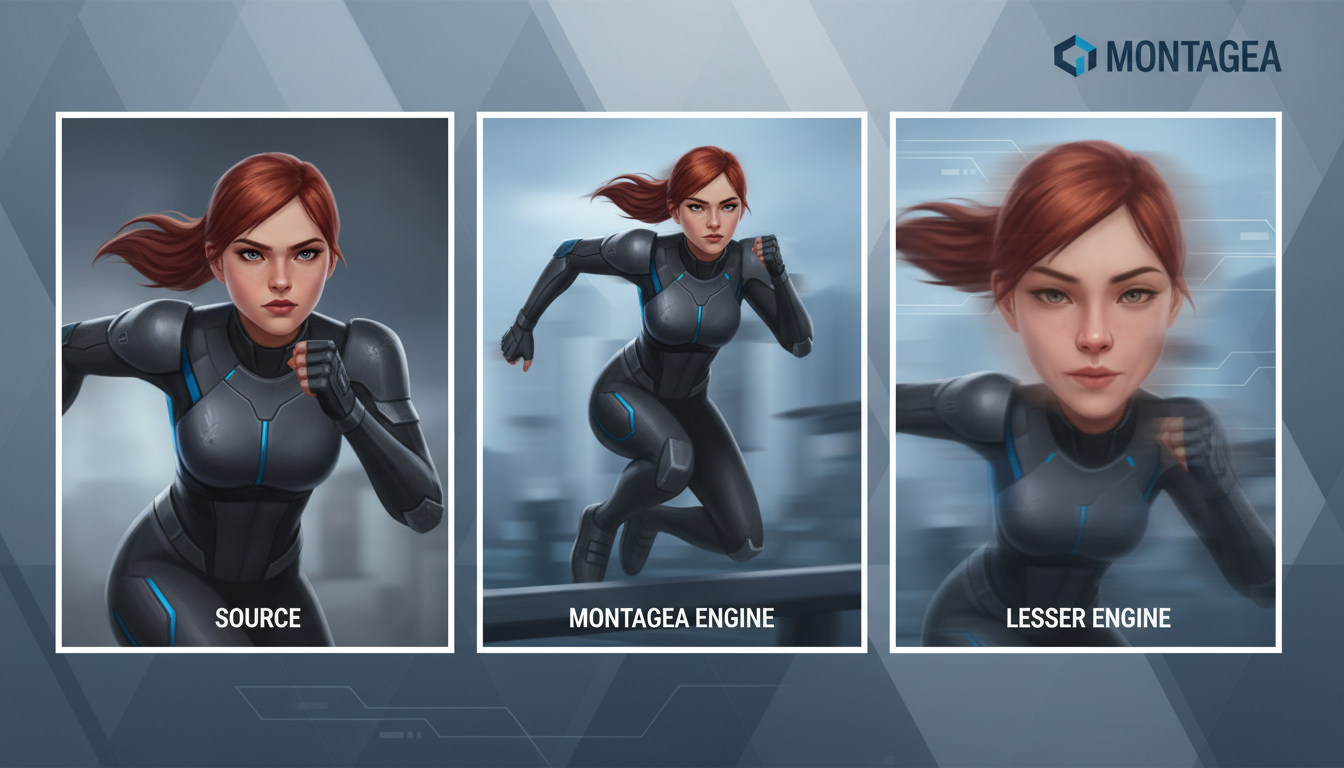
Not all AI video engines handle character consistency equally. Some excel at preserving fine facial details under subtle movement, while others are better suited for high-velocity action sequences where body geometry must remain intact. Choosing the right engine for the right shot is critical to maintaining a believable performance.
| AI Video Engine | Facial Fidelity | Wardrobe Consistency | Motion Handling | Best Use Case |
|---|---|---|---|---|
| Runway Gen-3 Alpha | Excellent | High | Moderate / Controlled | Dramatic close-ups, subtle emotional acting, and dialogue scenes. |
| Luma Dream Machine | Moderate | Moderate | Very High | Dynamic camera movements, tracking shots, and complex spatial physics. |
| Hailuo AI (Minimax) | High | Moderate | Excellent | High-velocity action, complex physical interactions, and natural hair physics. |
If your scene requires subtle emotional nuances, Runway Gen-3 is often the strongest choice because of its ability to hold onto micro-expressions. However, if your character is running through an alleyway or engaging in physical stunts, Hailuo AI or Luma Dream Machine will preserve the broader physical geometry of the character far better, even if you have to sacrifice a small degree of facial detail in the raw output.
Step 4: Managing Performance, Dialogue, and Anatomy
The true test of the Character Anchor Protocol comes when a character must speak or perform complex physical tasks. In these scenarios, the risk of facial "melting" or warping increases exponentially as the AI attempts to balance the structural anchor with dynamic movement.
When prompting for dialogue, avoid extreme emotional prompts like "screaming in rage" or "sobbing hysterically" directly in the initial video generation. These extreme inputs often break the facial geometry entirely. Instead, generate a performance with subtle, controlled facial movements. For a deep dive into prompting believable emotional performances and lip-syncing without losing facial structure, see our Veo Dialogue Protocol.
Similarly, physical anatomy can quickly degrade during complex movements, leading to warped hands or extra limbs. If your character's hands or limbs begin to warp during high-motion sequences, apply the techniques outlined in our Anatomical Anchor Protocol. By combining physical anchors with targeted inpainting, you can keep the character's limbs and wardrobe consistent as they move through three-dimensional space.
Step 5: The Post-Generation Face-Refinement Workflow
Even with a perfect master character sheet and the best I2V engine, minor character drift will occur. In a professional pipeline, you do not discard a great shot just because the face drifted 10% off-model. Instead, you correct the drift in post-production using a hybrid AI-and-traditional compositing workflow.
The most robust method for correcting drift is using ComfyUI with an IP-Adapter and ControlNet (specifically InstantID or FaceID). By importing your drifted video render and your original Master Character Sheet into ComfyUI, you can re-project the exact facial geometry of the master asset onto the moving video frames. The IP-Adapter analyzes the facial keypoints of the master sheet and warps them perfectly to match the orientation and expression of the character in the video clip.
For high-end commercial projects, integrate these AI tools with traditional compositing software like DaVinci Resolve or Adobe After Effects:
- Import your raw AI video generation into DaVinci Resolve.
- Use the Magic Mask or tracking tool to isolate the character's face.
- Apply the ComfyUI-refined face swap onto a separate layer.
- Blend the two layers using a soft feather, ensuring the original lighting, shadows, and skin pores of the video generation are preserved while the underlying facial structure is locked to the master asset.
By implementing this multi-layered approach, you transition from hoping for a lucky prompt to executing a reliable, repeatable production pipeline. The Character Anchor Protocol ensures that your digital cast remains consistent, believable, and ready for professional-grade narrative storytelling.
How do I stop my AI character's clothes from changing between shots?
To prevent wardrobe drift, define highly specific, structured clothing items on your Master Character Sheet (e.g., "a charcoal utility jacket with three brass buckles"). When generating video shots via Image-to-Video (I2V), let the source image do the heavy lifting. Avoid re-describing the clothes in your video prompt; instead, focus entirely on the scene's action and lighting to prevent the model from hallucinating new wardrobe details.
What is the best AI video generator for keeping characters consistent?
Runway Gen-3 Alpha is currently excellent for preserving facial details and wardrobe consistency during close-ups and dialogue scenes. However, for high-motion action or complex camera movements, Hailuo AI (Minimax) and Luma Dream Machine offer superior physical geometry preservation, though they may require post-production face-refinement to correct minor facial drift.
How can I create a consistent character across Midjourney and Runway?
Generate a clean, multi-angle Master Character Sheet in Midjourney with flat, neutral lighting and distinct physical anchors (like a specific haircut or accessory). Crop the specific angle you need from that sheet, and use it as the source image in Runway's Image-to-Video (I2V) engine. Prompt only the movement and lighting in Runway, keeping the character description out of the text prompt.
Can I use face-swapping tools to fix character drift in post-production?
Yes. In professional pipelines, tools like ComfyUI (utilizing IP-Adapter and InstantID) are used to re-project the master character's face onto drifted video frames. You can then blend this refined face back over your video in DaVinci Resolve or After Effects using tracking masks for a flawless, studio-grade finish.



