
The Miniature Scale Protocol: How to Prompt True Tilt-Shift Physics in AI Video
Learn the systematic prompting framework to bypass flat linear blurs and force generative AI models to emulate optical tilt-shift lenses, shallow depth of field, and tactile miniature physics.
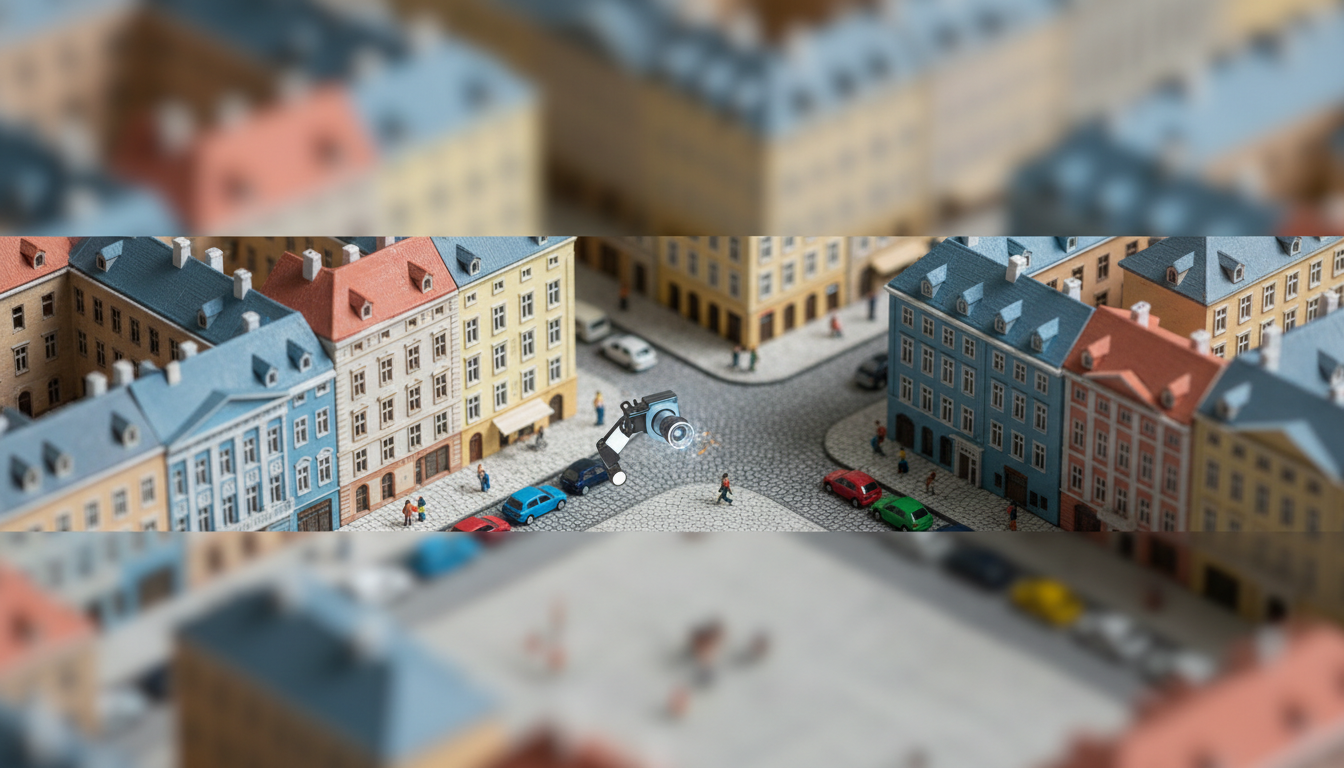
Creating a convincing tilt-shift effect in traditional video production has historically required expensive specialized lenses or tedious post-production masking. In the realm of AI filmmaking, simply appending the word "tilt-shift" to a prompt rarely yields the desired optical magic; instead, generative models often slap a crude, linear blur across the top and bottom of the frame, destroying the illusion of physical scale.
To bypass these architectural limitations of current diffusion models, filmmakers must shift from descriptive shorthand to physical simulation. This guide outlines the Miniature Scale Protocol—a systematic prompting framework developed at Montagea designed to force AI video engines to emulate real-world optical physics, macro-lighting environments, and tactile material textures.
The Optical Illusion of Tilt-Shift (and Why AI Fails at It)
Traditional tilt-shift photography relies on the Scheimpflug principle. By tilting the lens plane relative to the image sensor plane, a photographer can rotate the plane of sharp focus. When applied to high-angle vistas, this creates an incredibly narrow band of sharp focus, tricking the human brain into interpreting real-world cities, trains, and crowds as tiny, tabletop-sized diorama models. Our brains associate an extremely shallow depth of field at high angles with macro photography—looking closely at something very small.
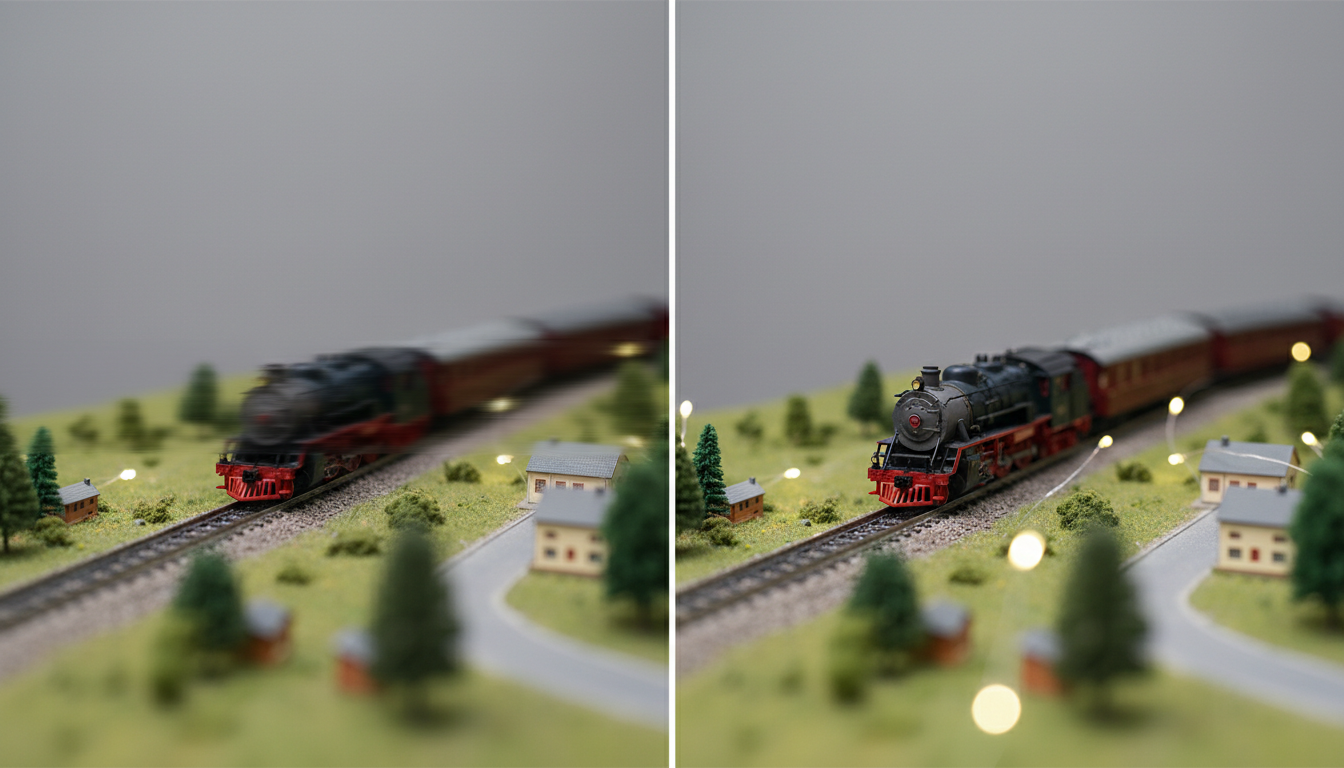
Generative AI models, however, do not possess physical lenses or actual 3D space. They generate pixels based on statistical associations found within their training data. When prompted with a generic term like "tilt-shift video," models like Runway Gen-3 or Luma Dream Machine often interpret this as a directive to apply a flat, two-dimensional post-processing blur. The result is a disappointing, flat-looking image where objects on the same focal plane are inconsistently blurred, and the physical illusion of miniature scale is completely lost.
At Montagea, our extensive testing across various models reveals that forcing a true miniature look requires prompting for the physical properties of the miniature world itself. Instead of asking the AI to apply a camera effect, we must instruct it to construct a miniature physical reality. This means specifying plastic specular highlights, macro-studio lighting, and high-angle perspectives that naturally trigger the model's rendering of shallow depth of field.
The Miniature Scale Protocol: A 4-Part Prompting Framework
To consistently bypass flat digital blurs, we use a structured, four-part prompting blueprint. This framework ensures that the AI model simultaneously processes camera perspective, lens characteristics, material textures, and studio lighting setups.
1. The Perspective Anchor
The perspective is the foundation of the miniature illusion. Real tilt-shift miniatures are viewed from above, mimicking a human standing over a tabletop diorama. You must establish this immediately using precise camera angles. To master the high-angle camera placement required for this look, creators can apply our guide on prompting overhead nadir perspectives in AI video. Avoid eye-level or low-angle prompts, as they break the cognitive illusion of looking down at a toy world.
2. The Optical Defocus Formula
Instead of relying on the word "tilt-shift," describe the optical behavior of a macro lens. Use terms that force a physical gradient of focus, such as "extreme shallow depth of field," "creamy foreground and background bokeh," and "highly localized sharp focal plane." This forces the AI to calculate depth layers rather than applying a flat vertical gradient blur.
3. The Materiality Modifier
To make a scene look like a miniature, the objects within it must be rendered with miniature materials. If you are generating a city street, do not prompt for "asphalt" and "metal cars." Instead, prompt for "painted plastic toy cars," "glossy clay figurines," "diorama materials," and "miniature model trees made of painted foam." This forces the AI to apply specular highlights and physical textures appropriate for a tabletop model.
4. The Macro-Lighting Rig
Real dioramas are lit by artificial studio lights, not the sun. Prompting for "tabletop studio lighting," "soft diffuse key lights," and "slight plastic specular highlights" changes how the AI calculates shadows. The shadows of a miniature are softer and wrap around objects differently than the harsh, distant shadows cast by the actual sun.
Here is an example of a complete prompt constructed using this protocol:
"A high-angle, isometric view of a miniature diorama depicting a busy harbor. Tabletop studio lighting. Extreme shallow depth of field with a sharp central focus band on a tiny, painted plastic cargo ship; the foreground water and background docks are softly blurred with creamy bokeh. Miniature figurines of dockworkers made of glossy clay. Tiny toy cranes with delicate plastic details. Soft, diffused shadows across the scene."
The Stop-Motion Temporal Modifier
The spatial illusion of a miniature is only half the battle; the temporal illusion is just as critical. In the real world, tiny objects move differently than large ones. A real train has massive inertia, moving smoothly and slowly. A toy train on a track moves with lightweight, slightly jerky increments. Furthermore, human figurines in dioramas cannot move fluidly; they are traditionally animated using stop-motion techniques.
If your AI video displays ultra-smooth, 60-frames-per-second fluid dynamics, the miniature illusion instantly collapses. To prevent this, you must inject temporal constraints directly into your prompts. Use modifiers such as:
- "Stop-motion animation cadence": This tells the model to step away from hyper-realistic physics.
- "12fps jerky motion": Explicitly suggesting a lower frame rate forces the model to generate distinct, stepped movements.
- "Miniature time-lapse": This prompts the model to accelerate environmental changes (like tiny toy cars zipping around corners abruptly) which mimics classic tilt-shift time-lapses.
Crucially, you must balance these temporal prompts with your spatial prompts to ensure the AI doesn't warp or morph the subjects. If the model struggles to maintain shape consistency between these jerky frames, reduce the complexity of the motion prompt and rely on post-production frame-rate manipulation instead.
Platform-Specific Prompt Engineering: Runway, Luma, and Kling
Different AI video generators interpret the Miniature Scale Protocol in unique ways. Understanding the quirks of each model allows you to tailor your prompts for the best possible output.
| AI Video Model | Strengths in Miniature Simulation | Weaknesses / Pitfalls | Key Prompt Strategy |
|---|---|---|---|
| Runway Gen-3 Alpha | Excellent rendering of high-fidelity textures, plastic specular highlights, and studio lighting. | Prone to changing the focal plane mid-generation if the camera moves. | Use explicit camera control prompts like "locked camera, static high-angle shot" to keep focus stable. |
| Luma Dream Machine | Handles physical camera movement and panning well. | Suffers from camera drift, which can destroy the narrow tilt-shift focus band. | Keep camera prompts simple; avoid complex multi-axis moves. |
| Kling AI | Highly responsive to stop-motion and time-lapse prompting; handles busy cityscapes well. | Sometimes defaults to hyper-realistic water or smoke physics, breaking the toy illusion. | Explicitly describe materials for fluids (e.g., "water rendered as molded blue resin"). |
When working with these engines, controlling physical movement is paramount. For a deeper look at managing complex movement in physical simulations, see our analysis of high-fidelity image-to-video physics. Applying physics-based motion control prevents the AI from rendering realistic fluid dynamics where plastic toy physics are required.
The Image-to-Video (I2V) Workflow for Perfect Focal Control
While text-to-video (T2V) models have made massive strides, generating a perfect tilt-shift shot from pure text is still a game of chance. The most reliable workflow for professional filmmakers is to generate a pristine, static tilt-shift image first using an image generator like Midjourney, and then animate it using an Image-to-Video (I2V) engine.
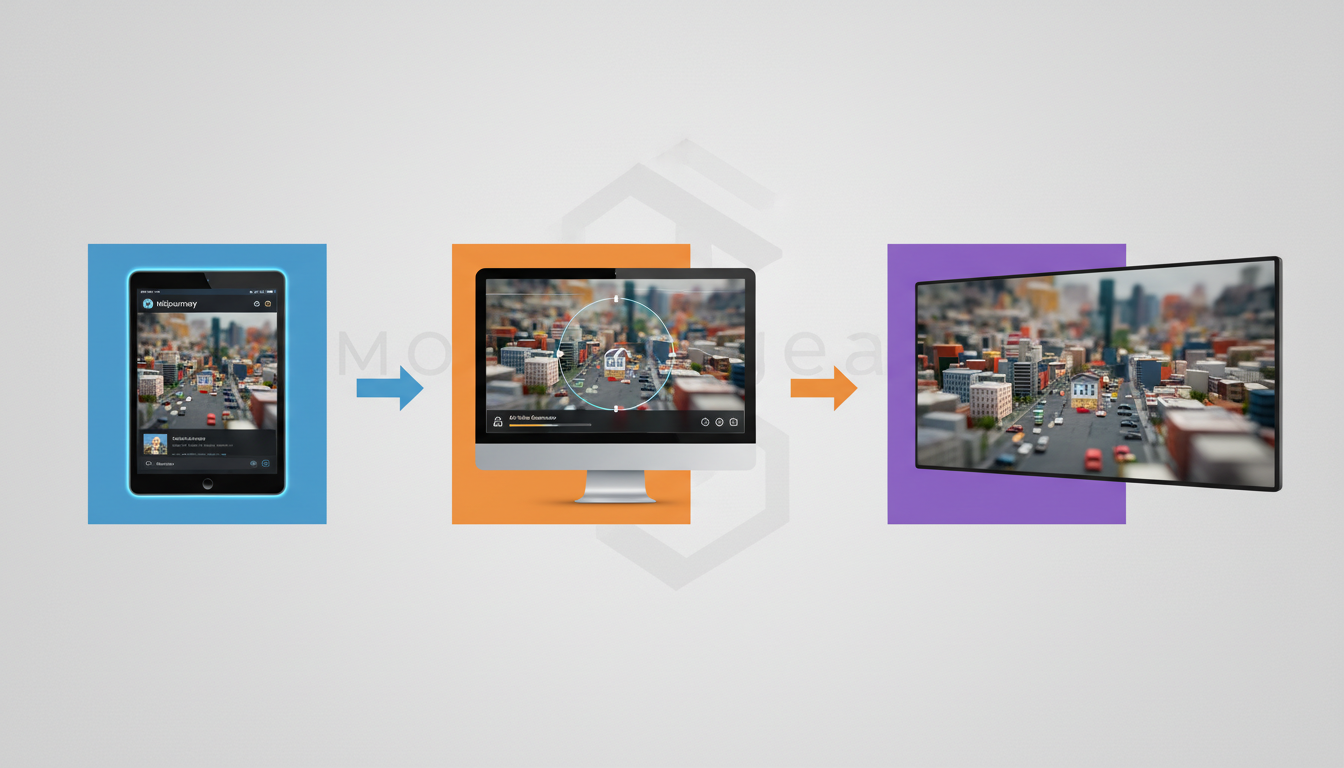
Midjourney excels at optical lens emulation. By using parameters like --ar 16:9 and prompting for specific lenses (e.g., "shot on 85mm macro lens, f/1.4"), you can generate a base frame with flawless, optically accurate depth of field. Once you have this perfect frame, you can feed it into an I2V engine.
The challenge during the I2V transition is keeping the foreground and background blur from bleeding into the sharp subject as the scene animates. This approach builds on the principles of establishing distinct depth layers, detailed in our breakdown of prompting true cinematic parallax. By clearly defining the foreground, midground, and background planes in your I2V text prompt, you prevent the engine from blending the blurred zones into your sharp miniature figures.
When working with advanced image-to-video engines, mastering camera vectors is essential, as outlined in our guide to the Veo I2V prompt engine. Using precise camera vectors allows you to animate the tiny elements within the scene without shifting the established, delicate focal plane of your original image.
Post-Production Enhancements: Refining the Toy-Town Aesthetic
Even with perfect AI generation, achieving a truly polished "toy-town" aesthetic often requires a few non-AI adjustments in your editing software of choice (such as DaVinci Resolve or Premiere Pro). These post-production steps act as a final quality control layer.
First, address the frame rate. If your AI generation exported at a buttery-smooth 24fps or 30fps, apply a "Posterize Time" effect and set the frame rate to 12fps or 15fps. This instantly introduces the charming, jerky cadence of classic stop-motion animation.
Second, refine the color grading. Real-world miniatures are typically painted with vibrant, highly saturated acrylics or plastics. Boost the saturation by 10-15% and slightly increase the contrast. This mimics the look of painted model kits. Finally, add a micro-vignette and a subtle layer of artificial lens grain. This masks any remaining AI compression artifacts and grounds the video in the tactile, physical world of traditional macro cinematography.
Why does my AI tilt-shift video look like a normal video with a blurry top and bottom?
This happens because the AI model is interpreting "tilt-shift" as a flat, 2D post-processing filter rather than a physical depth-of-field effect. To fix this, avoid relying solely on the term "tilt-shift." Instead, prompt for the physical layout of the scene: specify a high-angle perspective, a narrow focal plane, and explicitly describe the foreground and background as having creamy, out-of-focus bokeh while keeping the midground razor-sharp.
What are the best prompt words to get a stop-motion miniature look in Runway Gen-3?
To achieve a convincing stop-motion look in Runway Gen-3, combine material modifiers with temporal constraints. Use phrases like "claymation cadence," "stop-motion animation physics," "12fps jerky motion," "tabletop diorama," and "painted plastic figurines." These terms force the model to render both the physical textures and the stepped, lightweight movement characteristic of real miniatures.
Can I use image-to-video tools to create a tilt-shift effect from a normal photo?
Yes, but it is highly recommended to apply the tilt-shift blur to the image first (using Photoshop or Midjourney) before feeding it into the I2V engine. If you upload a standard flat photo, the I2V engine will struggle to correctly separate the depth planes. Pre-blurring the image establishes clear depth boundaries that the AI video generator can respect during animation.
How do I prevent AI video models from making miniature figures move too smoothly?
Smooth movement ruins the miniature illusion. You can combat this in the prompting phase by specifying "jerky, stepped motion" or "time-lapse style." However, the most reliable method is to fix this in post-production. Import your generated AI video into an editor like Premiere Pro or DaVinci Resolve and apply a "Posterize Time" effect, reducing the frame rate to 12 or 15 frames per second.



