
The Geometry of Conversation: Mastering AI-Generated Shot-Reverse-Shot Sequences
Shot-reverse-shot is the invisible architecture of cinema, but in AI filmmaking, it often collapses due to spatial drift. Discover how to establish a shared coordinate system, manage eye-lines, and control consistency across cuts.
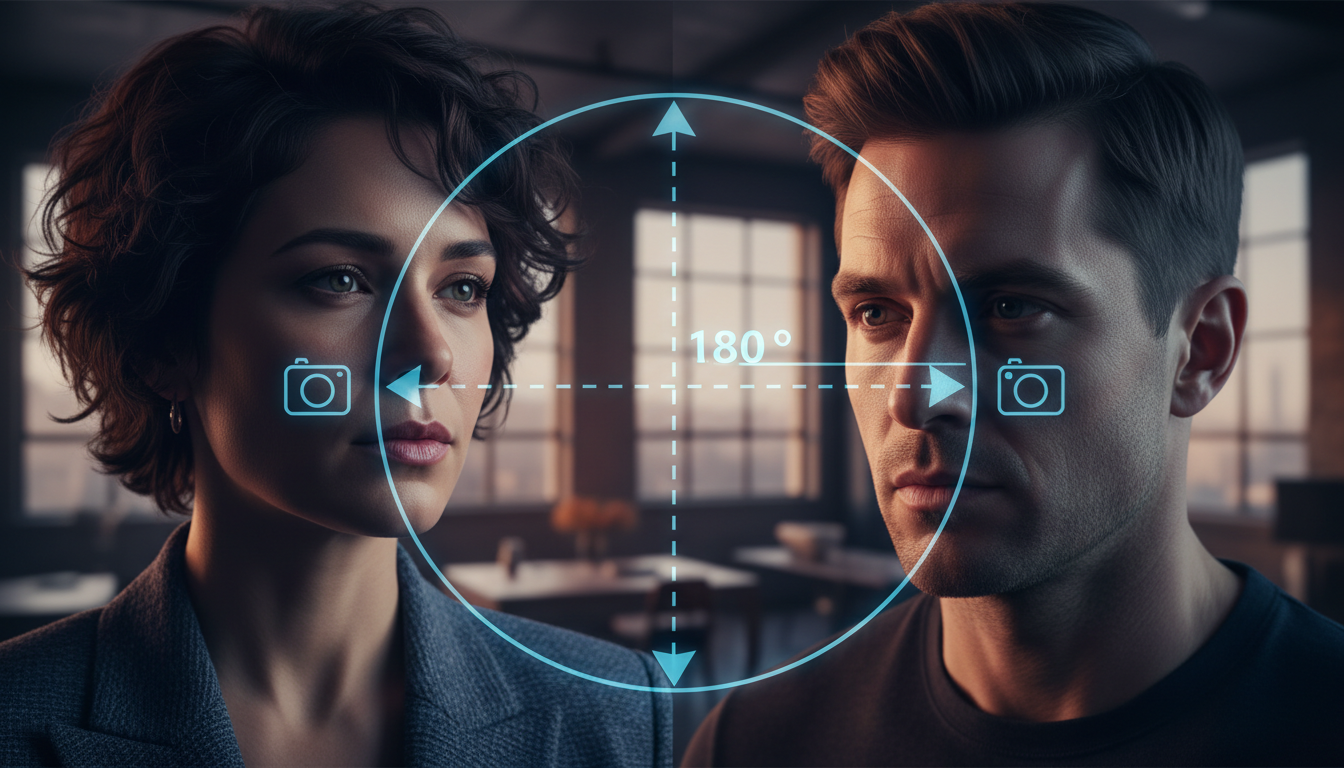
Shot-reverse-shot is the invisible architecture of cinematic dialogue. When executed correctly, it establishes a shared physical reality, allowing viewers to forget they are watching two separate streams of film and instead focus entirely on the emotional exchange between characters. By alternating angles over the shoulders of two speaking subjects, directors guide our eyes through a seamless, intuitive spatial layout.
In AI filmmaking, however, this classic spatial geometry frequently collapses. Because generative video models treat each prompt as an isolated universe, cutting between two characters often introduces spatial drift, shifting horizons, and mutating environments. Mastering this sequence requires treating the conversation not as disjointed text inputs, but as a unified coordinate system anchored by strict physical rules. At Montagea, we approach this challenge by prioritizing spatial intent and structural planning over raw generation output.
The 180-Degree Rule in the Latent Space
To keep an audience oriented, traditional cinematography relies on the 180-degree rule. By drawing an imaginary line of action between two characters, the camera must remain on one side of that line for every shot in the sequence. If the camera crosses this line, the characters appear to swap places on screen, shattering the viewer's spatial awareness.
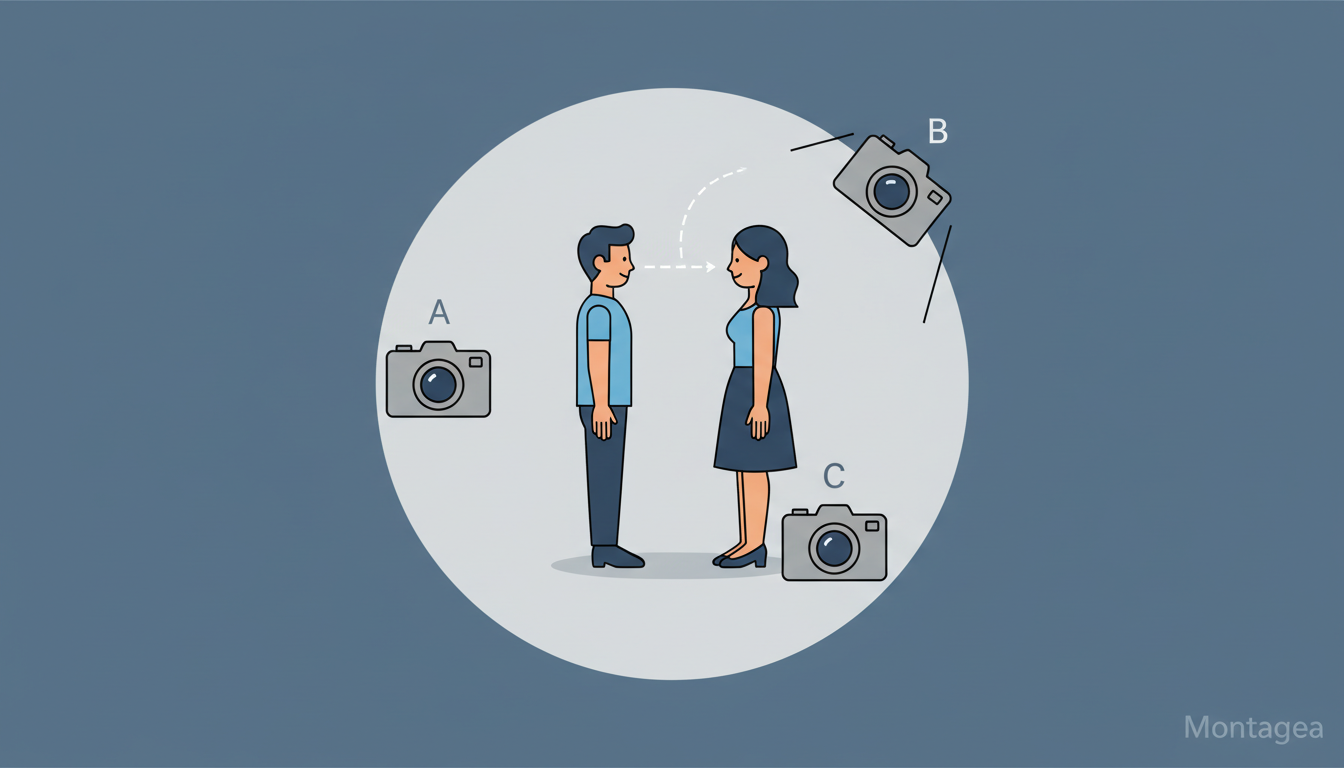
Generative models do not inherently understand this spatial axis. If you prompt "man looking left" for Shot A and "woman looking right" for Shot B, the model renders two distinct environments. Without explicit boundaries, the latent space is highly likely to drift, resulting in mismatched horizons, inconsistent lighting directions, and characters who seem to be looking past each other rather than engaging in direct eye contact.
To enforce the line of action in AI-generated video, you must establish persistent environmental anchors. These anchors are static background elements that remain constant across both prompts, acting as spatial compasses for the generator. For example, if your characters are sitting in a cafe, designate a specific, highly visible anchor—such as a glowing neon sign, a large window, or a distinct concrete pillar—and define its position relative to each character in your prompt. By keeping these environmental markers locked in their respective halves of the frame, you force the AI to align its spatial generations to a single, coherent virtual set.
Architecting the Master Shot for Consistency
Before prompting your close-ups or over-the-shoulder angles, you must establish a master shot. The master shot serves as your visual source of truth. It defines the lighting temperature, the depth of field, the architectural boundaries of the room, and the wardrobe of your actors. Attempting to generate individual close-ups without a master shot is a recipe for visual chaos; you will inevitably end up with characters whose clothes, hairstyles, and facial structures morph with every cut.
To prevent this, use the master shot to capture the exact spatial relationship between your subjects. Once you have a master shot that satisfies your creative direction, it becomes the baseline reference for all subsequent generations. This is particularly critical when managing wardrobe details, which are notorious for shifting between prompts. By establishing a clear baseline, you can execute a structured AI wardrobe consistency workflow, ensuring that fabrics, colors, and accessories remain identical when you transition from a wide master shot to a tight reverse angle.
The Mechanics of the Over-the-Shoulder Prompt
When you are ready to transition from the master shot to the individual coverage, your prompts must be highly technical. Avoid generic descriptions like "man talking to woman." Instead, use precise camera terminology that dictates the exact composition and angle of the shot. Here are two template structures engineered to maintain spatial orientation:
- Shot A (Character 1 Focus): "An over-the-shoulder medium close-up, looking over the dark-clothed shoulder of Character 2 in the foreground shadow, focusing on Character 1 facing screen-left. Warm key light from screen-right, soft blue fill light from screen-left. Photorealistic, shallow depth of field, background cafe window slightly out of focus."
- Shot B (Character 2 Focus): "An over-the-shoulder medium close-up, looking over the light-clothed shoulder of Character 1 in the foreground shadow, focusing on Character 2 facing screen-right. Cool key light from screen-left, soft warm fill light from screen-right. Photorealistic, shallow depth of field, background neon sign out of focus on screen-left."
Prompting the Reverse: Mirroring Without Flipping
A common mistake in AI dialogue sequences is failing to mirror the lighting ratios. If Character 1 is lit with a warm key light from the left side of the frame, then Character 2—who is facing the opposite direction—must be lit with that same light coming from the right side of the frame. If both characters are lit from the same side of the screen in their respective close-ups, it indicates that the light source is magically teleporting across the room between cuts.
At Montagea, our approach to character consistency relies on mapping these spatial vectors before rendering. By maintaining a strict sheet of prompt variables—including lighting direction, camera focal length, and color temperature—you can ensure that the reverse angle mirrors the primary shot perfectly without accidentally flipping the entire image.
Additionally, static dialogue shots in AI video can quickly feel uncanny and lifeless. To inject natural energy into the conversation, consider adding subtle camera movement to your reverse shots. Incorporating a slow push-in camera movement can heighten emotional tension, making the dialogue feel deliberate and cinematic rather than static and flat.
Refining the Cut: Technical Workflow
Once you have generated your coverage, the final step is stitching the sequence together in your editing timeline. This is where temporal drift—the subtle movement or morphing of characters and backgrounds over the course of a single clip—can ruin your edit. If a character's hair slowly shifts shape during their line of dialogue, the cut to the reverse shot will feel incredibly jarring.
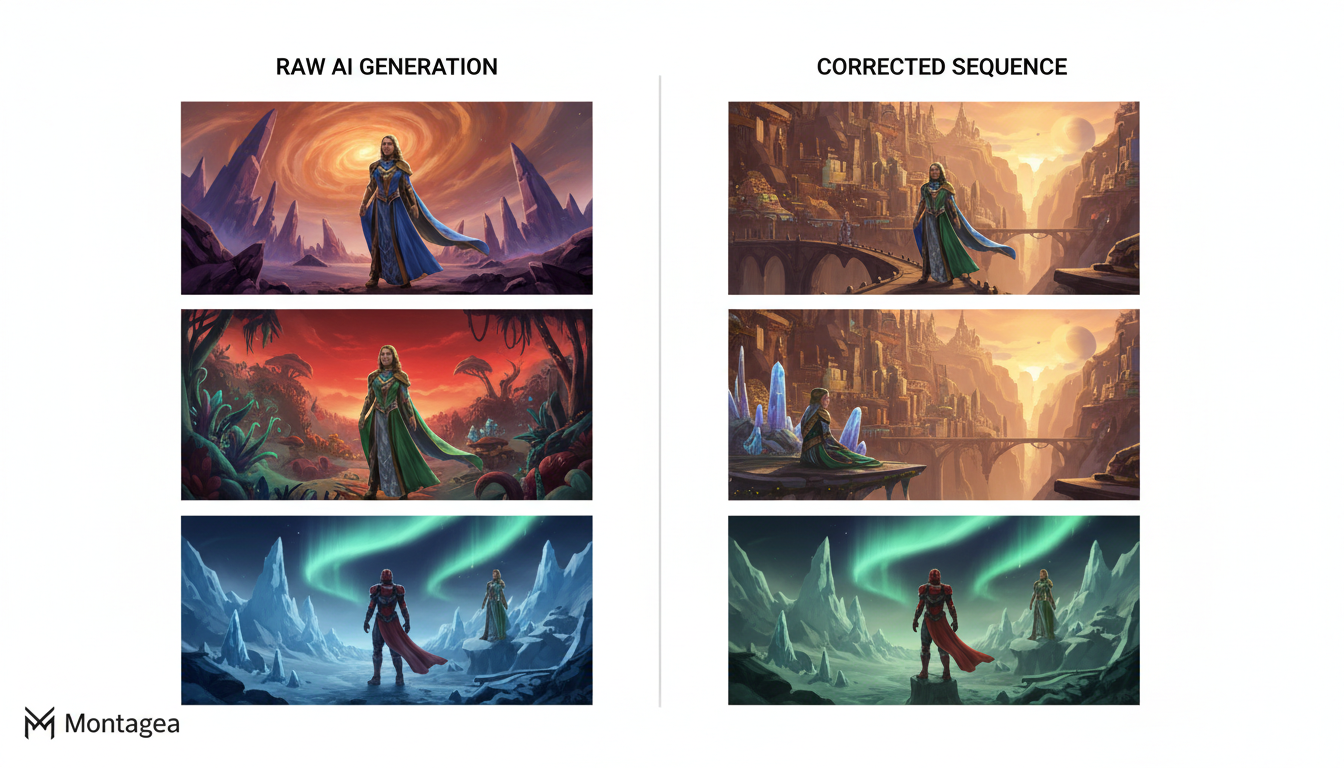
To combat this, professional workflows leverage advanced frame-control features. By utilizing a structured first and last frame workflow, you can force the AI video generator to start and end on exact, pre-defined compositions. This ensures that the beginning of Shot B matches the spatial layout of Shot A, keeping the environment locked in place across the cut.
Use the following checklist to evaluate your sequence before finalizing your edit:
| Continuity Element | Traditional Standard | AI Generation Fix |
|---|---|---|
| Eye-line Match | Characters look at each other's physical positions. | Use angle prompts (e.g., "looking 45-degrees off-camera screen-left"). |
| Lighting Ratio | Key and fill lights remain on their respective sides. | Invert the light source direction in the prompt for the reverse shot. |
| Background Stability | The physical set remains static. | Lock down environmental anchors and use image-to-video reference seeds. |
| Wardrobe & Props | Clothing, jewelry, and props do not change. | Apply strict character reference sheets and consistent seed parameters. |
Troubleshooting Common AI Dialogue Glitches
Even with meticulous prompting, AI video generators can produce unexpected artifacts when cutting between angles. Below are the most common dialogue-scene glitches and how to resolve them:
- The Eye-line Drift: If a character's eyes wander or shift focus during a shot, it breaks the connection of the dialogue. To fix this, use precise gaze-direction keywords in your prompt (e.g., "locked gaze," "unblinking eye contact off-screen right") and avoid general terms like "looking around" or "thoughtful expression," which invite the AI to wander.
- The Morphing Background: If the background elements are shifting too much behind your character, lower the motion amplitude setting in your AI generator. High motion settings often cause background details like windows, paintings, or furniture to warp and slide. Keeping the motion value between 3 and 5 (on a 10-point scale) keeps the environment anchored.
- Jarring Cuts: If transitioning from Shot A to Shot B feels too abrupt due to minor generation mismatches, use subtle visual tricks to smooth the transition. A slight camera movement, such as a slow drift or a gentle handheld shake prompted into both shots, can mask minor structural differences and make the sequence feel like a cohesive, multi-camera production.
How do I keep the same character in both shots when using AI video?
To maintain character consistency across shots, utilize a dedicated character reference image (IP-Adapter) or a consistent seed number. By feeding the same reference face into both the shot and reverse-shot generations, you ensure that facial features, hair structure, and expressions remain stable across cuts.
Why do my characters keep changing clothes between camera angles?
AI generators treat each prompt independently, meaning wardrobe details can easily shift. To prevent this, outline a highly specific wardrobe description in every prompt (e.g., "wearing a dark blue denim jacket with brass buttons"), and establish a baseline master shot to guide subsequent close-up generations.
How do I prevent the background from changing when I cut between reverse shots?
Include identical, highly specific environmental anchors in both prompts. By defining where static elements like windows, lights, or pillars are positioned relative to your characters, and keeping your generator's motion settings low, you can prevent the background from morphing between angles.
What is the best way to ensure eye-line match in AI generated dialogue?
Use precise directional prompts that dictate exactly where the character is looking relative to the camera frame (e.g., "gazing 45-degrees off-camera screen-left" for one character, and "gazing 45-degrees off-camera screen-right" for the other). This establishes a clear, convincing line of sight that connects the two subjects.



