
How to Use Image-to-3D Models for Asset Generation
Transform 2D images into textured 3D meshes using automated image-to-3D models. Learn how to prepare clean source assets and inspect output geometry for production workflows.
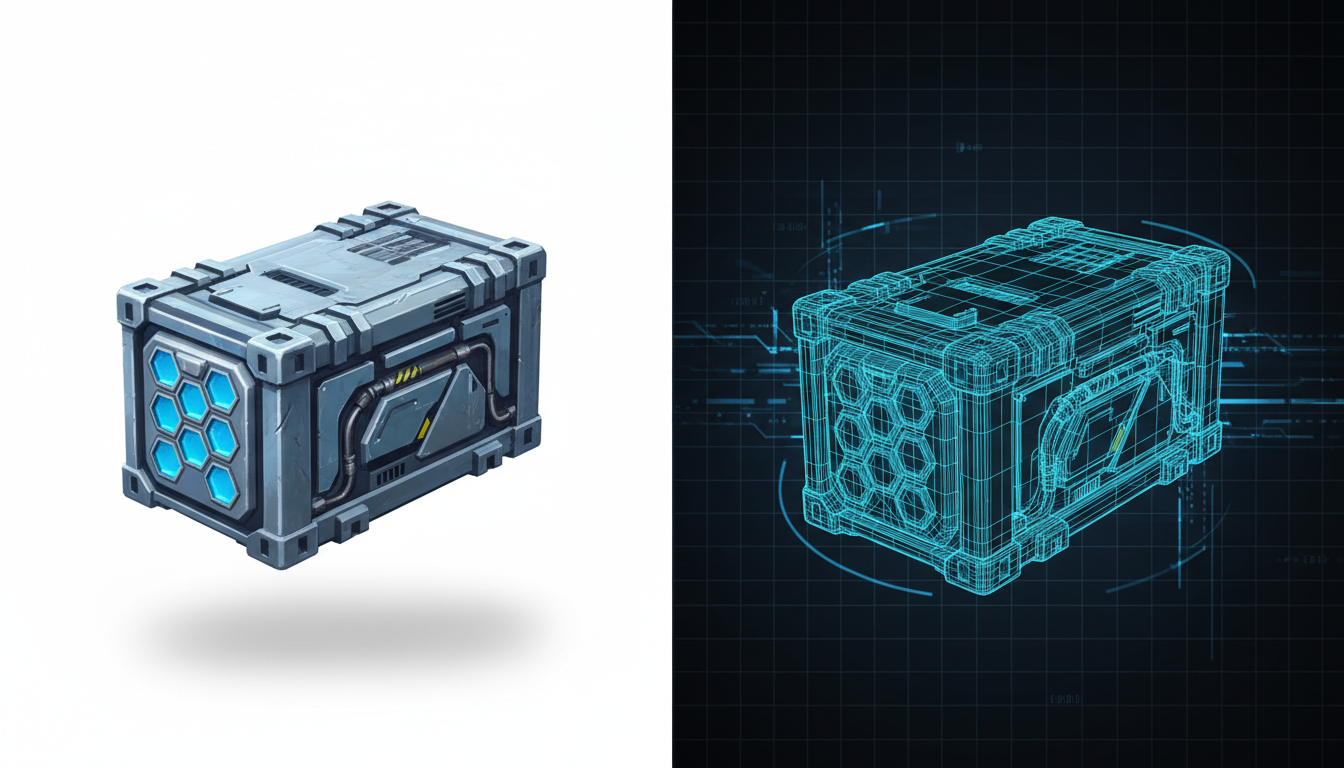
Image-to-3D models are designed to generate textured 3D meshes from a single 2D image. While these tools streamline asset pipelines for props, character concepts, and hard-surface objects, successful generation depends heavily on the geometric clarity and lighting of your input image. Self-occlusion, complex backgrounds, and baked-in shadows can cause mesh distortion and texture smearing.
Understanding Image-to-3D Models in the Asset Pipeline
Image-to-3D reconstruction represents an approach to rapid prototyping, aiming to generate textured 3D meshes from a single 2D reference image. Unlike traditional manual modeling, which requires hours of box modeling and UV unwrapping, automated reconstruction models handle spatial synthesis programmatically.
Within a professional creative pipeline, specialized image-to-3D models handle the heavy lifting of spatial synthesis. While Montagea acts as an AI creative agent to plan, coordinate, and generate high-fidelity 2D source assets, automated tools aim to turn those concepts into interactive spatial models. These workflows are often used for generating props, character concepts, and hard-surface objects, but they require strict input constraints to avoid geometric distortion on the blind side of the generated asset.
Preparing Your Source Image for 3D Reconstruction
The quality of your 3D reconstruction is directly proportional to the quality of your 2D input. Because the model must infer depth and volume from a flat image, you must eliminate any visual noise that could confuse the depth estimation engine. Use the following standards to prepare your source graphics:
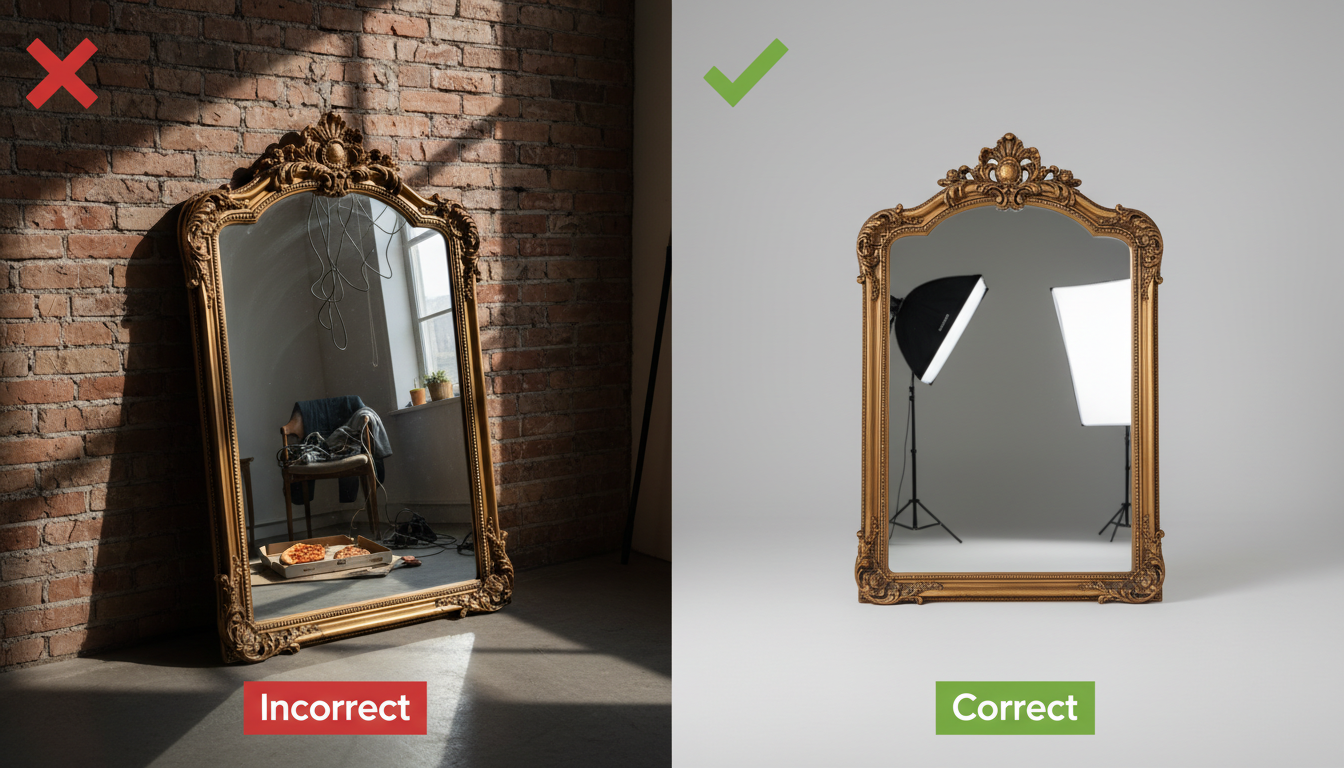
- Isolate the Subject: Shadows, complex backgrounds, and environmental clutter will fuse into the final mesh. Clean background removal is essential for 3D synthesis; learn how to isolate complex subjects cleanly in our guide on removing image backgrounds.
- Ensure Flat, Neutral Lighting: Avoid harsh directional highlights and shadows. Baked-in lighting in the source image will be projected directly onto the 3D texture, making the asset unusable under different lighting setups in 3D engines.
- Choose an Optimal Angle: Three-quarter views or orthographic front views work best. Avoid extreme perspectives or heavy self-occlusion (such as a character with folded arms), which leaves the depth engine with no data, resulting in hollow spots or unnatural stretching.
To generate highly detailed, isolated source graphics specifically optimized for 3D modeling, use our guide on building production-ready assets with AI image prompt generators.
Step-by-Step: Running Image-to-3D Generation
To generate your 3D asset, the workflow typically involves uploading a prepared image to your chosen model provider's interface and initiating the reconstruction process.
- Upload your asset: Upload your prepared transparent PNG or high-contrast source image.
- Process the generation: Run the model to allow the depth estimation engine to synthesize the 3D structure.
- Export the mesh: Download the generated asset in a compatible format for your downstream 3D application.
Inspecting and Optimizing the Generated 3D Mesh
Once the generation is complete, download the mesh and its associated texture maps. Before importing the asset into production suites like Blender or Unreal Engine, run through this quality inspection checklist:
- Inspect the back-face geometry: Look closely at the synthesized blind side of the object. Since the model must guess what the back of the object looks like, check for unnatural stretching, flat planes, or hollow geometry.
- Evaluate texture projection: Look for texture smearing or bleeding along complex seams, which typically occurs around tight crevices.
- Analyze topology and polycount: Determine if the mesh requires decimation (reducing polycount) or automated retopology to ensure smooth performance in real-time engines.
- Verify scale and orientation: Ensure the model's pivot point and default orientation align correctly to prevent transformation issues when importing into downstream editors.
Preparing 2D assets for downstream 3D generation is highly analogous to prep work for video models; you can read about similar asset preparation rules in our guide on using WAN Image-to-Video.
What file formats do image-to-3D models typically export?
Image-to-3D pipelines typically aim to export meshes in standard formats like glTF (.gltf/.glb) and OBJ, complete with separate diffuse texture maps. These formats are widely compatible with major 3D suites like Blender, Maya, and Unreal Engine.
Can image-to-3D models generate rigged characters?
Most automated image-to-3D generation models produce static, unrigged 3D meshes. To animate characters generated by these models, you typically must import the mesh into an external tool (like Mixamo or Blender) to perform rigging and skinning manually.
How do image-to-3D models handle transparent or semi-transparent materials in the source image?
Standard image-to-3D reconstruction pipelines often struggle with physical transparency or refractive materials (like glass). They may treat semi-transparent areas as solid geometry, which can lead to distorted meshes. For best results, it is generally recommended to use solid, opaque objects as your source images.



