
The Coherence Protocol: Eliminating High-Frequency Flicker in AI Video Pipelines
AI-generated video often suffers from distracting flickering and temporal instability. Discover the professional-grade post-production workflow and pre-production techniques to stabilize your footage and achieve broadcast-ready temporal coherence.
AI video generators are often marketed as turnkey solutions that output final, polished renders at the click of a button. At Montagea, we reject this oversimplified view. Instead, we treat AI models as highly sophisticated, raw digital cameras that produce incredibly rich but inherently noisy, uncalibrated footage. One of the most persistent artifacts of this digital "sensor" is high-frequency flicker—an erratic shimmering of textures and rapid fluctuations in brightness that immediately shatters the cinematic illusion.
Flicker is not a sign of a failed generation; it is a predictable physical artifact of diffusion models that can be systematically managed and corrected. By implementing a professional-grade post-production workflow, you can salvage flickering shots and achieve the temporal coherence required for premium broadcasts and theatrical screens. This is the core of the Coherence Protocol: a hybrid pipeline designed to stabilize latent drift and resolve luminance shifts before your footage ever hits the final color grade.
The Anatomy of AI Video Flicker: Why Diffusion Models Struggle with Temporal Coherence
To solve flicker, you must first diagnose its origin. Traditional camera flicker usually stems from mismatched shutter speeds and light source frequencies. In contrast, AI video flicker is born in the latent space of diffusion models. The primary culprit is latent drift. When a model generates a video sequence, it processes frames either sequentially or in batches. Because the model lacks a true, physics-based understanding of light source persistence, spatial geometry, and object permanence, each frame's noise-reduction process resolves slightly differently. The result is a series of microscopic variations in texture, geometry, and lighting across consecutive frames.
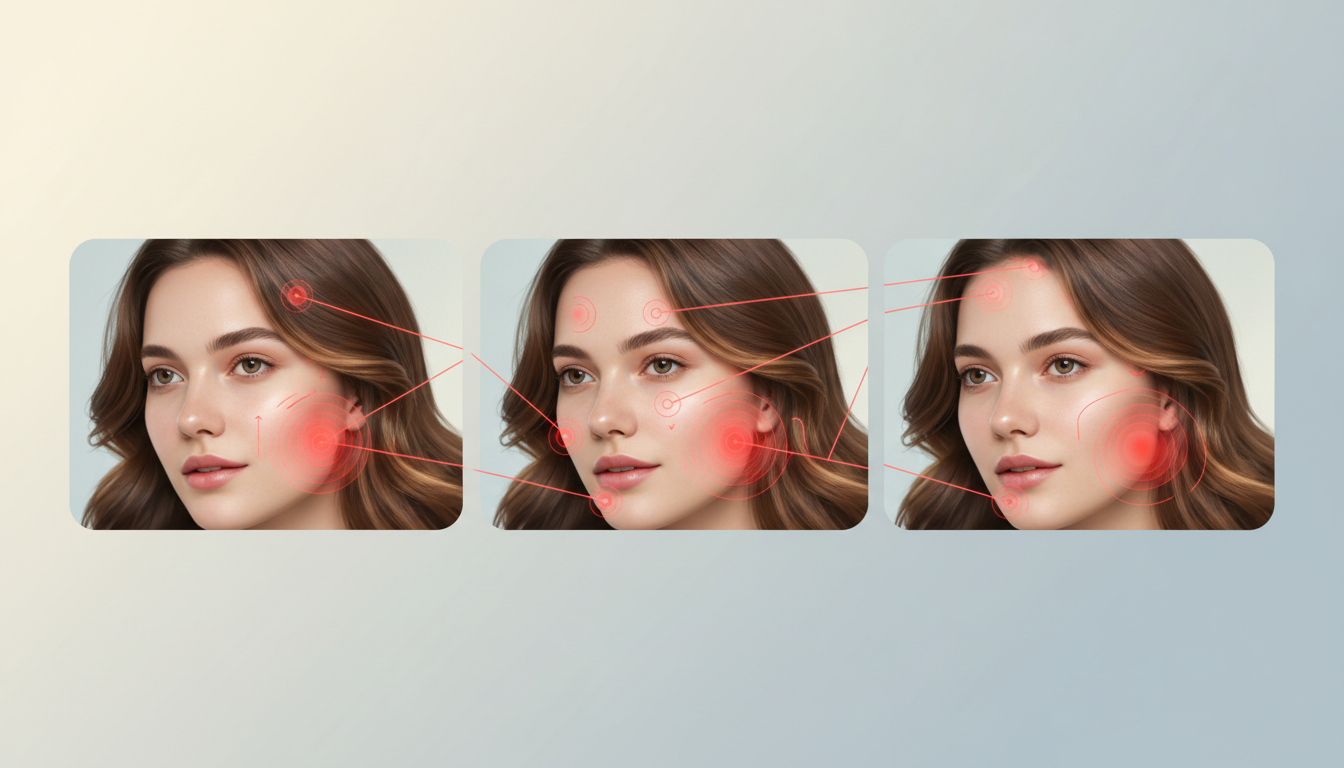
We categorize this instability into two distinct visual phenomena: global luminance shifting and structural micro-morphing. Global luminance shifting manifests as rapid, frame-wide changes in exposure and brightness. The overall scene appears to pulse, as if an invisible gaffer is constantly adjusting a dimmer switch. Structural micro-morphing is far more insidious; it occurs when fine details—such as the weave of a fabric, the grain of a wooden table, or the pores on a character's face—constantly shift, crawl, and morph from frame to frame.
Achieving true temporal coherence means neutralizing both artifacts. In professional AI filmmaking, temporal coherence is the ultimate metric of production value. Audiences are incredibly sensitive to high-frequency visual noise. If a character's face shimmers like liquid mercury or the background exposure bounces wildly, the viewer is immediately pulled out of the story. Stabilizing these elements requires a two-pronged strategy: minimizing variance during the generation phase and applying rigorous mathematical correction in post-production.
Pre-Production Mitigation: Prompting and Parameter Controls
While post-production tools are incredibly powerful, your first line of defense begins in the generator itself. You can significantly reduce the workload of your deflickering software by guiding the AI model toward stable lighting environments. Highly dramatic lighting setups with deep shadows, flickering candle flames, or complex volumetric rays invite high-frequency noise. Instead, opt for prompts that dictate diffuse, controlled environments. Using terms like "consistent studio lighting," "high key," "diffuse ambient light," or "soft overcast day" forces the model to distribute light evenly across the frame, minimizing the probability of radical frame-to-frame exposure calculations.
Beyond prompting, parameter control is vital. Many advanced generators allow you to adjust motion scale, frame rate, and seed settings. Locking your seed across a sequence of generations can help maintain a baseline level of structural consistency. Lowering the motion scale or motion brush intensity reduces the physical distance pixels must travel between frames, which naturally decreases structural micro-morphing.
Balancing Motion and Stagnation
However, over-correcting for flicker by dropping motion parameters to zero introduces a different production bottleneck. While minimizing flicker is crucial, reducing motion parameters too far can result in the 'diorama effect'—our guide on fixing frozen and stagnant motion in image-to-video workflows offers a blueprint for keeping your scenes dynamic. If your frames are completely static to prevent shimmering, your film will feel lifeless and artificial, betraying the medium's kinetic potential.
To achieve predictable, flicker-free movement through physics-based prompting, you can implement the kinetic translation protocol for high-fidelity image-to-video physics. This approach allows you to prompt natural physical forces—such as gravity, wind, and inertia—to drive the scene's motion, ensuring that the movement is generated along logical vectors rather than random, chaotic noise paths that trigger high-frequency artifacts.
The Post-Production Deflicker Stack: Tools and Settings
When raw AI footage lands in your editing timeline, it is time to deploy the post-production deflicker stack. The industry standard for this process is DaVinci Resolve Studio’s native Deflicker tool, which uses advanced spatial-temporal analysis to detect and smooth out rapid exposure changes.
To set up the node pipeline in DaVinci Resolve Studio:
- Create a dedicated Deflicker node immediately after your initial primary exposure correction but before your creative color grading look (LUTs or manual grades).
- Open the Deflicker panel and assess your footage. For global luminance shifting (exposure pulsing), change the Deflicker Type to "Timelapse." This preset analyzes a wide temporal window to smooth out broad exposure fluctuations across dozens of frames.
- For localized, high-frequency shimmering on specific textures, switch the Deflicker Type to "Fluorescent Lights." This preset is highly aggressive on rapid, frame-to-frame micro-pulses.
- If the artifacts persist, add a preceding node and apply Temporal Noise Reduction (TNR). Set the Frame Range to 3 or 5 frames, choose "Better" or "Faster" motion estimation based on your hardware, and unlink the Luma and Chroma thresholds. Gradually increase the Luma threshold (typically between 5.0 and 15.0) to smooth out the micro-morphing textures without turning the entire image into mush.
Below is a comparison of the primary tools available to filmmakers for managing temporal artifacts:
| Tool / Plugin | Primary Strength | Edge Preservation | Processing Speed | Best Use Case |
|---|---|---|---|---|
| DaVinci Resolve Studio Deflicker | Excellent global luminance stabilization; built-in temporal analysis. | High (preserves fine facial details when tuned correctly). | Fast (GPU-accelerated native tool). | Standard A-roll, dialogue scenes, and broad landscape shots. |
| RE:Vision Effects DE:Flicker | Unrivaled localized sub-pixel stabilization and high-frequency noise control. | Very High (retains fine textures under heavy processing). | Moderate (computationally intensive). | Highly complex scenes with dense geometric patterns or hair. |
| Premiere Pro Native Effects | Basic temporal smoothing via rolling shutter and basic noise reduction. | Moderate (prone to softening edges under heavy correction). | Fast (low computational footprint). | Quick social edits or light exposure stabilization. |
Advanced Masking and Optical Flow Reconstruction
Sometimes, global deflickering tools are a blunt instrument. If you apply an aggressive deflicker to a shot with a highly stable foreground character but a wildly shimmering background, the tool may inadvertently blur or soften the crisp foreground details. In these scenarios, you must split the image using rotoscoping and localized masks. By isolating the flickering elements—such as a distant skyline or a complex patterned wall—you can apply heavy-handed temporal noise reduction and deflickering to the background while keeping the subject completely untouched.
For severe structural warping where details physically shift shape, simple luminance correction is insufficient. This is where optical flow reconstruction comes into play. By using tools like DaVinci Resolve’s Speed Warp or third-party optical flow plugins, you can generate motion vectors between key, stable frames. If frame 12 and frame 15 are structurally clean, but frames 13 and 14 suffer from severe micro-morphing, you can rotoscope the problematic area and use optical flow to interpolate new, clean frames based on the motion vectors of the stable reference frames.
When localized flickering is accompanied by structural deformation, such as shifting fingers, you can apply the anatomical anchor protocol to target and fix warped hands in post-production. This method combines precise masking, tracking, and localized frame interpolation to lock down chaotic geometry, ensuring that both the physical structure and the lighting remain perfectly consistent across the shot.
Building a Zero-Flicker Hybrid Pipeline with Montagea
The future of professional AI filmmaking does not rely on waiting for a "perfect" one-click generator. Instead, it relies on a hybrid pipeline: roughly 70% of the heavy lifting is handled by the AI generation engine, and the remaining 30% is managed through traditional, rigorous post-production engineering. At Montagea, we believe this hybrid approach is what separates amateur experiments from commercial-grade visual storytelling. By embracing the limitations of diffusion models and treating their outputs as raw footage, you regain creative control over the final frame.
Before you export your final sequence for theatrical or digital delivery, run through this technical checklist to ensure your frames are perfectly stabilized:
- Luminance Check: Review the waveform monitor in your color page. If the trace bounces up and down rhythmically while the shot is static, apply a broad "Timelapse" deflicker.
- Texture Inspection: Zoom in to 200% on high-frequency detail areas (hair, fabric, brick walls). If you observe crawling pixels, apply Temporal Noise Reduction with a 3-to-5 frame window.
- Subject Isolation: Verify that your aggressive background deflickering has not softened your foreground subject's eyes, lips, or edge details. If it has, apply a localized garbage matte.
- Compression Test: Export a 5-second test clip using a high-bitrate codec (such as ProRes 422 HQ or DNxHR HQX) to ensure your compression settings do not introduce blocky artifacts that amplify residual micro-shimmer.
By mastering these steps, you transform chaotic AI outputs into stable, cinematic assets, pushing the boundaries of what is possible in modern video production.
Why does AI-generated video flicker so much compared to real camera footage?
AI video generators process frames sequentially or in batches within a latent space, lacking a physical camera sensor's continuous exposure. Because the model calculates noise reduction from scratch or based on temporal approximations for each frame, microscopic variations in light calculations, spatial geometry, and textures occur, resulting in high-frequency flickering and shimmering.
Can I fix AI video flicker using free editing software like CapCut or DaVinci Resolve free version?
While free versions of editing software offer basic noise reduction and optical flow tools, professional-grade temporal deflickering is typically locked behind premium tiers. For example, the advanced spatial-temporal Deflicker tool and Temporal Noise Reduction (TNR) are exclusive to DaVinci Resolve Studio. Free users can try localized masking and frame interpolation, but the automated professional stack requires Studio-grade tools.
What are the best export settings to prevent compression from worsening AI flicker?
To prevent video compression from amplifying residual micro-shimmer, always export using high-bitrate, intra-frame codecs such as Apple ProRes 422 HQ or Avid DNxHR HQX. If exporting to H.264 or H.265 for web delivery, use multi-pass encoding with a high target bitrate to avoid macroblocking, which clusters flickering pixels into highly distracting blocky artifacts.
Does image-to-video generation produce less flicker than text-to-video generation?
Yes. Image-to-video (I2V) generation generally exhibits higher temporal stability because the model has a concrete, high-fidelity reference frame to anchor its initial latent state. Text-to-video (T2V) must generate the entire scene's structure and lighting from scratch, which often introduces significantly more structural morphing and exposure drift.



