
The Architectural Animatic: Translating Static Renders into Cinematic Spatial Walkthroughs with Image-to-Video AI
Architectural visualization is the ultimate stress test for image-to-video AI. Learn how to decouple camera paths from structural geometry to create stable, cinematic walkthroughs that preserve straight lines and realistic environmental motion.
High-end architectural visualization relies on absolute geometric precision. When a 3D artist or filmmaker attempts to animate static architectural renders using standard image-to-video (I2V) AI models, the results often suffer from "structural melting"—where concrete beams warp, steel columns bend, and glass facades wobble like liquid. Because neural networks generate motion by predicting pixel transformations across latent space, they struggle to recognize that a load-bearing wall must remain entirely rigid while a camera pans past it.
At Montagea, we analyze AI filmmaking through a lens of production-grade stability and physical realism. This article establishes a systematic, repeatable protocol to preserve structural integrity, maintain perfectly straight lines, and introduce cinematic camera moves and realistic environmental motion to your architectural walkthroughs. By treating your static render as a physical set and decoupling camera paths from structural geometry, you can produce stunning, stable spatial walkthroughs that rival traditional 3D rendering pipelines in a fraction of the time.
The Geometry Dilemma in Architectural Image-to-Video
Architectural visualization is the ultimate stress test for image-to-video AI. Traditional rendering engines like V-Ray, Corona, or Unreal Engine calculate light paths and camera movements using absolute spatial coordinates. When an AI video generator processes these renders, it does not understand 3D coordinate space; instead, it relies on temporal consistency models that interpret lines, shadows, and textures as fluid surfaces. High-contrast, clean-line renders—such as minimalist concrete structures or steel-and-glass skyscrapers—are particularly prone to geometric shifts. The AI's temporal model often misinterprets sharp edges as boundaries that can warp or stretch during camera transitions.
To prevent this structural melting, you must prepare your source render with temporal AI constraints in mind. Avoid extreme camera angles, ultra-wide-angle lens distortions (such as a 12mm fisheye perspective), or overly complex patterns like dense wood slats and fine mesh screens. These elements create high-frequency visual noise that confuses the AI’s motion estimation vectors. Instead, opt for standard cinematic focal lengths (between 24mm and 50mm) and ensure that your lighting is baked cleanly without aggressive, flickering volumetric fog. Refer to our guide on engineering reference images to ensure your source frames are optimized for temporal AI engines before uploading them to any video generation pipeline.
The key to a stable architectural generation is establishing an "Input Blueprint." This concept involves treating your initial high-resolution render as an unyielding structural anchor. By feeding the model a pristine, noise-free starting frame, you provide the temporal model with a clear reference point. If the input image lacks clarity or contains compression artifacts, the AI will exploit these ambiguities, translating them into warping walls and drifting columns within the first ten frames of video output.
The Camera-First Prompting Protocol for Spatial Walkthroughs
To achieve studio-grade results, you must decouple the camera's motion from the subject's geometry. In traditional prompting, creators often write descriptions like "architectural walkthrough of a modern living room." This is a critical mistake. To an AI model, the word "walkthrough" implies a first-person perspective with natural human head-bobbing, which introduces severe vertical and horizontal wobble to the walls. Instead, you must prompt the camera path first, followed by structural descriptions, to isolate the camera's trajectory from the building's physical form.
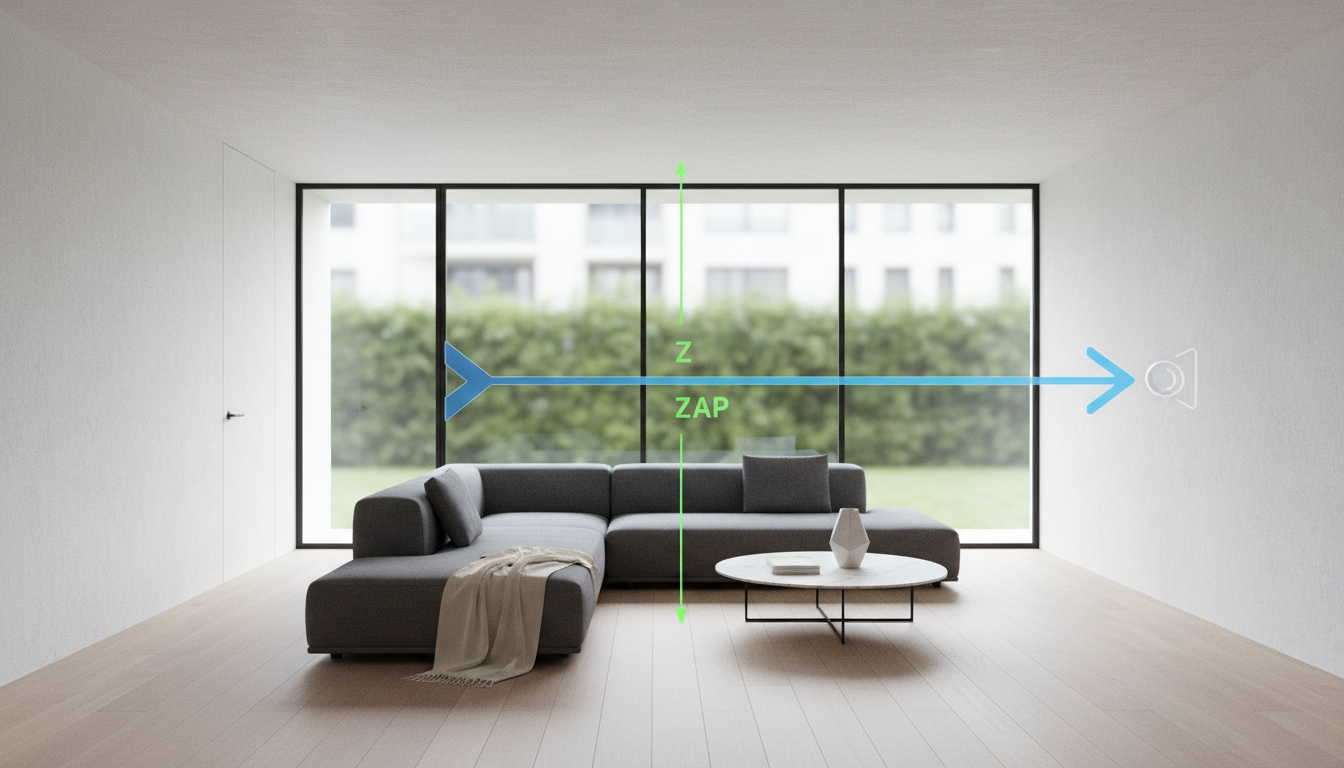
When drafting your prompt, use precise cinematic terminology that describes mechanical, motorized camera movements. Terms like "slow forward dolly on the Z-axis," "lateral tracking shot on a slider," or "crane shot descending from a high angle" instruct the AI to apply linear, predictable transformations across the entire frame. This forces the model to treat the scene as a physical set rather than a fluid, morphing canvas. For example, instead of prompting "zoom in on the kitchen island," use "a slow, steady 35mm dolly shot moving directly forward along the central axis, maintaining perfect horizontal and vertical lines."
The Split-Plane Protocol for Cinematic Parallax
One of the greatest challenges in architectural walkthroughs is creating believable depth. When a camera moves through an interior space, objects close to the lens must move faster across the screen than objects in the background. To generate realistic depth between interior furniture and exterior landscapes, implement the Split-Plane Protocol for cinematic parallax. This technique involves explicitly prompting the spatial relationship between the foreground, midground, and background elements. By defining these planes, you guide the AI's motion estimation, preventing the foreground furniture from fusing with the background windows.
Controlling Environmental Motion: Wind, Light, and Water
While maintaining structural rigidity is paramount, a completely frozen environment looks artificial and sterile. This is known as the diorama effect, where the building feels like a plastic model rather than a lived-in space. The secret to a convincing architectural animatic lies in the physics of stillness: introducing micro-motions in the environment while keeping the primary structural elements completely rigid. By animating only the natural elements surrounding the building, you ground the architecture in a believable reality.
To execute this, focus your prompts on high-frequency, low-amplitude movements. Specify that the wind is gently rustling the leaves of a nearby oak tree, or that the surface of a swimming pool is experiencing subtle, realistic water ripples. For instance, a highly effective prompt structure is: "A steady lateral tracking shot of a concrete villa. The concrete walls and glass windows remain perfectly static. In the background, eucalyptus leaves rustle gently in a soft breeze, and light clouds drift slowly across the sky." This contrast between the absolute stillness of the architecture and the organic motion of nature creates a powerful illusion of photorealism.
Another sophisticated technique is to animate the light rather than the physical structure. By prompting a subtle time-lapse shadow movement, you can showcase the depth and scale of the building without moving the camera at all. Prompting "slowly shifting afternoon shadows moving across the textured concrete facade" forces the AI to recalculate light and shadow vectors across the static geometry. Learn how to master the physics of stillness to prompt subtle, cinematic motion in your architectural environments without breaking structural rigidity.
The Multi-Engine Workflow: Matching Renders to the Right Video Generator
No single AI video generator excels at every architectural shot type. A production-grade workflow requires matching specific spatial tasks to the strengths of different temporal models. Currently, the leading engines—Runway Gen-3 Alpha, Luma Dream Machine, and Kling AI—each possess distinct characteristics when handling architectural geometry, camera paths, and environmental physics.
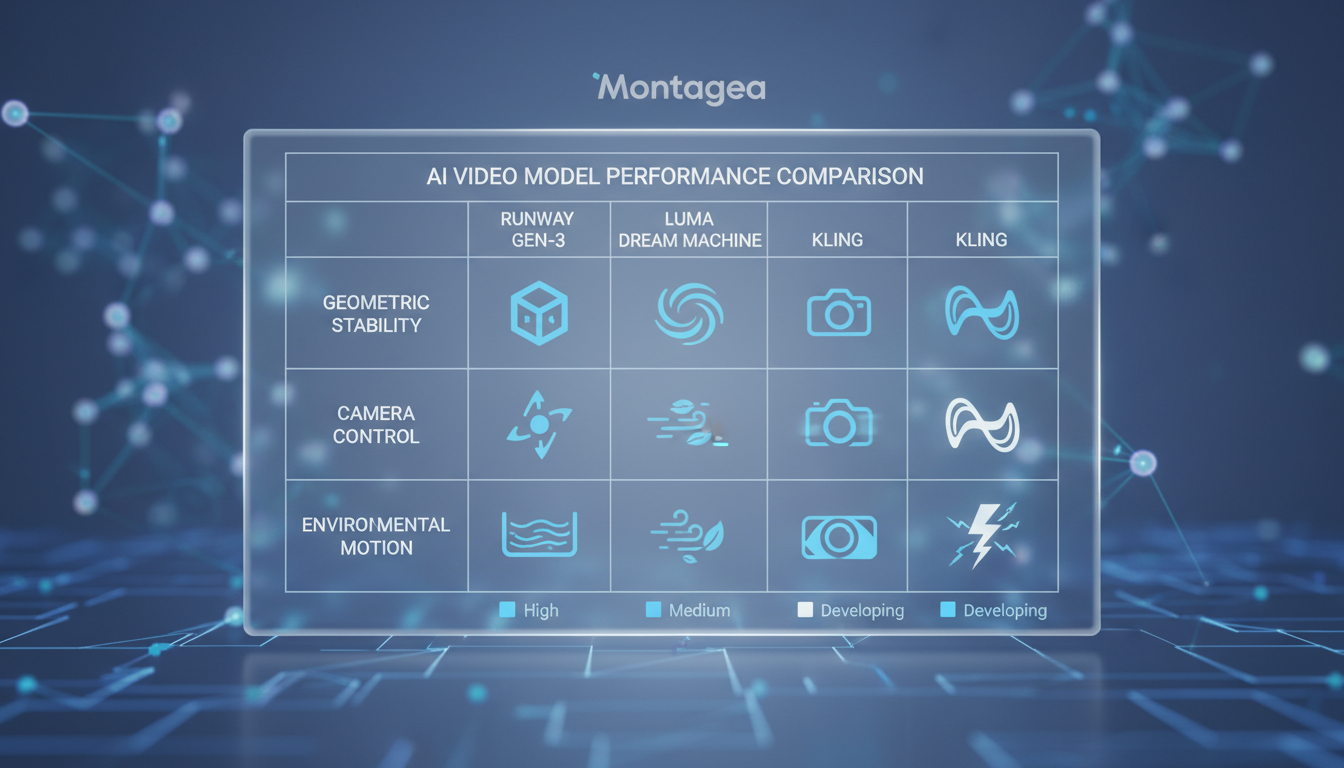
Runway Gen-3 Alpha offers exceptional fidelity when executing complex, linear camera paths, making it the premier choice for smooth, interior dolly shots. Luma Dream Machine excels at high-speed, dynamic camera movements, which is highly useful for sweeping exterior drone shots, though it requires stricter prompting to prevent geometric drift. Kling AI demonstrates superior handling of organic motion, making it ideal for scenes where wind, water, and human interaction are the focal points of the architectural environment.
To help you navigate these tools, refer to the performance comparison matrix below:
| AI Video Engine | Geometric Stability | Camera Path Fidelity | Environmental Motion | Best Architectural Use Case |
|---|---|---|---|---|
| Runway Gen-3 Alpha | Excellent (Low Warp) | High (Linear Dolly/Pan) | Moderate | Interior walkthroughs, slow hallway dollies |
| Luma Dream Machine | Moderate (Needs Masking) | Very High (Dynamic Crane) | High | Exterior drone shots, dramatic reveals |
| Kling AI | Good | Moderate | Excellent (Fluid dynamics) | Courtyards with pools, windy landscapes |
For complex architectural sequences, we recommend building a multi-model shot list to match each specific spatial task to the ideal AI video engine. By segmenting your animatic into individual shots and processing them through the engine best suited for that specific camera movement or environmental condition, you ensure that the final compiled sequence maintains a uniform standard of physical accuracy and cinematic beauty.
Post-Production Cleanup: Fixing Geometry Wobble and Jitter
Even with perfect prompting and the optimal engine, AI-generated videos will occasionally exhibit minor temporal jitters or subtle geometric shifts in the background. Rather than wasting hours re-rendering the same prompt in hopes of a perfect generation, you can resolve these issues quickly in post-production using traditional non-linear editors (NLEs) like DaVinci Resolve or Adobe Premiere Pro.
The most powerful post-production technique for architectural AI video is the "Static Overlay." Because you started with a pristine, high-resolution static 3D render, you can import this original render into your timeline on a track directly above the AI-generated video. Using a simple bezier mask, isolate the structural elements that should remain perfectly still—such as a concrete pillar, a ceiling beam, or a tiled floor—and overlay the static render onto the video. This locks down the geometry of the building while allowing the AI-generated motion (such as moving trees, rippling water, or passing cars) to show through the unmasked areas of the frame.
If the entire frame suffers from sub-pixel jitter during a camera pan, apply a warp stabilizer with highly conservative settings (typically 1% to 5% smooth strength) to avoid introducing new warping artifacts. In DaVinci Resolve, using the "Classic Stabilizer" with point-tracking locked onto a rigid architectural corner can yield incredibly smooth results. Finally, apply a subtle layer of film grain across the final output to unify the texture of the AI-generated frames with the original render's color science, masking any minor compression artifacts and delivering a seamless, high-end cinematic walkthrough.
How do I stop AI video generators from warping straight lines in my architectural renders?
To prevent warping, use precise cinematic camera prompts (like "slow forward dolly on the Z-axis") instead of generic terms like "walkthrough." Additionally, prepare your source renders with standard focal lengths (24mm-50mm) to avoid lens distortion, and use the "Static Overlay" technique in post-production to mask and lock down rigid structural elements with your original high-res render.
Which AI video generator is best for architectural walkthroughs?
Runway Gen-3 Alpha is currently the industry standard for interior walkthroughs due to its superior geometric stability and linear camera paths. Luma Dream Machine is excellent for sweeping exterior drone shots, while Kling AI is ideal for scenes requiring complex environmental motion, such as water reflections and windy landscapes.
How do I prompt a clean drone shot of a building exterior using image-to-video AI?
Avoid using the word "drone," which can introduce unstable flight movements. Instead, prompt "A smooth, mechanical crane shot descending from a high angle, slow vertical tilt down, maintaining parallel vertical lines of the building facade." Keep environmental motion prompts isolated to the background.
Can I use AI to animate moving shadows and light changes on a static 3D render?
Yes. By keeping the camera completely static in your prompt and specifying temporal light changes, you can animate shadows. Use prompts like "Static camera shot, slowly shifting afternoon shadows moving across the textured concrete facade, sunset time-lapse lighting."



