
How to Use Grok Video Generator for Image-to-Video Workflows
Learn how to transform static images into consistent 15-second video clips using Grok Imagine Video on Montagea. This guide covers multi-reference setup, prompting strategies, and troubleshooting motion artifacts.
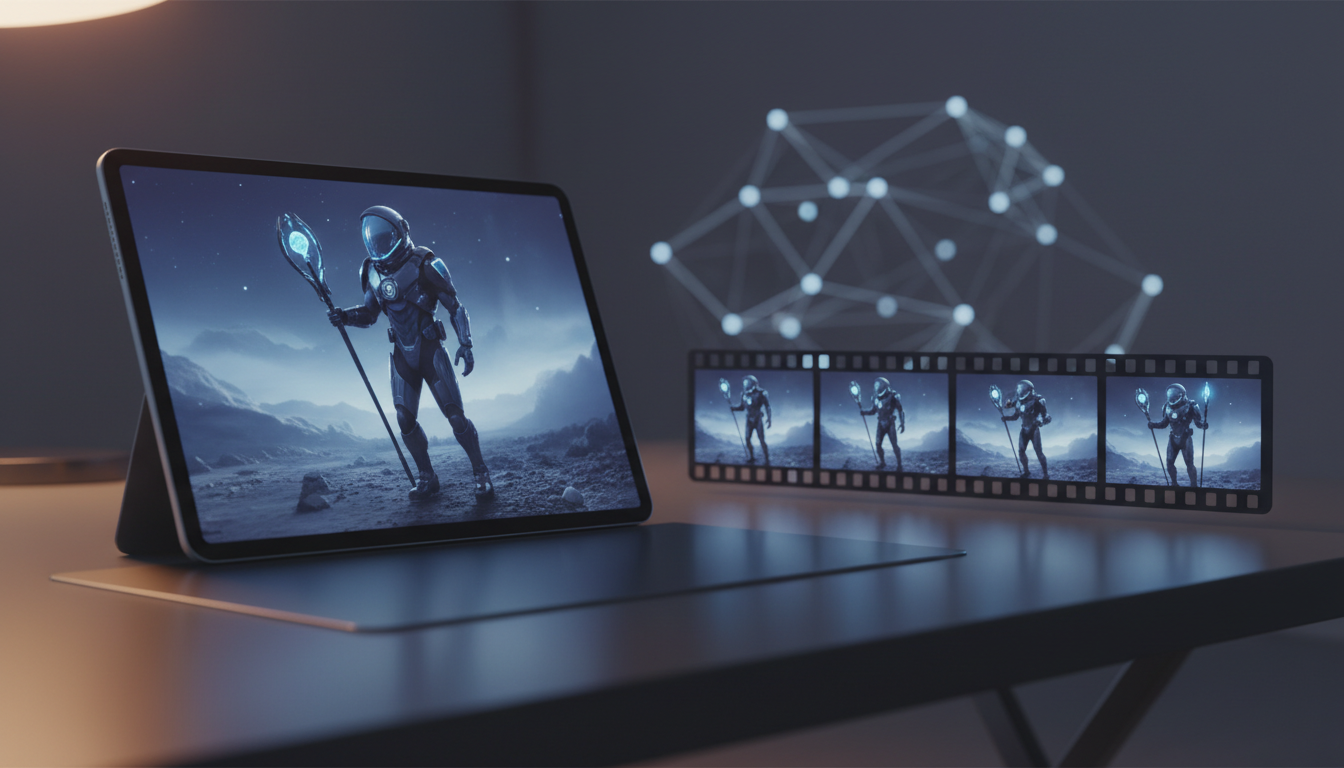
Grok Imagine Video, developed by xAI and available as a Pro model on Montagea, allows creators to transform static images into high-quality video clips up to 15 seconds long. Unlike basic text-to-video engines that limit you to a single-image prompt, Grok's image-to-video workflow supports up to seven reference assets (images or videos) simultaneously. This multi-reference system provides a reliable path to maintaining character consistency, style matching, and controlled camera motion. While the standard model outputs at 480p or 720p, version 1.5 introduces 1080p resolution, though it sacrifices video reference capabilities.
Understanding Grok Imagine Video Capabilities and Limits
Grok Imagine Video is designed to handle complex motion tasks while respecting the original composition of your source images. When evaluating video generation models for cinematic consistency, Grok's ability to ingest multiple references makes it highly competitive for sequential storytelling. However, working with the model requires understanding its operational boundaries to avoid wasted rendering credits.
The system operates in two distinct versions on Montagea:
- Standard Grok Imagine Video: Outputs clips up to 15 seconds long at 480p or 720p. It supports a wide array of aspect ratios (including 16:9, 9:16, and 1:1) and accepts up to 7 reference inputs, which can be a mix of static images and video clips.
- Grok Imagine Video 1.5: Upgrades the maximum output resolution to 1080p. It maintains the 15-second limit and multi-image references, but does not support video-to-video reference inputs.
The Multi-Reference Setup: Maintaining Character and Style Consistency
The primary challenge in AI filmmaking is character drift—where a subject's facial features or clothing warp between shots. Grok addresses this by allowing you to feed up to seven reference assets into a single generation. By supplying a combination of character sheets, background environments, and lighting styles, you anchor the AI's generation parameters.
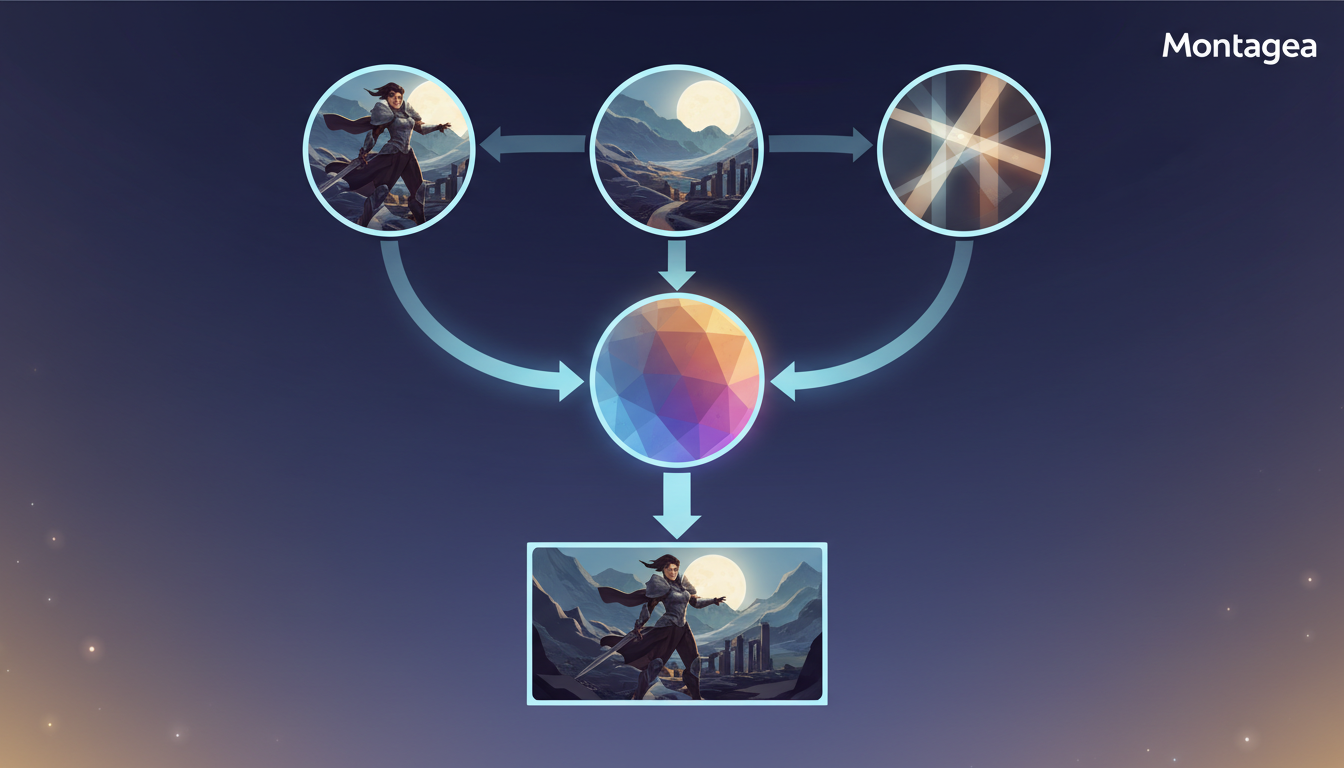
To set up a highly consistent scene, upload a mix of reference assets that cover different aspects of your shot:
- Primary Composition: A starting frame or keyframe that establishes the initial layout and camera angle.
- Subject Details: Close-up or profile views of your character or object to help maintain consistent geometry and features.
- Style and Environment: Images showing the desired lighting, color palette, or background textures to anchor the visual atmosphere.
When writing your prompt, describe the action and camera movement while referencing the visual elements present in your uploaded assets. Here is an illustrative prompt template designed for multi-reference control:
"Medium shot of the character walking through the neon-lit street, executing a slow cinematic camera pan."
Avoid overloading the prompt with conflicting visual descriptions. If your reference images feature a character in a blue jacket, do not write "wearing a red coat" in your text prompt, as this forces the model to resolve a logical contradiction, which often results in visual artifacts or clothing discoloration during movement.
Step-by-Step Workflow: From Static Image to Directed Motion
Transforming your static assets into a finished scene requires a structured approach to motion prompting and platform settings. Follow this workflow to generate your clips:
Step 1: Upload Your Assets
Log into Montagea, select the Grok Imagine Video model, and upload your primary keyframe as the main image input. Add up to six supplementary style or character reference images to the reference slots to anchor your visual style.
Step 2: Draft a Motion-Focused Prompt
Focus your text prompt entirely on actions and camera behavior. Do not describe details already visible in your reference images. Use explicit, technical camera directions rather than generic terms. For example, write "slow camera push-in and subtle parallax shift" instead of "cool cinematic movement."
Step 3: Configure Output Settings
Choose your target aspect ratio based on your distribution channel (e.g., 16:9 for film, 9:16 for social shorts). Select 720p for standard tests, or switch to Grok Imagine Video 1.5 if your final deliverable requires 1080p resolution.
Step 4: Generate and Refine
Render the clip and analyze the physics of the generated motion. Once you are satisfied with the performance, you can download and re-edit your AI video assets in your preferred non-linear editor (NLE) for sound design and final color grading.
Troubleshooting Motion Failures and Managing Credit Budgets
Even advanced video models can produce physical anomalies, such as melting details, warping limbs, or background sliding. These issues usually stem from a conflict between high-speed motion prompts and complex reference images.
Fixing Common Motion Artifacts
- Melting and Morphing: If a character's face or clothing morphs unnaturally, reduce the complexity of the action in your prompt. Shift the focus from complex physical actions (like "running and jumping") to camera-driven motion (like "dolly zoom with minimal character movement").
- Background Drift: If the background warps while the character moves, ensure you have provided a dedicated background reference image among your uploaded assets to help keep the environment static.
Managing Your Credit Budget
Because rendering 15-second, high-resolution clips requires significant processing power, tracking your usage is crucial for planning an AI video credit budget across your entire pipeline. To maximize efficiency, use the following decision matrix to choose the right model version for each stage of production:
| Model Version | Max Resolution | Max Length | Reference Inputs | Best Production Stage |
|---|---|---|---|---|
| Grok Imagine Video (Standard) | 720p | 15 seconds | Up to 7 (Images & Videos) | Pre-visualization, rapid prototyping, and motion testing |
| Grok Imagine Video 1.5 | 1080p | 15 seconds | Up to 7 (Images Only) | Final rendering and master asset generation |
By running initial motion tests at 480p or 720p using the standard model, you can verify that the camera path and character physics look correct before spending additional credits on a final 1080p render in version 1.5.
Can I use existing video clips as references in Grok Imagine Video?
Yes. The standard Grok Imagine Video model on Montagea accepts up to seven reference inputs, which can include both static images and video clips. This is highly useful for matching the pacing or motion style of an existing shot. Note that version 1.5 currently only supports image references.
What is the difference in output quality between Grok Imagine Video and version 1.5?
The primary difference is resolution and input capability. Grok Imagine Video 1.5 supports high-definition 1080p output, making it ideal for final renders. The standard version tops out at 720p but offers broader compatibility by accepting video clips as reference inputs.
How do I fix unnatural facial warping when animating a portrait?
Facial warping usually occurs when the prompt demands too much physical motion or when the reference image lacks detail. To fix this, simplify your prompt to focus on micro-expressions (e.g., "subtle blink, gentle smile") and rely on camera movement (such as a slow push-in) rather than heavy head rotation.



