
How to Use Frame Packs for AI Image-to-Video: Asset Prep and Motion Prompting
Get predictable, production-grade results from image-to-video frame pack workflows. This technical guide covers optimal asset preparation, precise camera motion prompting, and key parameter configurations to prevent warping.
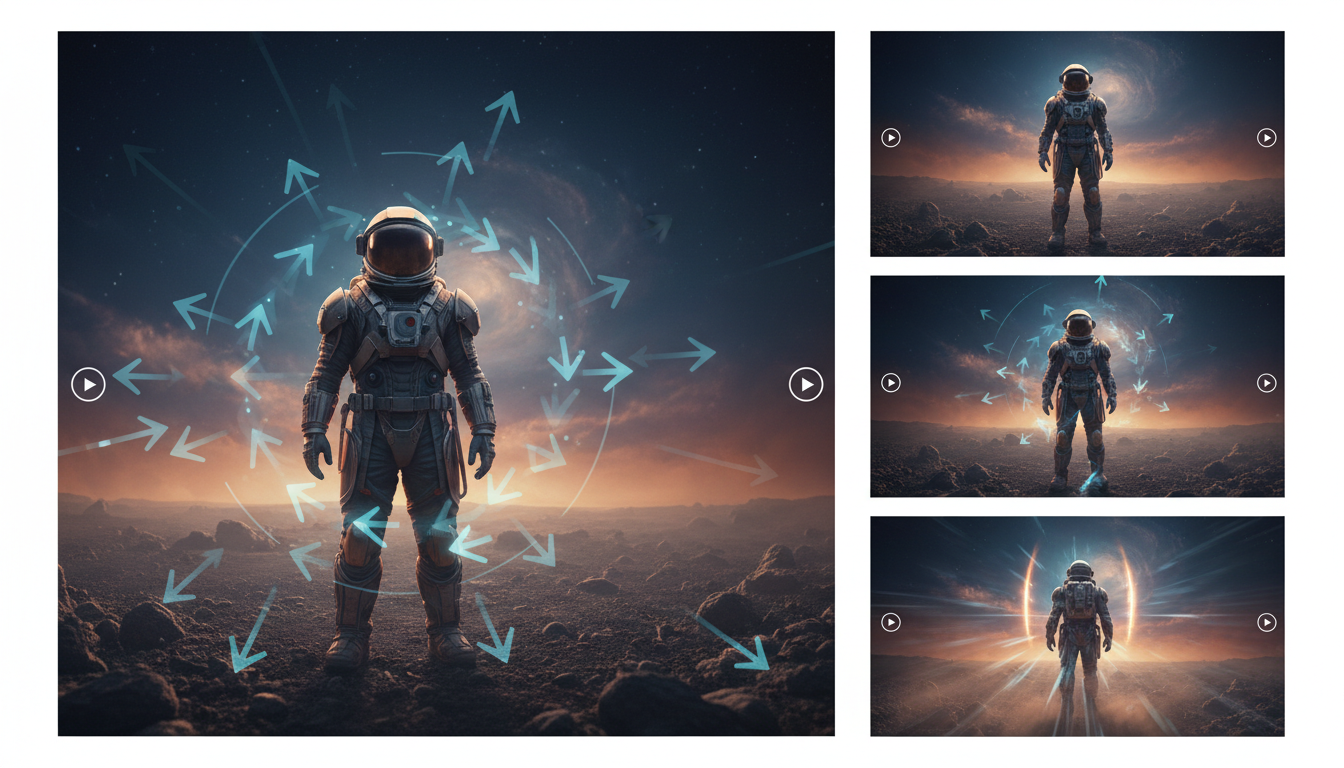
A frame pack (also known as a frame pack workflow) refers to an image-to-video generation process that translates a static source image into a short, controlled video sequence. To get predictable results, you must prepare clean source assets according to your chosen model's specifications, write motion-specific camera prompts (such as pans, tilts, or dollies), and configure parameters like motion strength and sampling steps. While some consumer platforms abstract these controls, advanced workflows expose them directly to give developers and creators precise authority over their video outputs.
What Is a Frame Pack? The Image-to-Video Workflow
A frame pack workflow is a specialized image-to-video approach designed for generating controlled motion from a single reference frame. This method serves as a technical rendering process rather than a simple consumer-facing creative suite, making it highly suitable for automated pipelines, custom software integrations, and technical creative workflows.
Unlike platforms that rely on black-box algorithms and unpredictable generation loops, advanced image-to-video tools expose raw parameters directly to the user. While platforms like Montagea streamline production by using an AI creative agent, Gigi, to plan steps and deliver finished pieces from descriptions, understanding these raw parameters remains essential for creators who want to manually build and refine specific motion sequences.
Input Preparation: Preparing Your Source Image for Frame Packs
The quality and stability of your final video sequence depend heavily on the initial asset you upload. Because image-to-video models use the starting frame to map out motion vectors, feeding them an optimized image helps prevent warping, melting, and visual artifacts.
Technical Specifications for Assets
- File Format: Refer to your specific tool's documentation for preferred formats, though high-quality, uncompressed files are generally recommended to preserve edge contrast.
- Resolution: Keep resolutions aligned with the native training dimensions of your selected model to avoid unnecessary scaling artifacts.
- Edge Definition: Ensure high contrast between the primary subject and the background. Blurry edges or heavy depth-of-field effects can sometimes confuse optical flow algorithms, causing the background to warp along with the moving subject.
Pre-Production Planning
Successful video generation begins before you initiate the generation process. Your source image should be composed with the final camera movement in mind. For instance, if you plan to execute a pan shot, ensure the starting frame has visual space on the edges for the model to reconstruct. Refer to our guide on AI script writing for production to see how to translate narrative actions into clear visual prompts. This pre-production planning ensures your starting frame contains the exact geometry required for the planned motion.
Writing Motion Prompts and Configuring Endpoint Parameters
To control the generation, you must combine descriptive motion prompts with explicit technical parameters. Image-to-video models generally work best when prompts focus on physical camera movements and physical physics rather than abstract aesthetic buzzwords.
Structuring Your Motion Prompts
Avoid generic descriptors like "cinematic" or "ultra-detailed." Instead, use precise camera language. The following table contrasts descriptive styles to illustrate how to guide the model effectively:
| Avoid (Vague/Stylistic) | Use (Precise Camera Language) |
|---|---|
| "Epic action movie style, fast movement, cool lighting, 8k render." | "Slow tracking shot pushing forward toward the stone archway, dust particles floating." |
| "Beautiful sunset with amazing water moving realistically." | "A slow pan right across the ocean surface, gentle waves rippling under low sun." |
Note: The examples above are illustrative prompts designed to show structural differences, not recorded test outputs.
Configuring API Parameters
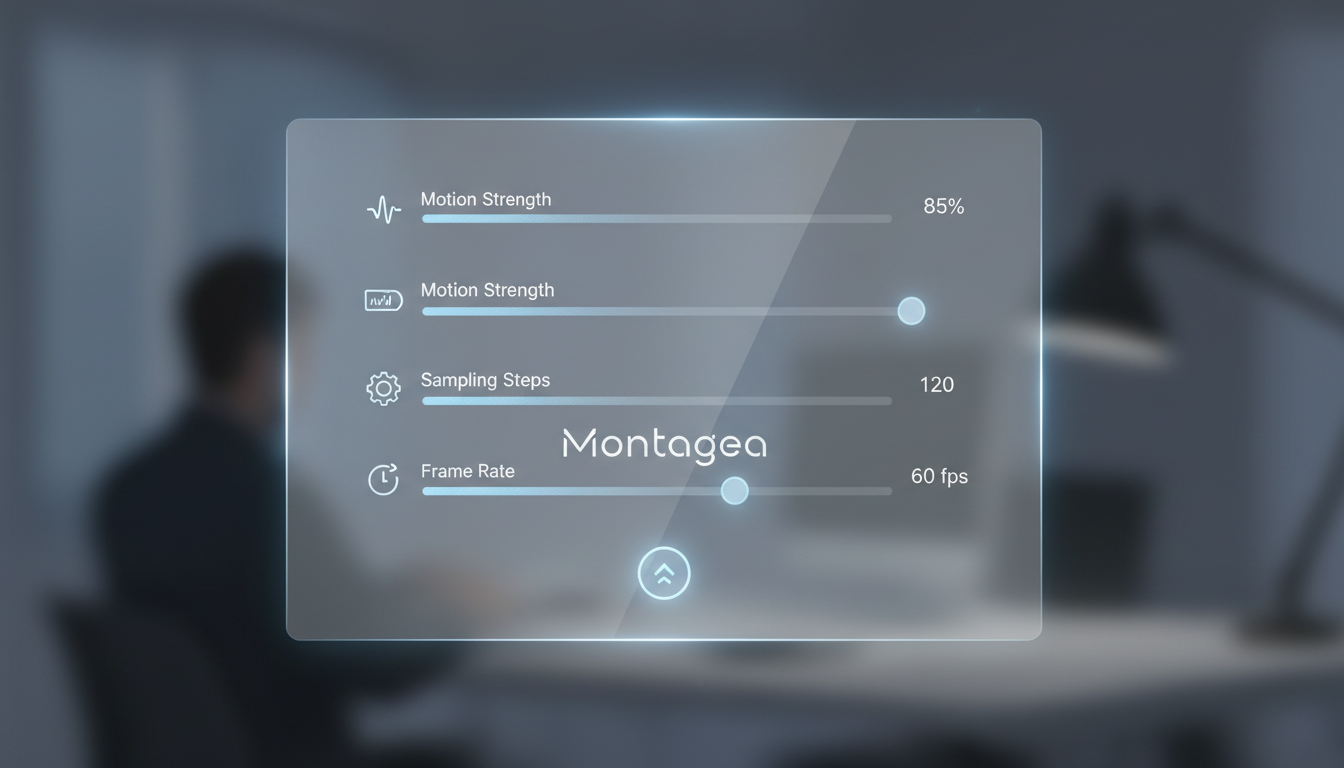
To achieve consistent results, you must balance the key parameters of your generation tool. Adjusting these values allows you to fine-tune the generation speed and motion fidelity:
- Motion Strength: Controls the intensity of the motion. Lower values generally produce subtle camera drifts or slow-moving elements, while higher values introduce rapid action but may increase the risk of visual morphing and structural breakdown. Refer to your specific platform's documentation for exact parameter ranges.
- Sampling Steps: Adjusting the step count can influence detail preservation across frames. Higher steps often improve visual fidelity but may increase generation time and processing costs depending on the platform.
- Seed Control: A static seed is a valuable tool for troubleshooting. If a generation fails or warps, keeping the seed identical while adjusting the motion strength allows you to isolate and fix the motion error without changing the entire composition.
Stitching, Loops, and Integrating FramePack into Your Pipeline
Once your model processes the input, it returns either a finished video file or a sequence of rendered frames. Integrating this output into a production pipeline requires a clean post-processing workflow.
Compiling and Optimizing Your Outputs
If your pipeline receives raw frame sequences, you can compile them into standard production formats using FFmpeg. For example, to compile a sequence of PNGs into a standard 24fps MP4 video, use the following terminal command:
ffmpeg -framerate 24 -i frame_%04d.png -c:v libx264 -pix_fmt yuv420p output.mp4
If you are creating short micro-animations, social media assets, or UI loops, you may want to convert these sequences into highly compatible web formats. Learn how to convert video to GIF using technical optimization steps that preserve visual clarity while keeping file sizes low.
Workflow Integration and Limitations
While frame pack workflows excel at camera moves and environmental motion, they are typically not designed for highly complex, fine-grained structural changes. For example, if your scene requires an avatar to speak with precise lip-syncing, a general image-to-video model may not be the correct tool. For those specific tasks, refer to our guide on how to make an avatar speak with asset preparation and lip-sync workflows.
Use the following checklist to maintain quality control across your image-to-video production pipeline:
- Asset Audit: Verify that the source image resolution matches the target aspect ratio and has clean edge separation.
- Baseline Test: Run a low-step generation with a mid-range motion strength to check for warping.
- Seed Lock: Lock the seed once you find an acceptable composition, then adjust motion strength to fine-tune speed.
- Post-Processing: Compile the frames, apply color correction, and optimize the final export for your destination platform.
What is the difference between frame pack workflows and standard video diffusion models?
A frame pack workflow is an image-to-video process optimized for rendering controlled motion from a single reference image. Unlike standard consumer video diffusion models that operate via simplified chat interfaces or prompt boxes, advanced frame pack workflows often expose raw technical parameters directly, making it easier to integrate into automated developer pipelines.
How does the motion parameter affect the frame pack generation output?
The motion parameter (often referred to as motion strength or intensity) dictates the velocity and scale of movement between frames. Lower values generally produce subtle camera drifts, while higher values generate faster, more dramatic motion. Setting this value too high can cause the model to warp the geometry of the original image, leading to visual artifacts. Check your specific tool's documentation for exact parameter names and ranges.
Can I use frame pack workflows for character lip-syncing?
Generally, frame pack workflows are designed for environmental motion and camera sweeps, not fine-grained facial geometry or audio-driven lip-syncing. For character speech, you should use dedicated audio-to-video or lip-sync models rather than a general image-to-video engine.



