
How to Compare AI Video Takes: A Structured Evaluation Framework for Collaborative Filmmaking
Stop relying on subjective scrolling. Discover a structured 4-part rubric and step-by-step workflow to evaluate AI video takes, ensure narrative consistency, and optimize your collaborative filmmaking pipeline.
To compare AI-generated video takes effectively, production teams must move away from subjective, vibes-based scrolling and implement a structured evaluation framework that scores takes on four pillars: temporal consistency, physics and motion, asset and character fidelity, and editability. This systematic review ensures that selected shots align with the overall project continuity, minimizes wasted compute on infinite seed rolling, and provides clear, actionable feedback for reworks. While this framework works across all major generation engines, its success depends on maintaining a unified project scope and establishing clear scene parameters before rendering begins.
The Multi-Take Bottleneck: Why AI Video Needs a Standardized Rubric
Generating multiple variations (or "takes") of a shot using different seeds, guidance scales, or models is standard practice in AI filmmaking. However, reviewing dozens of five-second clips without a clear rubric leads to post-production bottlenecks, continuity errors, and massive render waste. In traditional filmmaking, a director and script supervisor log takes with specific notes (such as identifying a great performance that was unfortunately marred by a lighting flicker or a missed focus pull). AI video generation requires the exact same discipline. Treating AI outputs as actual film takes helps production teams transition from passive curators to active directors.
This is especially critical in collaborative environments. When using Montagea, where the AI creative agent Gigi plans production steps and selects models to deliver a finished piece, having a shared vocabulary is essential for evaluating the resulting outputs. Without objective criteria, a contributor might submit a take that looks visually stunning in isolation but completely breaks continuity with the surrounding scenes. Establishing a standardized rubric can help contributors, editors, and directors evaluate renders against a shared baseline.
The 4-Part Evaluation Rubric for AI Video Takes
To evaluate and compare your generated takes objectively, use a four-part rubric. This framework balances technical performance with creative utility, ensuring that your chosen take is both visually stable and highly editable. Before applying these criteria to your creative takes, it is highly beneficial to learn how to set up a baseline evaluation matrix for different generation engines to understand the inherent strengths and limitations of each model.
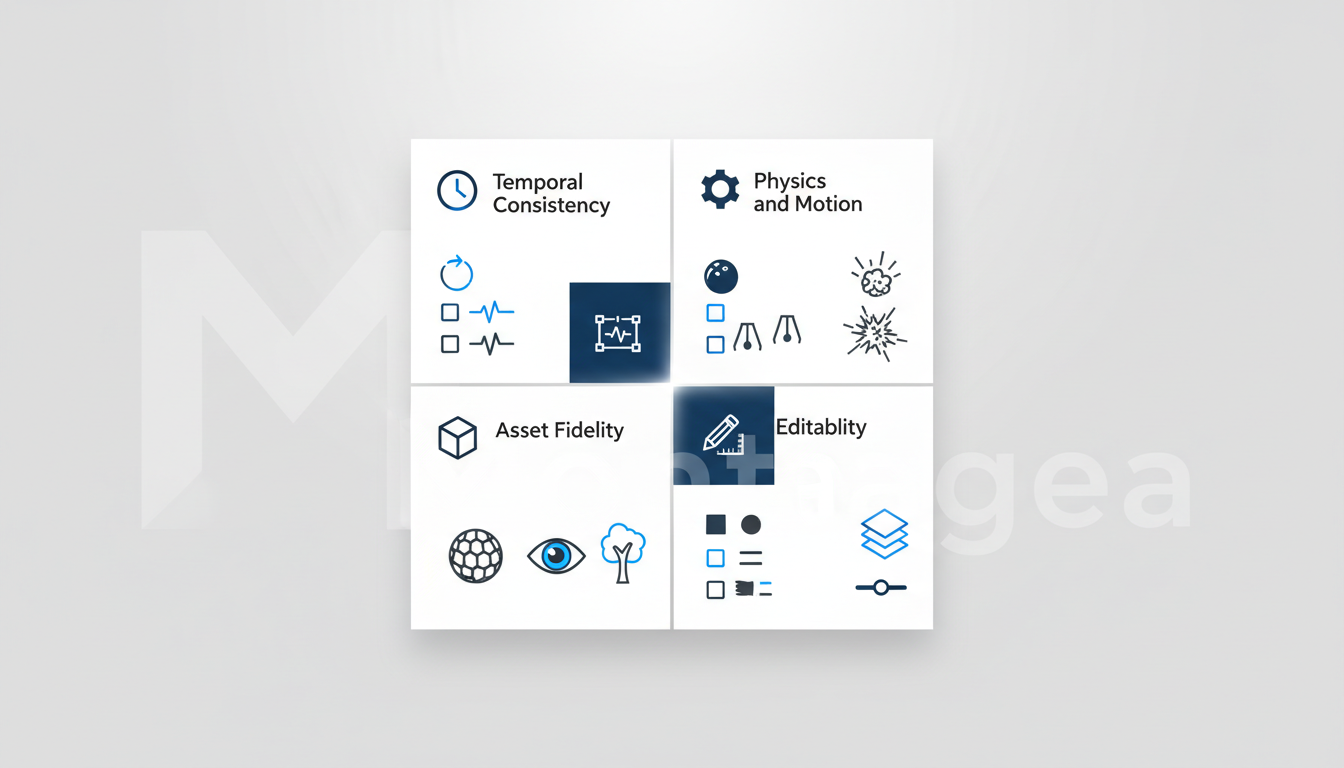
1. Temporal Consistency
Temporal consistency measures how stable the details of a shot remain from the first frame to the last. Watch closely for micro-glitches, such as background objects morphing into other shapes, flickering textures on clothing, or sudden changes in environmental details. A winning take minimizes these artifacts, especially on the primary subject.
2. Physics and Motion
Evaluate whether the camera movement and character physics feel grounded. AI models can sometimes introduce sudden, unnatural speed ramps or make heavy objects appear weightless. Ensure that momentum is preserved realistically during actions and that the camera movement matches the intended cinematic style without digital jitter.
3. Asset and Character Fidelity
Your characters, props, and environments must match your established reference models or images. Check that facial structures, clothing colors, and key environmental details do not drift mid-shot. This is the foundation of character consistency across a scene.
4. Editability and Post-Readiness
A take is only useful if it fits into your edit. Assess whether the clip has clean entry and exit points, sufficient handles (extra frames at the beginning and end) for transitions, and a color profile that can withstand color grading in post-production.
| Evaluation Pillar | Primary Focus | Acceptable Threshold | Dealbreaker |
|---|---|---|---|
| Temporal Consistency | Texture flickering, background morphing, artifacting | Micro-flicker on distant background objects | Major facial morphing or shifting clothing patterns |
| Physics & Motion | Momentum, gravity, camera stability | Slight drift in slow-motion pans | Unnatural weightlessness or sudden camera speed spikes |
| Asset Fidelity | Character features, costume, key props | Minor color shifts in secondary props | Unrecognizable face or missing key character assets |
| Editability | Handles, framing, color grading headroom | Flat color profile requiring quick primary grade | No handles (starts/stops abruptly on action) |
Step-by-Step Workflow for Comparing and Logging Takes
Once you have generated a batch of takes, follow this systematic workflow to organize, review, and select the winning asset.
Step 1: Batch Organization
Group your generations by Shot ID (e.g., SC01_S02) rather than by the model name or generation timestamp. This keeps your focus entirely on the narrative needs of the story rather than model bias. Keep your folder structures and project bins clean and aligned with this naming convention.
Step 2: Side-by-Side Playback
Load your takes into a grid-view player or place them stack-wise on your NLE timeline. Play them simultaneously to compare the overall composition, lighting, and pacing. This makes visual discrepancies and motion glitches immediately apparent.
Step 3: Apply the Selection Matrix
Score each take from 1 to 5 across the four rubric pillars. This quantitative approach removes emotional bias and helps you quickly identify the top-performing clips.
Step 4: Log the Decision
Document why a take was chosen or why it requires a rework. When a take fails to meet the threshold, do not just tell your team to "make it look better." Instead, translate these evaluation notes into actionable feedback using our translation protocol to ensure precise prompt or parameter adjustments.
Troubleshooting the Near-Miss: Tweak the Prompt or Roll the Seed?
A "near-miss" take is a clip that features excellent composition, camera motion, and acting, but suffers from a minor localized glitch—such as a hand morphing for three frames or a background sign flickering. Deciding whether to salvage this take or generate a new batch is a critical production choice.
- When to salvage (Post-Production & Regional Editing): If the glitch is localized and the rest of the shot is perfect, use regional editing, inpainting, or traditional post-production techniques (like masking or tracking in your NLE) to fix the error. This saves valuable rendering credits and preserves a great performance.
- When to regenerate (Prompt & Seed Adjustments): If the physics are fundamentally broken, or if the character's face is unrecognizable, a complete regeneration is required. If the motion was correct but the style was off, adjust your prompt weights. If the style was correct but the motion was chaotic, roll a new seed with a lower motion setting.
To avoid falling into endless generation loops where you lose track of which settings produced which results, always maintain a structured change log to track prompt adjustments between batches. This disciplined approach ensures that your collaborative team continuously learns from each iteration and refines their prompting strategy.
How many takes should I generate per shot before changing my prompt?
As a general guideline, generate 3 to 5 takes per prompt using different seeds before making structural changes to your prompt text. This range is usually sufficient to determine whether a prompt is fundamentally flawed or if you simply need to find a more stable seed. If none of the 5 takes meet your basic composition and motion requirements, refine your prompt syntax or adjust your model settings.
Should I compare takes from different AI models using the same criteria?
Yes, you should apply the same core evaluation criteria (temporal consistency, physics, fidelity, and editability) regardless of the model used. However, you should adjust your expectations based on each model's known baseline capabilities. For example, some models excel at complex physics but struggle with hyper-realistic character details, while others offer pristine image quality but limited camera motion control.
How do I handle audio sync when comparing takes with native sound generation?
When comparing takes that feature natively generated audio, evaluate the visual components first using the 4-part rubric. Once you have identified the top visual candidates, review the synchronized audio pass to ensure the sound effects and speech align naturally with the on-screen action. If the best visual take has minor audio alignment issues, it is often easier to adjust or replace the audio track in your NLE during post-production rather than discarding an excellent visual render.



